Replace a Gas Grill Burner in 10 Easy Steps
You can replace your gas grill burner in 10 easy steps, ensuring your grill works safely and efficiently. Proper maintenance, including burner replacement, is essential for consistent heat and delicious results.
Before starting, always turn off the gas and disconnect the grill to prevent accidents.
Remove the grates and flavorizer bars to access the burner, then carefully detach the old burner.
Clean the area thoroughly to avoid any blockages or buildup.
Align and securely install the new burner using the proper tools and parts to ensure a perfect fit.
Reassemble the grill once the burner is in place.
Test the flame and heat for evenness to confirm the installation was successful.
Follow these tips, and you’ll grill safely and efficiently—there’s more to guarantee perfect results.
Key Takeaways
- Turn off the gas supply, disconnect the propane tank, and ensure all grill knobs are off before starting the replacement.
- Remove grill grates and flavorizer bars, then loosen screws or clips to lift out the old burner carefully.
- Clean the burner area thoroughly and dry completely before aligning and securing the new burner with screws or clips.
- Reassemble grill components, ignite the burner, and check for steady blue flames with yellow tips to confirm proper function.
- Warm the grill with the lid closed for 10 minutes, then assess heat distribution for uniform warmth and even flame patterns.
How to Tell When Your Gas Grill Burner Needs Replacing
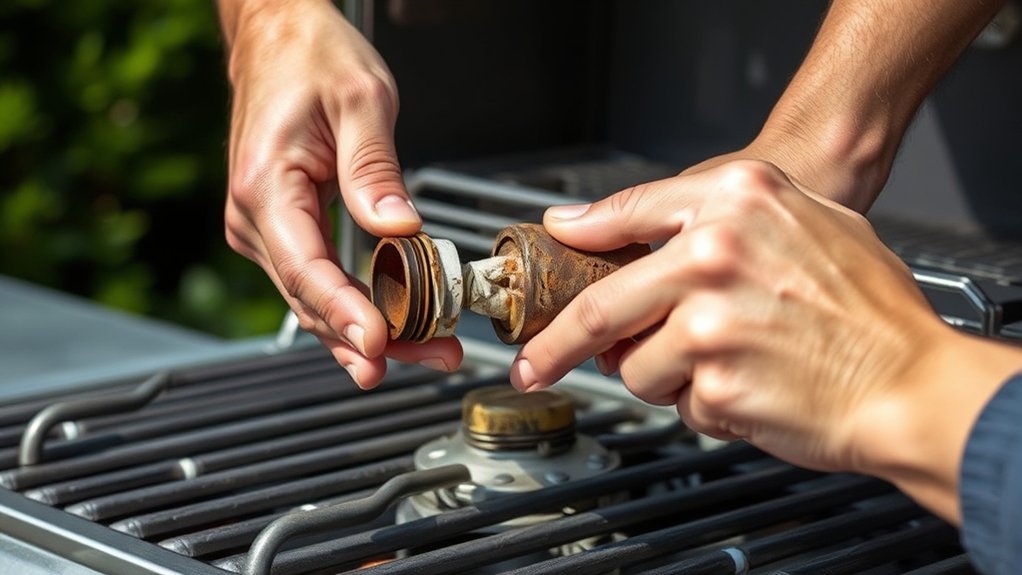
How do you know when it’s time to replace your gas grill burner? First, check the flame. If it’s uneven, weak, or yellow instead of blue, your burner may be clogged or damaged.
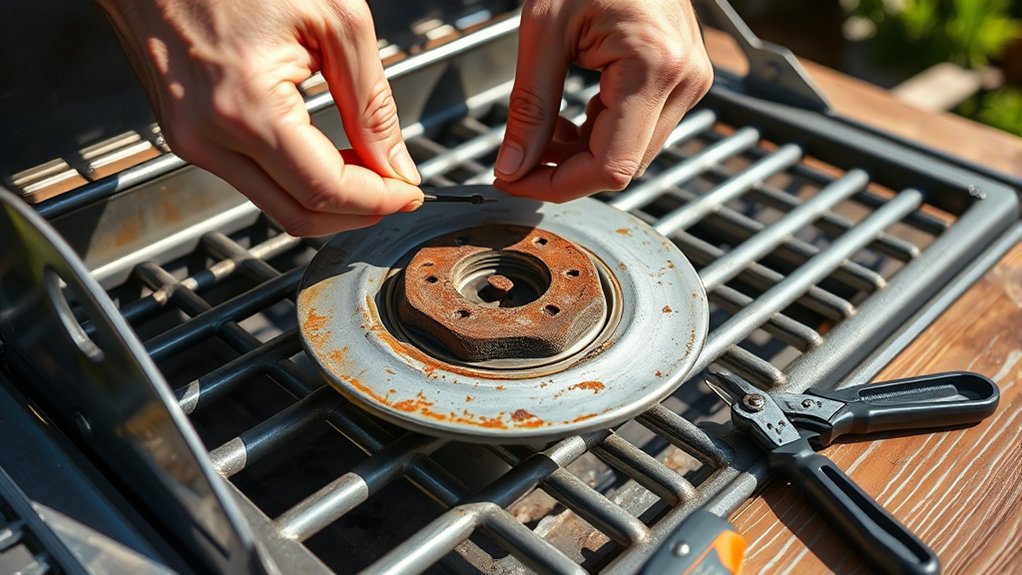
You might also notice flare-ups or cold spots on the grill, which mean heat isn’t distributing correctly. Inspect the burner for visible rust, cracks, or holes—these signs show wear that affects performance and safety.
If your grill takes longer to heat or doesn’t reach the usual temperature, a failing burner could be to blame. Additionally, persistent odors or gas leaks near the burner indicate it’s time for a replacement.
Catching these signs early guarantees your grill runs efficiently and safely every time you fire it up.
Essential Tools and Parts for Replacing Your Gas Grill Burner
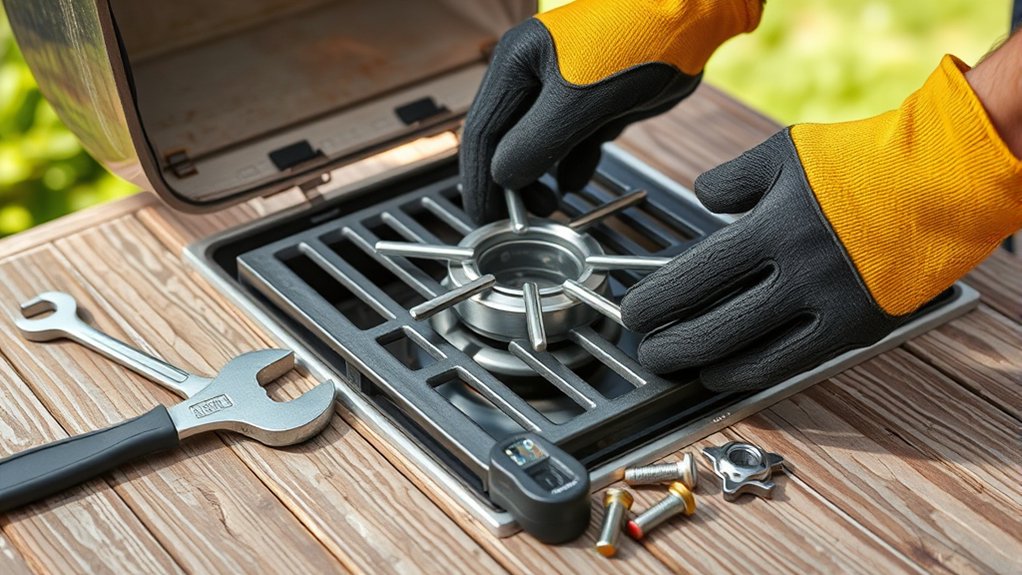
Before you start, make sure you have the right replacement burner that fits your grill model. You’ll also need a few key tools like a screwdriver, pliers, and a wrench to make the swap smooth.
Gathering these parts and tools ahead of time will save you frustration during the repair.
Necessary Replacement Parts
Although replacing a gas grill burner might seem straightforward, having the right tools and parts on hand makes the process much smoother. First, you’ll need a replacement burner that matches your grill’s make and model to verify proper fit and function. Check the size, shape, and connection type carefully.
You’ll also want new burner clips or brackets if the originals are worn or missing, as these secure the burner in place. Don’t forget replacement screws or bolts, since these small parts often get stripped or lost during removal. Finally, inspect and, if necessary, replace the gas hose or regulator if they show signs of wear to maintain safety.
Gathering these parts before starting will save time and prevent frustration.
Recommended Tools Checklist
Since replacing a gas grill burner requires precision, having the right tools on hand is essential to avoid delays and guarantee a smooth process. You’ll want to gather everything before you start to keep the job quick and frustration-free.
Here’s a handy checklist of essential tools and parts to have ready:
| Tool/Part | Purpose | Tips |
|---|---|---|
| Screwdriver Set | Remove and install screws | Use the correct head type |
| Adjustable Wrench | Loosen and tighten fittings | Avoid overtightening |
| Replacement Burner | The new burner itself | Match model for compatibility |
| Work Gloves | Protect your hands | Prevent cuts and burns |
With these ready, you’re set to replace your grill burner efficiently and safely.
Turn Off Gas and Disconnect the Grill for Safety
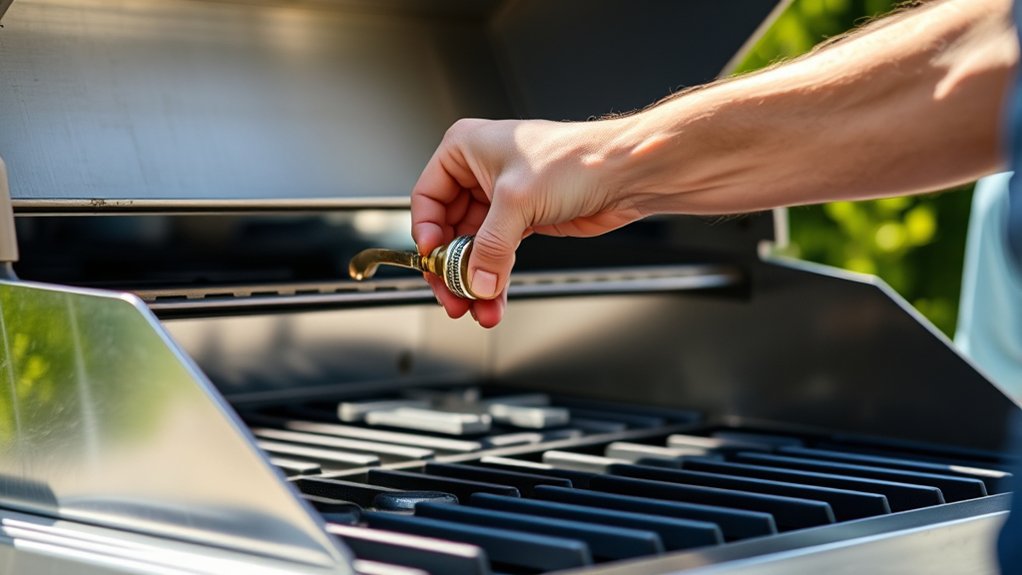
When you’re ready to replace your gas grill burner, make sure you turn off the gas supply completely to prevent any leaks or accidents. Locate the gas valve on your propane tank or natural gas line and turn it clockwise until it’s fully closed.
Next, disconnect the gas hose from the grill by unscrewing the fitting carefully. Be gentle to avoid damaging the connector or hose. If you’re using a propane tank, remove it from the grill and set it aside in a safe, well-ventilated area.
Double-check that all knobs on the grill are in the “off” position. Taking these safety steps guarantees you won’t risk gas escaping while you work on your grill. Safety is essential before moving on to the next step.
Remove Grill Grates and Flavorizer Bars for Burner Access
Before you can reach the burner, you’ll need to remove the grill grates and flavorizer bars carefully. Start by lifting the grill grates straight up; they should come out easily without force. Set them aside in a safe place to avoid damage.
Next, remove the flavorizer bars—these are the metal strips above the burner that catch drippings and add flavor. They often rest on ledges or hooks and may slide out with a gentle lift or slight wiggle. Be cautious since flavorizer bars can be greasy or sharp.
Removing these components gives you clear access to the burner underneath. Take your time to avoid bending or breaking any parts, as they’re essential for proper grill function and heat distribution when you reassemble everything later.
Remove the Old Burner
Although the burner may seem firmly attached, you can remove it by disconnecting any securing screws or clips and gently lifting it out of its position. First, locate where the burner connects to the gas supply tube—this is usually near the back or side. Carefully detach the burner from the gas tube by loosening any screws or fasteners holding it in place.
Be sure to keep track of these small parts for reassembly. Once free, lift the burner straight out to avoid damaging the ignition components or gas lines. If it feels stuck, double-check for hidden screws or clips you might have missed.
Take your time with this step to prevent bending or breaking the burner, ensuring a smooth replacement process.
Clean Burner Area Before Installing the New Burner
Since debris and grease can build up in the burner area, you’ll want to clean it thoroughly before installing the new burner. Start by removing any loose dirt or food particles with a brush or cloth. Use a vacuum or compressed air to clear out hard-to-reach spots.
Next, wipe down the entire burner area with warm, soapy water to remove grease and residue. Avoid using harsh chemicals that might damage the grill’s components. After cleaning, dry the area completely with a clean cloth or let it air dry to prevent rust or moisture buildup.
Taking these steps guarantees your new burner sits on a clean, safe surface, promoting better grill performance and extending the lifespan of your replacement part.
Align and Secure the New Gas Grill Burner
When you’re ready to install the new burner, carefully align it with the mounting brackets and gas ports to guarantee a proper fit. Make sure the burner holes line up perfectly with the gas valves to ensure even flame distribution. Slide the burner into place gently, avoiding any force that could damage the connections.
Once positioned, secure the burner by tightening any screws or clips that hold it firmly to the grill frame. If your grill uses brackets, double-check that the burner sits snugly within them without any wobble. Confirm the burner is stable and properly seated before moving to the next step.
Taking your time here prevents gas leaks and assures your grill will heat evenly when you fire it up again.
Reassemble Grill Components After Burner Installation
After securing the new burner, you’ll want to carefully reassemble the grill components to restore your grill to working order. Begin by placing the heat shields or flavorizer bars back over the burner. Make sure they sit evenly to protect the burner and distribute heat properly.
Next, reposition the cooking grates, aligning them with the grill frame. Check that all parts fit snugly without forcing them into place. If your grill has a drip pan, slide it back under the grill to catch grease and debris.
Finally, reattach any panels or covers you removed earlier, securing them with screws or clips as needed. Take your time to guarantee everything is tightly reassembled, so your grill stays safe and functions efficiently.
Test the New Burner’s Flame and Heat
Now that you’ve reassembled your grill, it’s time to test the new burner’s flame and heat. Check that the flame is steady and blue, indicating proper combustion, and guarantee heat spreads evenly across the cooking surface.
Always follow safety precautions while performing this test to avoid any hazards.
Flame Color Inspection
How can you tell if your new burner is working properly? One key indicator is the flame color. When you ignite the burner, watch the flames closely.
A healthy burner produces a steady blue flame with maybe a hint of yellow at the tips. Blue flames indicate complete combustion, meaning your burner is burning gas efficiently and safely. If you see mostly yellow or orange flames, that suggests incomplete combustion, which could mean the burner ports are clogged or the air-to-gas ratio is off.
Also, flickering or uneven flames signal a problem. If everything looks good, your burner is functioning correctly. If not, turn off the gas and inspect for blockages or incorrect installation before trying again.
Heat Distribution Check
Once you’ve confirmed that the flame color looks right, the next step is to check how evenly the burner distributes heat. Turn on your grill and let it warm up for about 10 minutes with the lid closed.
Then, place your hand carefully above the burner (without touching it) to feel the heat distribution. The warmth should be consistent across the burner’s length. If you notice any cool spots or uneven heating, the burner may be clogged or damaged.
You can also cook a test item like a tortilla or bread slice directly on the grates to observe cooking patterns—uneven browning indicates poor heat spread. Making sure the heat distributes evenly guarantees your food cooks properly and helps your grill perform at its best.
Safety Precautions Review
Before you fully rely on your new burner, you’ll want to test its flame and heat output carefully to make certain everything’s working safely and efficiently. Start by turning on the gas and igniting the burner while keeping an eye on the flame. The flame should be steady, blue, and mostly uniform.
Yellow or flickering flames indicate incomplete combustion or gas flow issues, which you need to address immediately. Next, allow the burner to heat up and check for consistent heat distribution across the grill. Make sure there are no unusual smells or sounds, as these could signal leaks or blockages.
If you detect anything irregular, turn off the gas and inspect connections before using your grill again. Safety always comes first when dealing with gas appliances.
How to Fix Common Problems After Replacing Your Gas Grill Burner
Although replacing your gas grill burner can considerably improve performance, you might still face some issues like uneven flames or weak heat. Don’t worry—here’s how you can fix common problems quickly:
Replacing your gas grill burner boosts performance but may still cause uneven flames or weak heat—here’s how to fix it fast.
- Check for Blockages: Clean burner ports with a wire brush or a toothpick to remove debris that can cause uneven flames.
- Verify Gas Flow: Ensure the gas valve is fully open and the hose isn’t kinked or damaged, restricting fuel flow.
- Adjust Burner Position: Make sure the burner sits correctly on the support brackets; misalignment can lead to weak heat.
- Inspect for Leaks: Use a soap solution on connections; bubbles indicate leaks that need tightening or replacing parts.
Addressing these steps will help restore your grill’s ideal performance after a burner replacement.
Frequently Asked Questions
What Types of Gas Grills Are Compatible With Universal Burners?
You’ll find universal burners fit many gas grills, especially those with standard-sized burners like Weber, Char-Broil, and some older models. Just check dimensions and mounting styles to guarantee compatibility before buying one.
How Often Should I Replace My Gas Grill Burner for Optimal Performance?
You should replace your gas grill burner every 1-3 years, depending on usage and wear. Check for rust, clogs, or uneven flames regularly, and swap it out sooner if performance drops to keep grilling ideal.
Can I Upgrade to a Higher BTU Burner When Replacing?
Of course, you can upgrade to a higher BTU burner—because who doesn’t want their grill to double as a flamethrower? Just make sure your grill’s design can handle the extra heat and gas flow safely, though!
Are There Any Safety Certifications to Look for in Replacement Burners?
Yes, you should look for safety certifications like CSA, UL, or ETL when choosing replacement burners. These guarantee the burner meets safety standards. Always verify compatibility with your grill model to avoid hazards or performance issues.
How Do Weather Conditions Affect the Lifespan of a Gas Grill Burner?
You’ll find that harsh weather like rain, snow, and humidity speeds up corrosion and rust on your burner, shortening its lifespan. Protect it with covers and store your grill in a sheltered spot when possible.
Conclusion
Replacing your gas grill burner might feel like a small fix, but it breathes new life into your grill and your cookouts. With just a bit of effort and the right steps, you’ll restore that perfect flame and delicious flavor you’ve been missing.
So, don’t let a tired burner dim your grilling spirit—embrace the change, and get ready to enjoy countless more meals filled with warmth and good times.
By following these simple steps to replace your gas grill burner, you ensure safer grilling, better heat distribution, and longer grill life. A well-maintained burner is key to achieving those mouthwatering BBQ results every time.
Get ready to fire up your grill with confidence and savor the true taste of outdoor cooking.