How to Grill Half Chicken in 7 Simple Steps
To grill half a chicken perfectly, start by choosing a fresh, bone-in piece with the skin left on. This ensures better flavor and moisture retention during cooking. Pat the chicken dry to prepare it for seasoning.
Next, rub the chicken with olive oil and season generously with salt, pepper, paprika, and garlic powder. These simple spices enhance the natural taste and give a delicious crust.
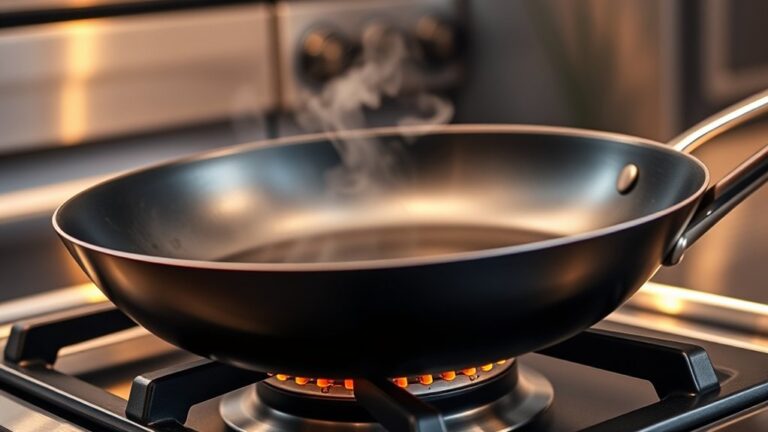
Heat your grill, setting up both direct and indirect heat zones. Begin by searing the chicken skin-side down over high heat to crisp the skin.
Then, move it to indirect heat to finish cooking slowly, aiming for an internal temperature of 165°F.
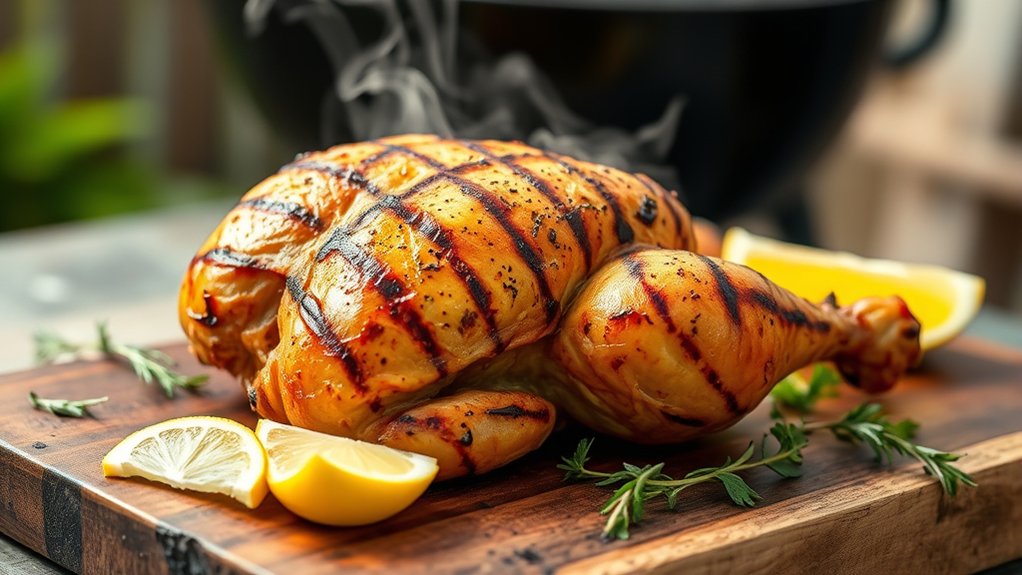
Once cooked, let the chicken rest before slicing. This step locks in juices for tender, flavorful results.
Keep following these easy grilling tips to master the art of cooking perfect half chicken every time.
Key Takeaways
- Select fresh, bone-in half chicken with intact skin for better moisture and flavor retention.
- Pat chicken dry and rub with olive oil and seasoning mix, including under the skin.
- Preheat grill with two-zone fire, searing skin-side down over direct high heat for 7-10 minutes.
- Move chicken to indirect heat, flip carefully, and rotate to cook evenly without flare-ups.
- Check internal temperature reaches 165°F, rest chicken 5-10 minutes before slicing against the grain.
Picking the Best Half Chicken for Grilling
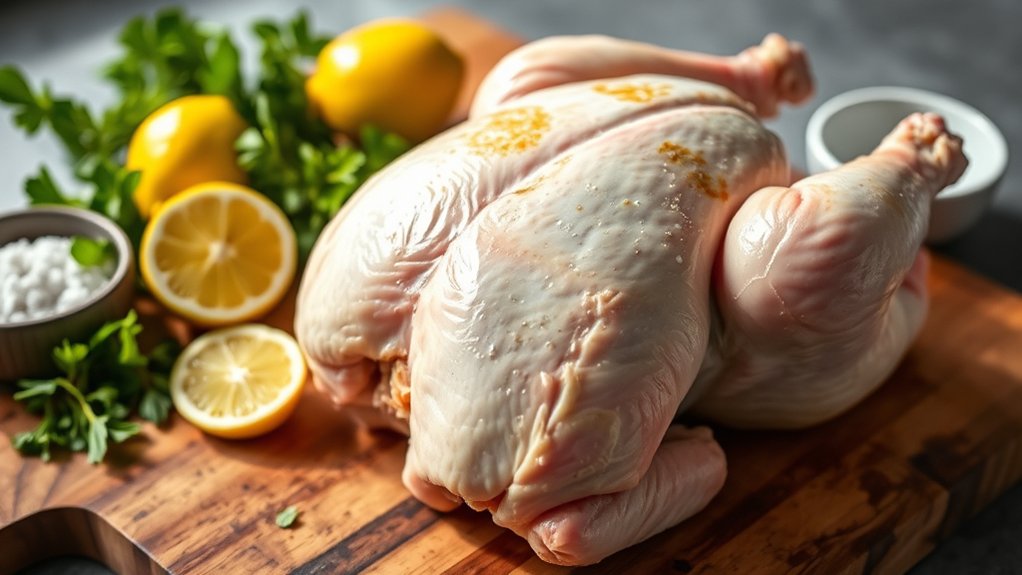
Although any half chicken can work on the grill, choosing one with a good balance of meat and fat guarantees juiciness and flavor. When you’re at the store or market, look for a half chicken that’s fresh and plump. Avoid pieces that look dry or pale, as they may lack flavor.
Opt for organic or free-range if you can; these often have better texture and taste. Pay attention to the skin—it should be intact and slightly yellow, not grayish. If you want a faster cook, pick a smaller half, but if you want more meat, go bigger.
Bone-in halves are preferable since the bone helps retain moisture and adds flavor. Picking the right half chicken sets you up for grilling success.
How to Prep and Season for Maximum Flavor
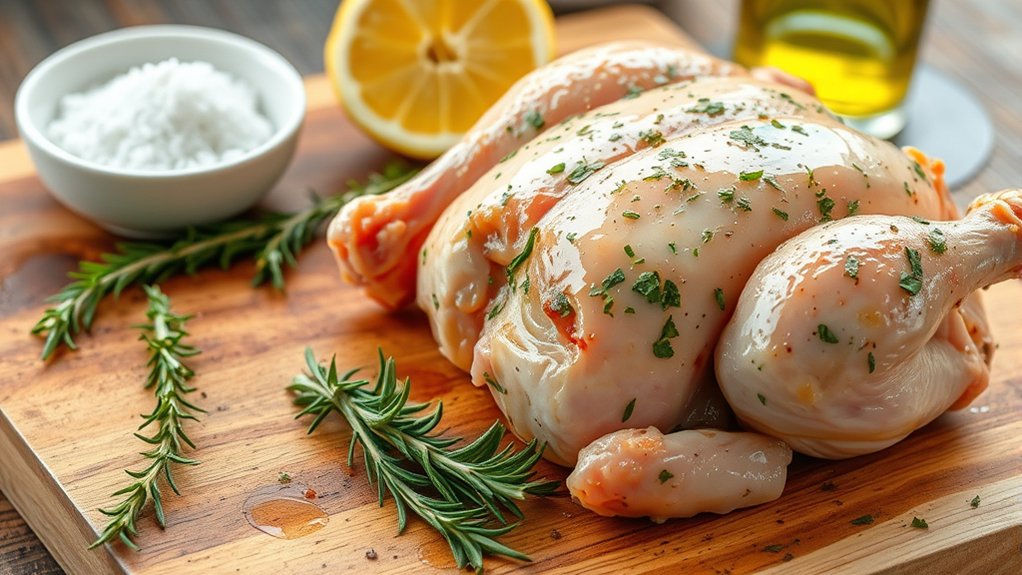
Before you fire up the grill, prepping and seasoning your half chicken properly guarantees every bite bursts with flavor. Start by patting the chicken dry to assure the skin crisps well. Then, apply a generous amount of olive oil to lock in moisture.
Next, rub your choice of spices evenly over the chicken, making sure to get under the skin for deeper flavor.
Here’s a quick seasoning guide:
| Ingredient | Quantity | Purpose |
|---|---|---|
| Olive oil | 2 tbsp | Moisture, crisp skin |
| Salt | 1 tsp | Enhances flavor |
| Black pepper | 1/2 tsp | Adds mild heat |
| Garlic powder | 1 tsp | Aromatic depth |
| Paprika | 1 tsp | Smoky, vibrant color |
Let it sit for 15-30 minutes before grilling.
Setting Up Your Grill for Perfect Half Chicken Heat
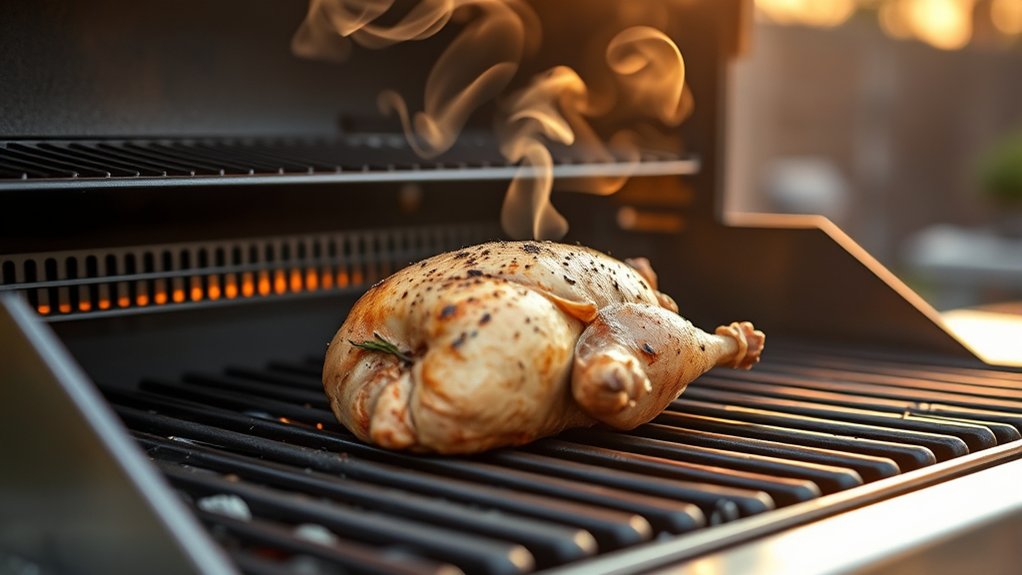
To grill half chicken perfectly, you’ll need to choose the right fuel that suits your flavor and heat control preferences. Setting up distinct heat zones on your grill allows you to cook the chicken evenly and avoid flare-ups.
Let’s go over how to arrange your grill for the best results.
Choosing The Right Fuel
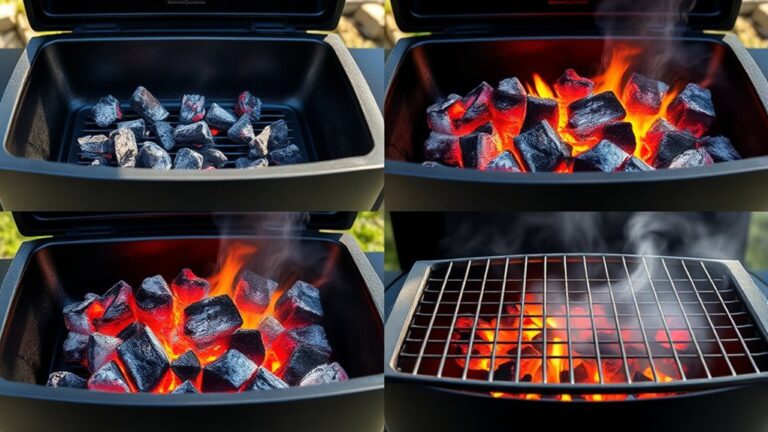
When you’re setting up your grill for half chicken, choosing the right fuel plays a crucial role in achieving even, consistent heat. Charcoal offers a smoky flavor that enhances your chicken’s taste, but it takes time to reach the perfect temperature. If you opt for lump charcoal, it lights faster and burns hotter, giving you better control.
On the other hand, briquettes burn longer and more steadily, making them ideal if you want a consistent cooking environment. Propane provides quick, adjustable heat with less mess, perfect when you’re short on time. Whatever fuel you pick, make certain it’s fully heated before placing your chicken on the grill.
This guarantees even cooking and helps you avoid flare-ups that can burn your meat.
Setting Up Heat Zones
Although grilling half chicken requires steady heat, setting up distinct heat zones on your grill lets you manage cooking temperatures more effectively. Start by creating a two-zone fire: one side with direct high heat and the other with indirect low heat. If you’re using charcoal, pile coals on one side; for gas grills, turn on burners on one side only.
Place the half chicken skin-side down over direct heat to sear and crisp the skin, then move it to the cooler side to finish cooking through without burning. This method prevents flare-ups and uneven cooking. Keep the lid closed as much as possible to maintain consistent heat.
Use a thermometer to monitor internal temperature for juicy, perfectly cooked half chicken every time.
Grill Your Chicken Skin-Side Down First
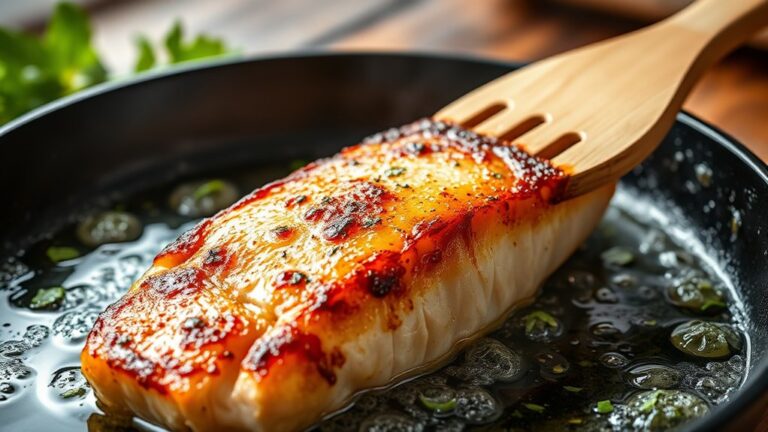
Start by placing your chicken skin-side down on the grill to get that crispy, golden texture you want. This also helps control flare-ups by rendering the fat slowly.
Keep an eye on it so the skin doesn’t burn while it crisps up.
Achieving Crispy Skin
To achieve crispy skin, you’ll want to grill your chicken with the skin side down first. This direct contact with the grill grates lets the fat render slowly, creating that golden, crunchy texture you’re after. Keep the heat medium to medium-high to prevent burning while allowing the skin to crisp evenly.
Resist the urge to move the chicken too soon; let it sear undisturbed for at least 7-10 minutes. Once you see the edges caramelizing and the skin releases easily from the grill, it’s time to flip. This method locks in flavor and moisture beneath the skin while giving you that satisfying crunch on top.
With patience and the right temperature, you’ll master perfectly crispy skin every time.
Preventing Flare-Ups
Why does grilling your chicken skin-side down first help prevent flare-ups? When you place the chicken skin-side down, the fat renders slowly, reducing sudden drips that cause flames. This method controls flare-ups by letting the fat melt gradually instead of dropping all at once.
To prevent flare-ups, keep the grill clean and manage the heat zones—use indirect heat after searing. If flare-ups occur, move the chicken away from direct flames until they subside. Avoid pressing the chicken, which squeezes fat and juices onto the fire.
Flip and Finish Grilling Evenly
Once the initial sear has locked in the juices, you’ll want to flip the half chicken carefully to guarantee even cooking on both sides. This step ensures the skin crisps up nicely without burning, while the meat stays tender.
Flipping the chicken gently after searing locks in juices and crisps skin without burning.
Here’s how to finish grilling evenly:
- Use tongs to flip the chicken gently to avoid tearing the skin.
- Move the chicken to a cooler part of the grill if flare-ups occur.
- Grill skin side down for the last few minutes to keep it crispy.
- Rotate the chicken occasionally to prevent hot spots from overcooking one area.
Following these steps will help you achieve a perfectly grilled half chicken with balanced texture and flavor.
How to Check Doneness for Juicy, Safe Chicken
After you’ve flipped and finished grilling your half chicken evenly, the next step is making certain it’s cooked through without drying out. Use a meat thermometer to check the internal temperature by inserting it into the thickest part of the thigh without touching bone. The chicken is safe and juicy when it reaches 165°F (74°C).
If you don’t have a thermometer, pierce the meat and watch the juices run clear—pink juices mean it needs more time. Also, the meat should feel firm but springy when pressed gently. Avoid cutting into the chicken too early, as this releases juices and dries it out.
Accurate checking ensures your grilled half chicken is both safe to eat and perfectly moist.
Let Your Chicken Rest and Serve It Up
Although your grilled half chicken looks tempting straight off the grill, you should let it rest for about 5 to 10 minutes. This essential step allows the juices to redistribute, making every bite juicy and flavorful. When you skip resting, the juices run out, leaving the meat dry.
Here’s how to rest and serve your chicken perfectly:
- Remove the chicken from the grill and place it on a clean plate.
- Tent it loosely with foil to keep it warm without steaming.
- Resist the urge to cut into it immediately.
- After resting, slice against the grain for tender pieces.
Following these steps guarantees your grilled half chicken is juicy, tender, and delicious every time. Serve it with your favorite sides and enjoy!
Frequently Asked Questions
Can I Marinate the Chicken Overnight?
Yes, you can marinate the chicken overnight. Doing so lets the flavors soak in deeply, making your grilled chicken juicier and tastier.
Just be sure to refrigerate it while marinating to keep it safe and fresh.
What Side Dishes Pair Best With Grilled Half Chicken?
You’ll love pairing grilled half chicken with roasted vegetables, corn on the cob, or a fresh garden salad. Garlic mashed potatoes and coleslaw also complement the smoky flavors perfectly, making your meal balanced and delicious.
Is It Better to Use Charcoal or Gas for Grilling?
You’ll find charcoal gives grilled half chicken that smoky, old-timey charm, like a cowboy’s campfire. Gas grills are quicker and easier to control, so you’ll choose convenience or flavor based on your mood and time.
How Long Can Grilled Chicken Be Safely Stored?
You can safely store grilled chicken in the fridge for 3 to 4 days. Make sure to cool it quickly, keep it in an airtight container, and reheat it thoroughly before eating to avoid any foodborne risks.
Can I Grill Half Chicken Indoors or on an Electric Grill?
You can absolutely grill half chicken indoors or on an electric grill—no need to bite off more than you can chew. Just preheat, watch your temperature, and flip carefully for juicy, tender results every time.
Conclusion
Now that you’ve picked the perfect half chicken, prepped it with bold flavors, and set up your grill just right, you’re ready to cook with confidence. Grill skin-side down first, flip with care, and check for that juicy doneness.
Let your chicken rest, then serve it up hot and delicious. You’ve mastered the steps, enjoyed the process, and earned a meal that’s crispy, tender, and bursting with flavor.
By following these simple grilling techniques, you’ve successfully grilled half chicken that is flavorful and perfectly cooked. Enjoy your delicious grilled half chicken and the satisfaction that comes with it!