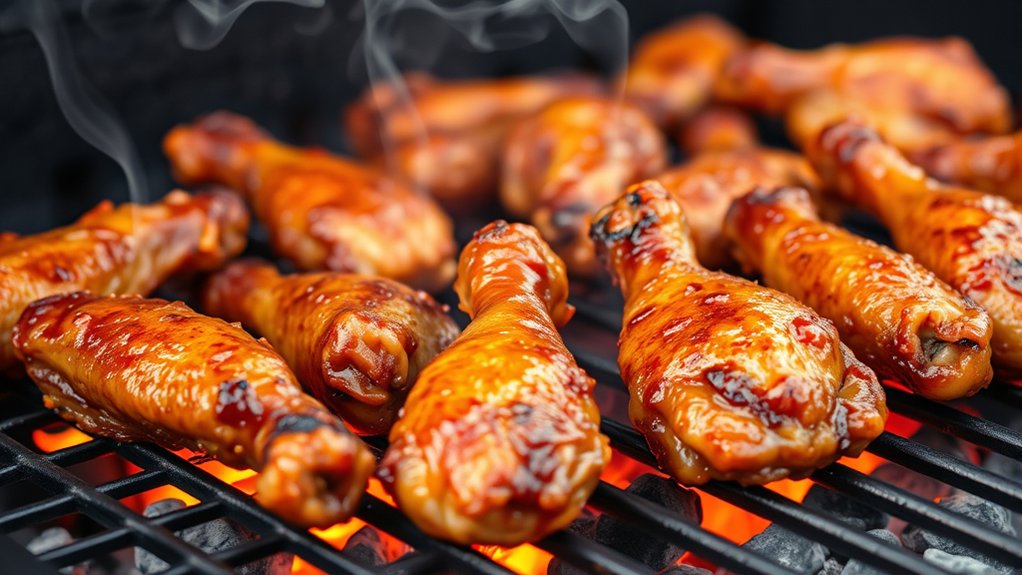
How Long to Grill Chicken Wings at 400°F in 10 Easy Steps
Grilling chicken wings at 400°F is a popular method to achieve crispy, flavorful results. To get the best out of your wings, it’s important to grill them for 20 to 25 minutes, turning every 5 minutes. This ensures even cooking and a perfectly crispy skin.
Start by seasoning your wings well and preheating the grill to maintain consistent heat. Avoid overcrowding the grill to allow proper air circulation and even cooking.
Check that the internal temperature reaches 165°F before serving to guarantee they are fully cooked. Keep the grill lid closed as much as possible to retain heat.
Group wings by size for the best results. Follow these steps and you’ll master juicy, delicious chicken wings with ease.
Key Takeaways
- Preheat the grill to 400°F and clean grates for even cooking and to prevent sticking.
- Season wings and let them rest at least 15 minutes for flavor absorption and crispiness.
- Grill wings for 20-25 minutes, flipping every 5 minutes to ensure even cooking and crispy skin.
- Use an instant-read thermometer to confirm wings reach an internal temperature of 165°F.
- Avoid overcrowding the grill and keep the lid closed to maintain consistent heat during grilling.
How to Prepare Chicken Wings for Grilling at 400°F
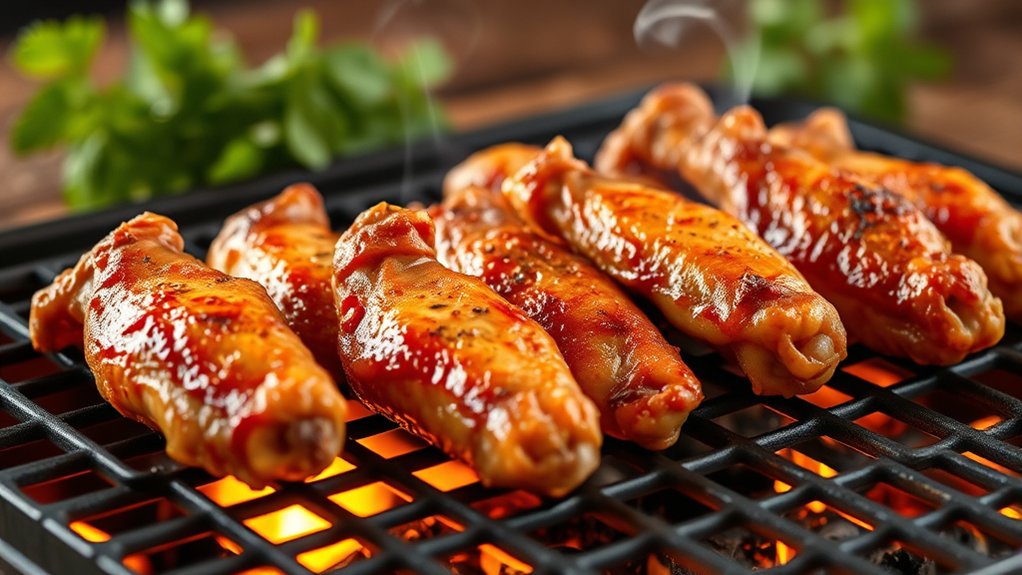
Before you start grilling, you’ll want to prepare your chicken wings properly to guarantee they cook evenly and taste great. Begin by rinsing the wings under cold water and patting them dry with paper towels. Removing excess moisture helps achieve crispier skin.
Next, separate the wings at the joint if they’re whole; this makes them easier to cook and eat. Trim any excess fat or loose skin for a cleaner result. Then, season your wings with salt, pepper, and your favorite spices or marinade.
Let them sit for at least 15 minutes to absorb the flavors. Proper preparation ensures your wings cook thoroughly and develop that perfect balance of juicy meat and crispy skin when grilled at 400°F.
How to Preheat Your Grill for Chicken Wings at 400°F
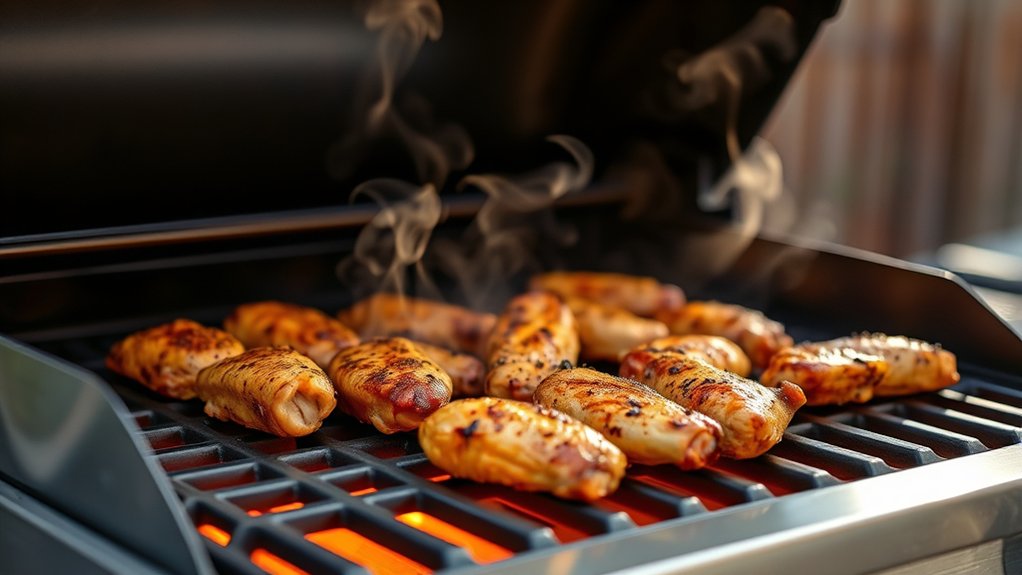
Once your chicken wings are prepped and seasoned, it’s time to get your grill ready. Start by cleaning the grates to prevent sticking and guarantee even cooking.
Then, ignite your grill and set it to 400°F. Close the lid and allow it to preheat for about 10-15 minutes. Use a grill thermometer to confirm the temperature is steady before placing your wings on the grates.
| Step | Action |
|---|---|
| 1 | Clean grill grates |
| 2 | Light the grill |
| 3 | Set temperature to 400°F |
| 4 | Close lid and preheat 10-15 minutes |
| 5 | Check temperature with thermometer |
This prep ensures your wings cook perfectly and get that ideal crispy skin.
How Long to Grill Chicken Wings at 400°F
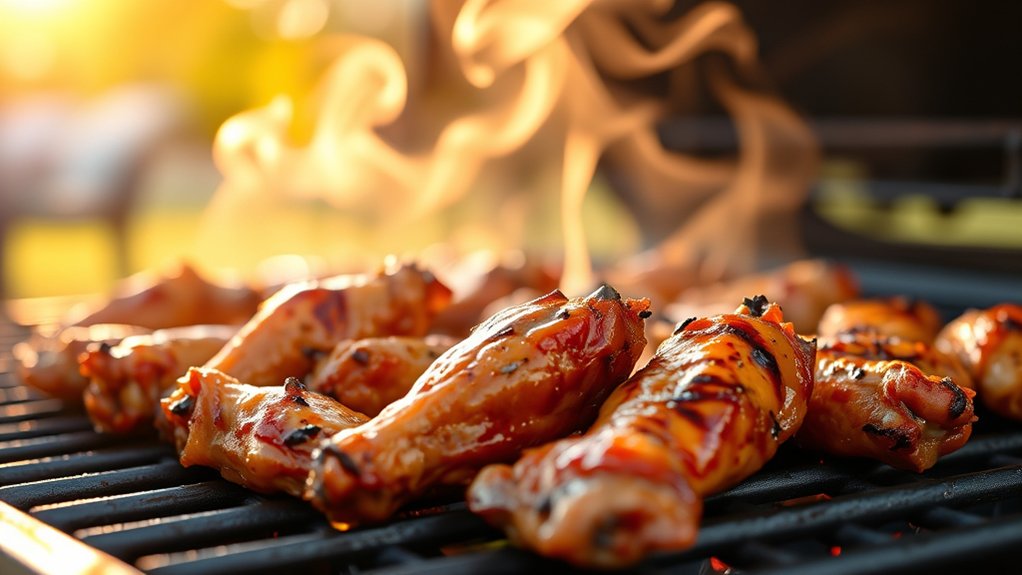
When you grill chicken wings at 400°F, they usually take about 20-25 minutes to cook through while developing a crispy, golden skin. To get the best results, follow these key tips:
- Turn the wings every 5 minutes to guarantee even cooking and prevent burning.
- Use a meat thermometer to check for an internal temperature of 165°F.
- Start wings skin-side down for a crispier texture.
- Keep the grill lid closed as much as possible to maintain consistent heat.
How to Adjust Grilling Time for Different Wing Sizes
Since chicken wings come in various sizes, you’ll need to adjust grilling times accordingly to make certain they cook evenly without drying out. Smaller wings generally take less time—around 18 to 20 minutes—because they heat through faster. Larger wings need more time, about 22 to 25 minutes, to guarantee the inside reaches a safe temperature without burning the outside.
Keep an eye on them as cooking times can vary based on thickness and grill heat consistency. Use a meat thermometer to check for an internal temperature of 165°F. If wings are uneven in size, consider grouping them by size on the grill or starting larger wings a few minutes earlier.
This way, all wings finish cooking at the same time, juicy and perfectly done.
How to Turn and Rotate Wings for Even Cooking
To guarantee your chicken wings cook evenly and develop a perfect char, you need to turn and rotate them regularly throughout grilling. This prevents burning on one side and ensures consistent heat exposure. Start by flipping each wing every 5 minutes.
Rotate the entire grill rack or reposition wings from center to edges to balance heat differences.
Keep these tips in mind:
- Use tongs to handle wings gently, avoiding piercing the skin.
- Turn wings over halfway through cooking to brown both sides.
- Shift wings closer or farther from the heat source depending on their cooking progress.
- Rotate the grill rack 180 degrees occasionally to offset hot spots.
Following these steps helps you achieve juicy, evenly cooked wings with a crispy exterior every time.
How to Check If Chicken Wings Are Cooked Through Safely
To make sure your chicken wings are cooked safely, start by checking their internal temperature—it should reach 165°F. You can also look for visual signs like golden-brown skin and juices running clear when pierced.
These simple checks help guarantee your wings are perfectly done and safe to eat.
Internal Temperature Check
Although grilling chicken wings at 400°F guarantees a crispy exterior, you’ll need to verify their internal temperature to confirm they’re cooked safely. Using a reliable meat thermometer is the most accurate way to do this. Insert the probe into the thickest part of the wing, avoiding bones, as they can give a false high reading.
The USDA recommends an internal temperature of 165°F for poultry to ensure it’s safe to eat. Once your wings reach this temperature, you can confidently remove them from the grill.
Here’s how to check temperature effectively:
- Use an instant-read meat thermometer for quick results
- Insert the probe deeply into the thickest section
- Avoid touching bones to prevent inaccurate readings
- Wait for the thermometer to stabilize before reading
Following these steps will keep your wings safe and delicious.
Visual Doneness Indicators
Even if you don’t have a meat thermometer on hand, you can still tell when your chicken wings are cooked through by relying on visual cues. First, check the skin—it should be golden brown and crispy, without any raw-looking pink spots. The meat near the bone should appear white or opaque, not translucent or red.
Wiggle the wing joint; it should move easily, indicating tenderness. Also, the wings should have shrunk slightly as the moisture cooks out, giving them a firm texture. Avoid any shiny or slimy areas, which might mean undercooking.
Using these visual indicators helps assure your wings are safe and delicious, even if you’re grilling without tools. Trust your eyes and experience to get perfectly cooked wings every time.
Juices Run Clear
When you cut into your chicken wings, you’ll want to make certain the juices run clear, not pink or red, as this is a reliable sign that they’re fully cooked and safe to eat. Clear juices indicate the meat has reached the right internal temperature, killing harmful bacteria. To check this effectively:
- Use a sharp knife to make a small cut near the thickest part of the wing.
- Look closely at the liquid that seeps out; it should be transparent.
- Avoid relying solely on color; always confirm with a thermometer if unsure.
- Remember, pink juices mean you need to cook the wings a bit longer.
Following these tips ensures you serve juicy, safe-to-eat chicken wings every time.
Grilling Techniques to Keep Wings Juicy and Crispy
To keep your wings juicy and crispy, start by marinating them to lock in moisture. Then, manage the heat carefully by balancing direct and indirect grilling zones.
This approach guarantees your wings cook evenly without drying out or burning.
Marinating for Moisture
Although grilling at 400°F cooks chicken wings quickly, marinating plays an essential role in locking in moisture and enhancing flavor. When you marinate your wings, you create a barrier that keeps juices inside, preventing dryness during grilling. A good marinade also tenderizes the meat, making every bite juicy and flavorful.
To get the most out of your marinade, keep these tips in mind:
- Use acidic ingredients like lemon juice or vinegar to break down proteins.
- Add oil to help retain moisture and promote crisp skin.
- Include herbs and spices for a flavor boost.
- Marinate wings for at least 30 minutes, but no longer than 4 hours to avoid mushy texture.
Heat Management Techniques
Mastering heat management lets you grill chicken wings that stay juicy inside while achieving crispy, golden skin outside. Start by setting your grill to 400°F, then arrange the wings over indirect heat to prevent flare-ups and burning. Use two-zone cooking: keep one side hotter for crisping and the other cooler for gentle cooking.
Flip the wings regularly, about every 5 minutes, to guarantee even cooking and prevent charring. If flames flare, move wings away quickly to avoid drying them out. Consider closing the lid to maintain consistent heat, but open it occasionally to check doneness.
How to Choose Sauces and Seasonings for Grilled Wings
When you’re choosing sauces and seasonings for grilled wings, think about the flavors you want to highlight. Do you prefer smoky, spicy, tangy, or sweet notes? Your choice sets the tone for the entire dish.
Start with a simple seasoning blend or a bold sauce that complements the smoky char from grilling. Consider the wing’s natural flavor and how it pairs with your chosen spices.
Begin with a seasoning or sauce that enhances the wing’s natural smoky flavor and complements your spices.
Try these ideas to get started:
- Classic buffalo sauce for a spicy kick
- Honey garlic glaze for sweet and savory balance
- Dry rub with paprika, garlic powder, and cayenne for smoky heat
- Tangy barbecue sauce for a rich, smoky finish
Mix and match to find your perfect flavor combo before grilling.
Common Mistakes When Grilling Chicken Wings at 400°F
Choosing the right sauces and seasonings sets you up for flavorful wings, but grilling at 400°F presents its own challenges you’ll want to avoid. First, don’t overcrowd the grill. Crowding traps heat and causes uneven cooking, leaving some wings underdone while others char.
Next, avoid flipping too often; wings need time to develop a crispy skin, so flip only every 4-5 minutes. Also, don’t leave the grill unattended—grilling at 400°F means things can burn quickly. Finally, skipping preheating is a common error.
Without a properly heated grill, your wings won’t cook evenly or get that perfect sear. Avoid these mistakes, and you’ll be on your way to perfectly grilled chicken wings every time.
Tips to Serve and Enjoy Perfect Grilled Chicken Wings
You’ll want to pair your grilled wings with flavors that complement their smoky taste, like tangy barbecue sauce or a zesty citrus dip. Think about how you present them—arranging wings on a platter with fresh herbs or colorful veggies can make a big difference.
Let’s explore some simple tips to serve and enjoy your wings perfectly every time.
Flavor Pairing Ideas
Although grilled chicken wings are delicious on their own, pairing them with the right flavors can elevate your meal to the next level. You want complementary tastes that enhance the smoky char and juicy texture.
Consider these flavor pairings to bring out the best in your wings:
- Spicy Buffalo Sauce: Adds heat and tang for a classic kick.
- Honey Garlic Glaze: Balances sweetness and savory notes beautifully.
- Lemon Herb Dip: Brightens with fresh, zesty flavors.
- Blue Cheese Dressing: Offers a creamy, bold contrast.
Serving Presentation Tips
Pairing your grilled chicken wings with the right flavors sets the stage for a memorable meal, but how you present them can make all the difference in enjoyment. Arrange your wings on a large platter, spacing them out so each piece stands out. Garnish with fresh herbs like parsley or cilantro to add color and vibrancy.
Include small bowls of dipping sauces such as ranch, blue cheese, or spicy buffalo to let everyone customize their bites. Add crunchy celery and carrot sticks on the side for texture contrast and a crisp crunch. Use colorful plates or rustic wooden boards to match your vibe.
Finally, serve them hot and encourage guests to dig in immediately—it’s all about sharing great flavors with great company.
Frequently Asked Questions
Can I Grill Chicken Wings at Temperatures Other Than 400°F?
Yes, you can grill chicken wings at other temperatures. Just adjust cooking time accordingly—lower temps need longer grilling, higher temps cook faster but risk burning. Keep an eye on them to guarantee they’re fully cooked and juicy.
What Type of Grill Is Best for Cooking Chicken Wings?
You’ll get the best results using a charcoal grill for that smoky flavor, but a gas grill works great too for consistent heat.
Just make sure your grill offers good temperature control and enough space for the wings.
How Do I Store Leftover Grilled Chicken Wings Safely?
To keep your grilled wings in their prime, tuck them into an airtight container and pop them in the fridge within two hours. This way, you’ll preserve their deliciousness and avoid any unwelcome surprises later.
Are There Any Health Benefits to Grilling Chicken Wings?
Yes, grilling chicken wings helps reduce fat because excess drips off, making them leaner. You’ll also retain more nutrients compared to frying, plus enjoy a smoky flavor without added oils or heavy sauces.
Can I Use Frozen Chicken Wings Directly on the Grill?
You shouldn’t grill frozen chicken wings directly; they cook unevenly and risk foodborne illness.
It’s best to thaw them completely before grilling to guarantee even cooking and safety, giving you juicy, delicious wings every time.
Conclusion
Grilling chicken wings at 400°F is like painting a masterpiece—you’ve got to balance time, heat, and care. With the right prep, turning, and seasoning, you’ll lock in juicy perfection and crispy skin every time. Avoid common mistakes, and you’ll serve wings that light up every gathering.
So fire up your grill, follow these easy steps, and get ready to savor wings that truly steal the show. Your taste buds will thank you! By mastering how long to grill chicken wings at 400°F, you ensure every bite is flavorful and perfectly cooked. These simple tips will help you achieve the ideal crispy texture and juicy interior every time.