How You Whip Egg Whites in a Blender Step by Step
To whip egg whites in a blender effectively, start with fresh, room-temperature egg whites to ensure optimal volume and texture. Make sure your blender jar is completely clean and dry, as any grease or residue can prevent the whites from whipping properly.
Using a blender is a quick and convenient method to achieve fluffy, airy egg whites without manual effort.
Pour the egg whites into the blender, then begin blending at a low speed to gently incorporate air. Gradually increase the speed until the whites form soft or stiff peaks, keeping a close eye to avoid overwhipping.
Avoid any contamination from yolk or grease for the best results.
Once you’ve mastered whipping egg whites in a blender, you can explore additional tips to perfect your technique and troubleshoot common issues. This method can save time and effort, making it ideal for various recipes requiring whipped egg whites.
Key Takeaways
- Use fresh, room-temperature egg whites separated carefully without yolk contamination for better volume and stability.
- Ensure the blender jar and tools are clean, dry, and grease-free to avoid interference with whipping.
- Start blending at medium speed, gradually increasing to incorporate air and build volume without breaking bubbles.
- Add stabilizers like cream of tartar or lemon juice to help achieve and maintain firm peaks.
- Stop whipping once soft or stiff peaks form to prevent overwhipping and dryness.
Choose the Right Egg Whites for Whipping
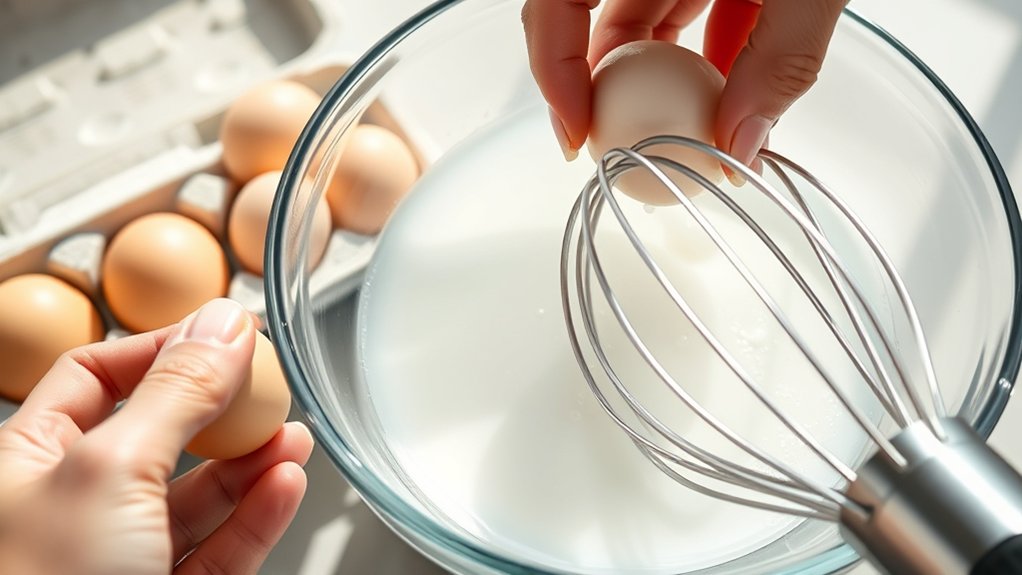
How do you pick the best egg whites for whipping? Start with fresh eggs, as their whites have more structure and whip up better. Older eggs tend to be watery, making it harder to achieve stiff peaks.
Use large eggs because their whites provide a consistent volume, which is key for precise whipping. You’ll want to separate the whites carefully, avoiding any yolk contamination—fat from yolks prevents proper aeration. If you’re using refrigerated eggs, let them sit at room temperature for about 30 minutes before whipping; this helps them whip more easily and reach greater volume.
Prepare Ingredients and Blender for Egg Whites
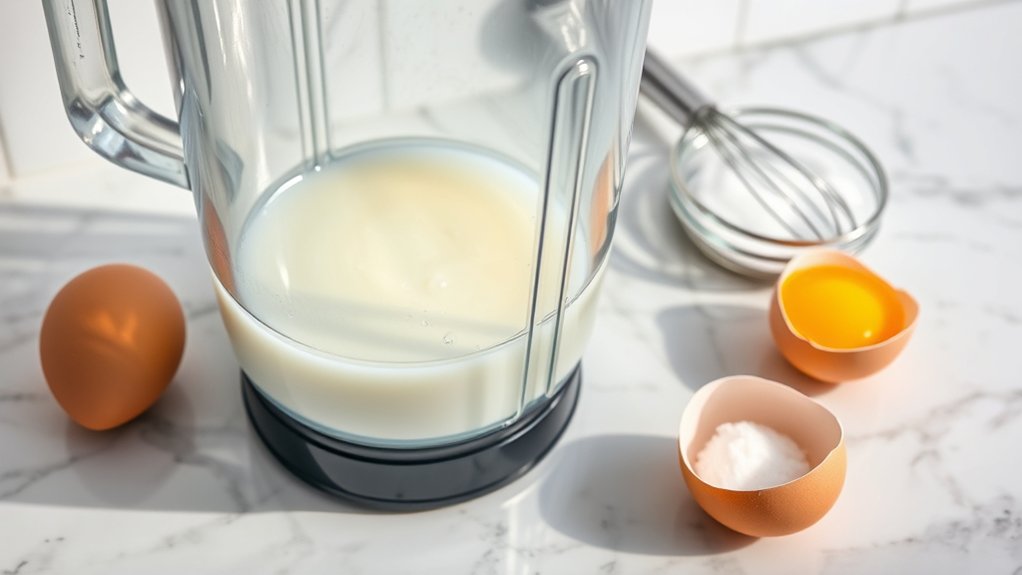
Now that you’ve selected fresh, large egg whites free of yolk contamination, it’s time to get your ingredients and blender ready. Start by ensuring your blender jar is completely clean and dry, as any grease or moisture can prevent the egg whites from whipping properly. Have a pinch of salt or cream of tartar on hand; these help stabilize the egg whites later.
If you plan to sweeten the whites, prepare your sugar or other sweeteners separately, ready to add at the right moment. Also, make sure the egg whites are at room temperature—they whip better and reach greater volume. Finally, assemble your blender on a stable surface and keep all your tools within reach so you can whip efficiently without interruptions.
Set Blender Speed and Settings for Whipping
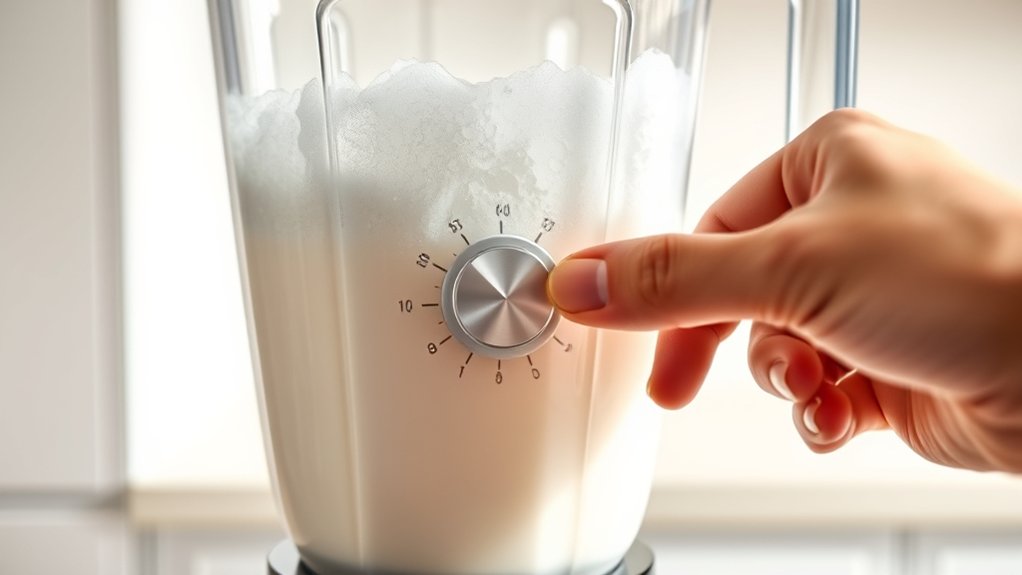
You’ll want to set your blender to a medium-high speed to start whipping the egg whites effectively. Most blenders have a pulse or whisk setting that works best for creating the right texture.
Adjusting these settings carefully helps you achieve fluffy, stable peaks without overbeating.
Optimal Blender Speed
Although it might seem tempting to crank your blender to its highest setting, achieving perfectly whipped egg whites requires a more controlled approach. Start by setting your blender to a medium speed to gently incorporate air without overworking the whites. This steady pace helps form stable bubbles, giving you that light, fluffy texture.
Once the egg whites begin to foam and thicken, you can gradually increase the speed slightly to build volume more efficiently. Avoid blasting at maximum speed from the beginning, as this can cause uneven whipping or break down the structure. By carefully adjusting the speed as the whites transform, you guarantee a smooth, glossy meringue that holds its shape well for your recipe.
Recommended Blender Settings
Adjusting your blender settings correctly makes a big difference when whipping egg whites. You want to start at a medium speed to break up the whites, then gradually increase to high speed for stiff peaks. Avoid the highest speed from the beginning, as it can overheat and ruin the texture.
Use a pulse setting if your blender has one to control the timing. Here’s a quick guide to recommended settings:
| Setting | Purpose |
|---|---|
| Medium Speed | Initial mixing and breaking |
| High Speed | Achieving stiff peaks |
| Pulse | Controlled whipping bursts |
| Off/Stop | Pausing to check consistency |
Whip Egg Whites Step by Step in a Blender
How quickly can you transform simple egg whites into fluffy peaks using a blender? Start by ensuring your blender is clean and dry—any grease can prevent proper whipping. Crack your eggs, separating whites from yolks carefully to avoid fat contamination.
Pour the egg whites into the blender jar. Set your blender to a medium-high speed, as recommended. Blend for about 30 seconds to 1 minute, then pause and check the texture.
Pour egg whites into the blender and blend on medium-high for 30 seconds to 1 minute, then check texture.
If the whites aren’t fluffy yet, continue blending in short bursts, watching closely. Avoid over-blending, which can cause the whites to become grainy. Once you see soft peaks forming, stop the blender.
Your whipped egg whites are now ready to use in recipes, light and airy just as you need.
Understanding Stages of Whipped Egg Whites
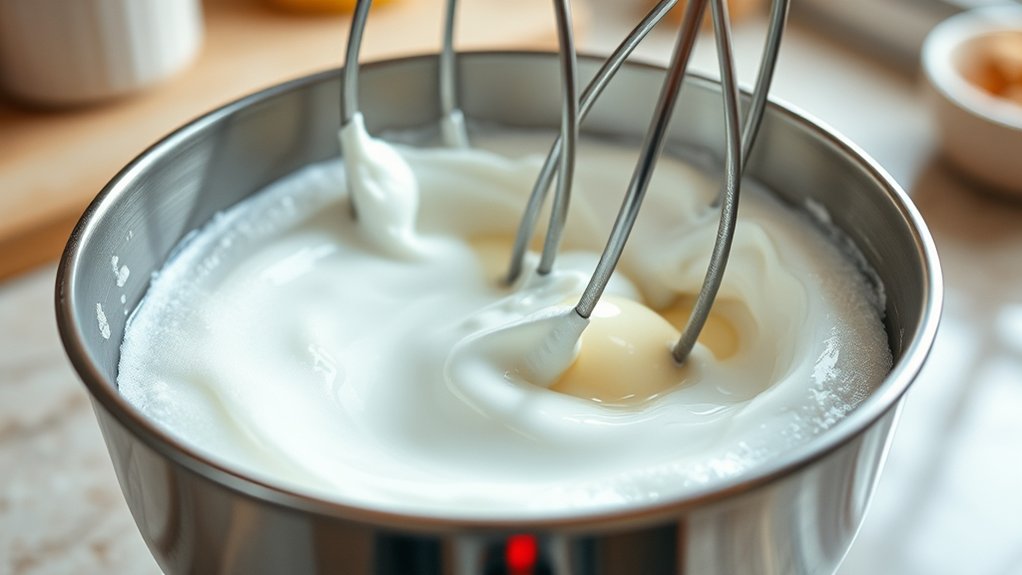
Once you start whipping egg whites, you’ll notice they pass through distinct stages that affect texture and stability. First, the egg whites will become foamy and bubbly, with large, unstable bubbles forming.
Next, they enter the soft peak stage; the mixture looks glossy, and peaks gently fold over when you lift the whisk. Then comes the firm peak stage, where peaks stand straight but still have a slight curve at the tip.
Finally, you reach stiff peaks, where the peaks are fully upright and hold their shape firmly. Recognizing these stages helps you stop whipping at the right time to suit your recipe’s needs. Overwhipping can cause dryness and clumping, while underwhipping results in weak structure.
Tips for Stiff, Glossy Egg White Peaks
To get stiff, glossy egg white peaks, start with room temperature eggs—they whip up faster and hold air better. Adding a bit of acid, like lemon juice or cream of tartar, helps stabilize the foam.
Keep your blender speed steady to build volume without breaking the structure.
Use Room Temperature Eggs
Although it might be tempting to use eggs straight from the fridge, you’ll get much better results if you let them reach room temperature before whipping. Room temperature egg whites whip up faster and achieve greater volume because their proteins unfold more easily, trapping air effectively.
To do this, take your eggs out about 30 minutes before you plan to whip them. If you’re short on time, place the eggs in a bowl of warm water for 5-10 minutes to gently raise their temperature. Avoid overheating, as this can start cooking the eggs.
Using room temperature eggs guarantees your blender will create those stiff, glossy peaks you want—making your meringues or soufflés light and airy every time.
Add Acidic Ingredients
If you want your egg whites to reach stiff, glossy peaks, adding a small amount of acid can make all the difference. Acidic ingredients like cream of tartar, lemon juice, or white vinegar help stabilize the egg whites by lowering their pH level. This strengthens the protein structure, allowing the whites to trap air more effectively and hold their shape longer.
Just add about 1/8 teaspoon of cream of tartar or 1/2 teaspoon of lemon juice or vinegar per two egg whites before you start whipping. Be careful not to add too much acid, or the whites might become too soft and fail to whip properly. Incorporating acid early on ensures your peaks stay firm and shiny, perfect for any recipe calling for whipped egg whites.
Maintain Consistent Speed
Adding acid helps stabilize your egg whites, but how you whip them plays an equally important role in achieving stiff, glossy peaks. You need to maintain a consistent speed on your blender to avoid over- or under-whipping. Start on a medium speed to build volume, then switch to medium-high as the whites thicken.
Avoid sudden speed changes, which can break the air bubbles and cause uneven texture.
| Speed Level | Purpose | Outcome |
|---|---|---|
| Low | Initial mixing | Whites begin to foam |
| Medium | Volume building | Soft peaks form |
| Medium-High | Peak formation | Stiff, glossy peaks |
| High | Risk of over-whipping | Dry, grainy texture |
| Consistency | Maintain throughout | Stable, smooth peaks |
Keep your speed steady, and your egg whites will whip perfectly every time.
Avoid These Common Blender Whipping Mistakes
When you whip egg whites in a blender, certain mistakes can quickly undermine your results. First, don’t use a blender that’s too powerful—it’ll overwhip or break down the foam. Avoid adding salt or oil, as these prevent the whites from reaching stiff peaks.
Make certain your bowl and blender parts are spotless; any grease can stop the whites from whipping properly. Don’t start blending at high speed right away; begin slow to build volume gradually. Also, avoid overfilling the blender jar; overcrowding reduces airflow and slows whipping.
Finally, never use cold egg whites straight from the fridge—let them reach room temperature for better volume. Steering clear of these common errors ensures your egg whites whip perfectly every time.
Fixing Egg Whites That Won’t Whip
If your egg whites aren’t whipping properly, it’s usually due to a few common issues you can fix. You’ll learn simple tips to improve the whipping process and what to do if your blender isn’t cutting it.
Plus, we’ll explore alternative techniques to get those perfect peaks every time.
Common Causes Explained
Though it’s frustrating to see your egg whites refuse to whip, understanding the common causes can help you quickly fix the problem. One major issue is fat contamination—any trace of yolk or grease will prevent proper whipping. Also, using a dirty or oily blender can interfere with the process.
Another cause is temperature: cold egg whites whip slower, so letting them sit at room temperature for about 30 minutes helps. Overbeaten whites can become grainy and separate, so stopping at soft or stiff peaks is key. Finally, using old eggs can reduce volume and stability, so always opt for fresh ones.
Identifying and addressing these factors ensures your egg whites whip perfectly every time.
Tips To Improve Whipping
Understanding why your egg whites won’t whip is just the first step to fixing the problem. To improve whipping, make sure your eggs are fresh and at room temperature; cold whites don’t whip as well. Use a clean, dry blender—any grease or moisture can prevent proper aeration.
Avoid using plastic bowls or utensils that hold onto oils; glass or metal is best. Add a pinch of cream of tartar or a few drops of lemon juice to stabilize the foam. Whip at medium speed to build volume gradually without breaking bubbles.
Alternative Whipping Techniques
When your egg whites refuse to whip despite your best efforts, trying alternative techniques can make all the difference. First, check if any yolk contaminated the whites; even a trace of fat stops whipping. If your whites are old or cold, bring them to room temperature before blending.
You can also add an acid like cream of tartar or a few drops of lemon juice to stabilize the foam. Instead of a blender, try using a hand mixer or a balloon whisk for better control. If your blender has variable speeds, start slow to build small bubbles, then increase speed gradually.
Ultimately, confirm your bowl and utensils are spotless and grease-free. These tweaks often fix stubborn egg whites and get you whipping in no time.
Using Blender-Whipped Egg Whites in Recipes
If you want to add lightness and volume to your dishes, blender-whipped egg whites can be a great tool. You can fold them gently into batters for soufflés, mousses, or sponge cakes to create a fluffy texture. When incorporating, be careful not to overmix, which can deflate the air bubbles you worked so hard to create.
Use a spatula and fold with a light hand until just combined. For recipes like meringues or pavlovas, you can pipe or spoon the whipped whites directly onto baking sheets before baking. The stiff peaks achieved in your blender will give you that signature crisp exterior and soft interior.
Using blender-whipped egg whites saves time without compromising texture, making your dishes impressively airy and delicious.
Cleaning and Maintaining Your Blender After Use
Because egg whites can leave a sticky residue, you’ll want to clean your blender promptly after use to prevent buildup and odors. Start by rinsing the blender jar with warm water immediately.
Then fill it halfway with warm water, add a drop of dish soap, and pulse for 20-30 seconds. Rinse thoroughly and dry all parts before storing.
Regular maintenance keeps your blender running smoothly and extends its life.
| Step | Action |
|---|---|
| 1 | Rinse jar with warm water |
| 2 | Add soap and warm water |
| 3 | Pulse blender for 20-30 seconds |
| 4 | Rinse thoroughly |
| 5 | Dry and store |
Frequently Asked Questions
Can I Use a Hand Mixer Instead of a Blender to Whip Egg Whites?
Yes, you can use a hand mixer instead of a blender to whip egg whites. It’s actually easier to control and less likely to overbeat, giving you fluffy, stable peaks perfect for your recipes.
A hand mixer allows for better precision in mixing speed and duration. This helps you achieve the desired texture without risking the egg whites becoming grainy or breaking down.
How Long Can Whipped Egg Whites Be Stored Before Use?
You can store whipped egg whites for about 24 hours in the fridge—because who doesn’t want to wait a whole day to enjoy fluffy perfection?
Just cover them tightly and use quickly for best results.
Are There Any Dietary Concerns With Consuming Raw Whipped Egg Whites?
Yes, you should be cautious because raw egg whites can carry salmonella. If you’re pregnant, elderly, or immunocompromised, it’s safer to avoid them or use pasteurized egg whites to reduce the risk.
Can I Add Sugar Directly to Egg Whites Before Whipping?
You can add sugar directly to egg whites, but it’s best to wait until they start forming soft peaks. Adding sugar too early can prevent proper whipping and result in a less stable, less fluffy meringue.
What Alternatives Exist if I’M Allergic to Eggs?
If eggs were a locked door, aquafaba and flaxseed gel would be your trusty keys—they’re excellent egg substitutes for allergies, whipping up beautifully in recipes, letting you enjoy fluffy textures without any eggy worries.
Conclusion
Whipping egg whites by hand takes time and effort, but using your blender speeds up the process and makes it effortless. You’ll go from flat to fluffy in minutes, turning simple whites into light, airy perfection. While mistakes can happen, knowing how to fix them keeps you confident.
So, embrace the blend—quick yet precise, easy yet effective. Watch your cooking soar as you master this simple, powerful kitchen hack. Learning how you whip egg whites in a blender transforms your approach and elevates your recipes every time.