How to Make Fried Bread in a Frying Pan in 10 Easy Steps
Choose slightly stale, sturdy bread like sourdough for the best results when making fried bread in a frying pan. Slice it about ¾ inch thick to ensure even cooking. Spread butter or oil evenly on both sides for a rich, crispy texture.
Heat your pan on medium with enough fat to coat the surface. Test readiness by flicking water droplets into the pan; they should sizzle immediately.
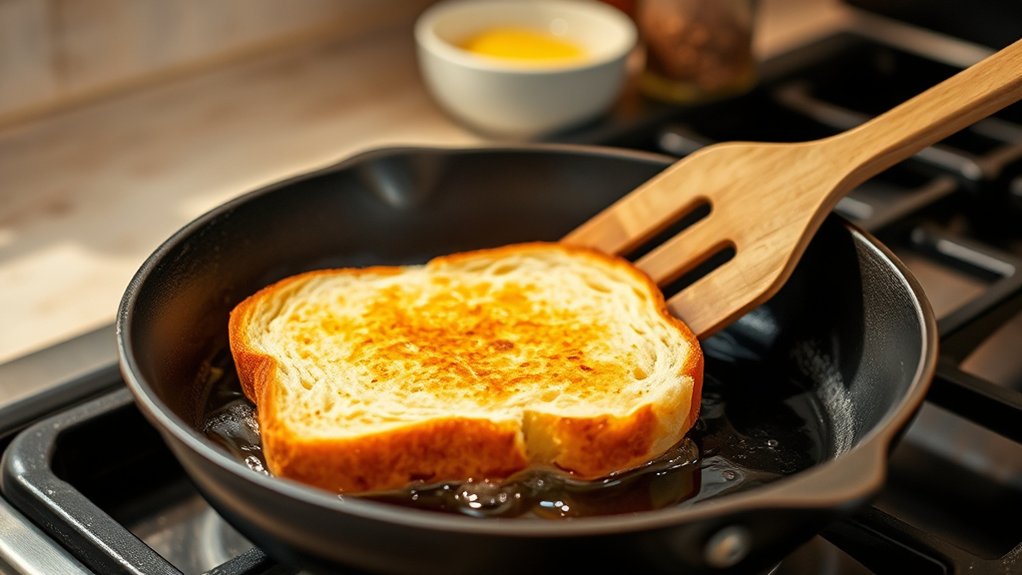
Fry the bread for 1-2 minutes per side until golden and crispy, flipping carefully to avoid breaking.
Once cooked, drain the fried bread on paper towels to remove excess oil. Season to taste with salt or your favorite spices.
Serve warm and enjoy. Follow these steps, and you’ll uncover tips for extra crispiness and tasty variations.
Key Takeaways
- Choose sturdy, slightly stale bread sliced about ¾ inch thick for better frying and crispiness.
- Heat a pan on medium with enough butter or oil until fat shimmers and water sizzles immediately.
- Fry bread slices undisturbed for 1-2 minutes per side until golden brown, flipping carefully for even cooking.
- Drain fried bread on paper towels or a wire rack to remove excess oil and prevent sogginess.
- Season immediately with salt or herbs, and serve warm with optional toppings like garlic butter or cheese.
Choose the Right Bread for Frying
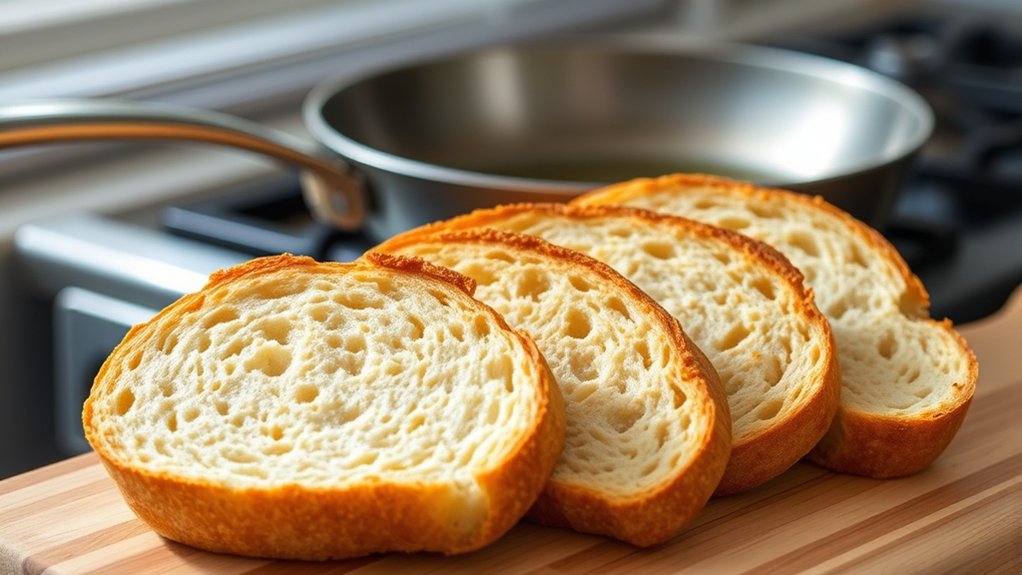
How do you pick the best bread for frying? You want a bread that holds up well in the pan without turning soggy or falling apart. Thick slices of sturdy bread like sourdough or a rustic country loaf work perfectly.
Their firm texture soaks up oil or butter without losing shape. Avoid super soft or thin sandwich bread—it tends to get mushy quickly. Day-old bread is actually better than fresh because it’s drier and won’t absorb too much fat.
If you want a richer flavor, choose a bread with a bit of density and a nice crust. This way, when you fry it, you get that satisfying crunch outside and a soft, warm inside. Picking the right bread sets you up for success before you even turn on the stove.
Gather Essential Ingredients and Tools for Fried Bread
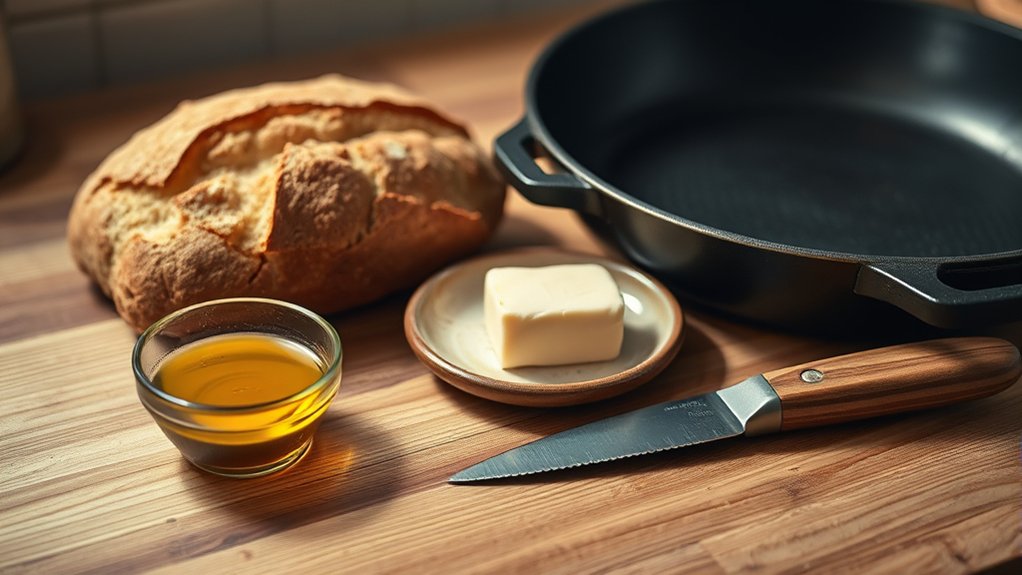
Once you’ve picked the perfect bread, it’s time to gather everything you’ll need to fry it up just right. Having the right ingredients and tools on hand makes the process smooth and enjoyable.
Here’s a quick list to get you started:
- Butter or oil – for that crispy, golden finish.
- A sturdy frying pan – non-stick works best to prevent sticking.
- A spatula – to flip your bread easily without breaking it.
- Paper towels – to drain excess oil after frying.
With these essentials ready, you’ll be set to create delicious fried bread that’s crispy on the outside and soft inside.
Next, you can move on to preparing your bread slices perfectly for frying!
How to Prepare Bread Slices for Frying
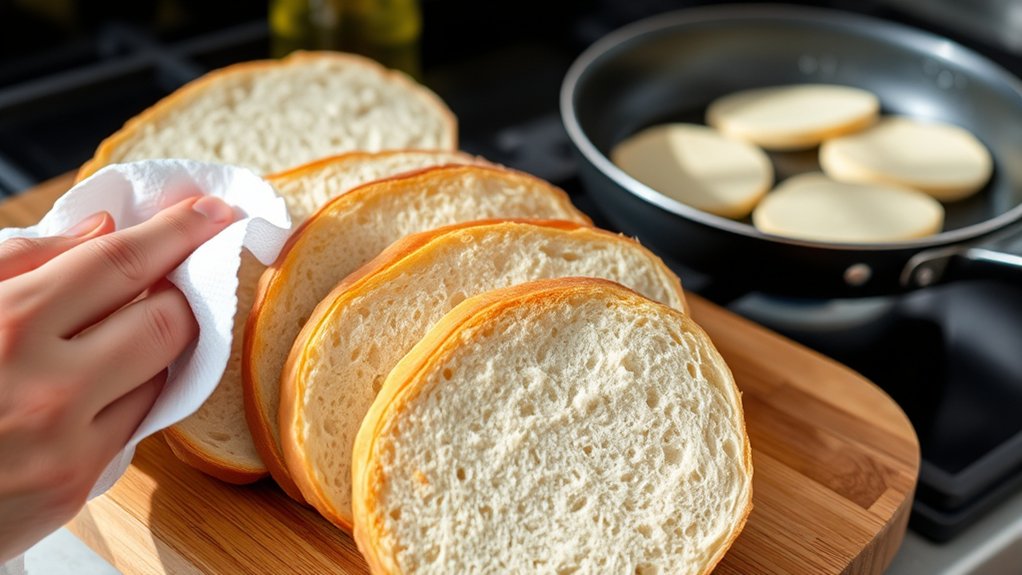
You’ll want to start by choosing the right type of bread that fries well. Next, slice the bread evenly to guarantee consistent cooking.
Finally, prep each slice properly to get that perfect crispy texture.
Choosing The Right Bread
What makes a perfect slice of bread for frying? You want bread that crisps up nicely without falling apart or soaking up too much oil. Here’s what to look for:
- Sturdiness – Choose bread with a firm texture like sourdough or a rustic country loaf to hold its shape.
- Thickness – Aim for slices about ¾ inch thick; too thin and they’ll burn, too thick and they won’t cook evenly.
- Freshness – Slightly stale bread works best since it absorbs less oil and crisps better.
- Crust – A good crust adds crunch and helps the bread keep its structure during frying.
Picking the right bread ensures your fried bread is crispy outside, soft inside, and perfectly golden every time.
Slicing Bread Evenly
How do you make sure each slice fries evenly and crisps up just right? The key is slicing your bread uniformly. Use a sharp bread knife and steady your loaf on a cutting board.
Aim for slices about ½ inch thick. Too thin, and they’ll burn quickly; too thick, and they’ll remain soggy inside.
Here’s a quick guide:
| Thickness | Outcome |
|---|---|
| ¼ inch | Burns easily, too crisp |
| ½ inch | Perfect balance of crisp and soft |
| 1 inch | Under-cooked inside |
Prepping Bread For Frying
Before frying, make sure to prepare your bread slices properly to achieve the best texture and flavor. Start by choosing the right bread—day-old or slightly stale bread works best because it holds up better during frying.
Next, lightly butter or oil each slice on both sides to create a golden, crispy crust. If you want extra flavor, sprinkle a pinch of salt, garlic powder, or herbs on the buttered surface. Finally, let the bread sit for a minute so the butter or oil absorbs slightly.
Here’s a quick checklist:
- Select slightly stale bread slices.
- Spread butter or oil evenly on both sides.
- Add your preferred seasoning.
- Let the slices rest for about a minute before frying.
Select the Best Cooking Fat and Heat Your Pan
You’ll want to pick a cooking fat that heats well and adds great flavor, like butter or oil.
Heat your pan to the right temperature—hot enough to sizzle but not burn—to get that perfect crisp.
Also, use enough fat to coat the bread evenly without soaking it.
Choosing Ideal Cooking Fats
Since the right cooking fat affects both flavor and texture, selecting one that suits your taste and cooking method is essential.
Here’s how to choose the ideal fat for frying your bread:
- Butter: Adds rich flavor and a golden crust but burns quickly, so watch your heat.
- Olive oil: Offers a fruity taste and higher smoke point, perfect for a slightly healthier option.
- Vegetable oil: Neutral flavor and high smoke point make it versatile and forgiving.
- Lard or bacon fat: Imparts savory depth and crispiness but is heavier and more distinct in taste.
Pick a fat that complements your bread and flavor preferences.
Once chosen, add enough to coat the pan evenly, ensuring your bread fries to perfection without sticking.
Optimal Pan Temperature Tips
Although choosing the right cooking fat is crucial, heating your pan to the ideal temperature guarantees your bread fries evenly and achieves that perfect golden crust. Start by placing your pan on medium heat and let it warm up for a few minutes. To test, sprinkle a few drops of water into the pan—if they sizzle and evaporate quickly, the pan is ready.
Too hot? The fat will smoke; too cool, and the bread will absorb oil and become soggy. Use fats with a high smoke point, like vegetable oil or clarified butter, to maintain steady heat. Once heated, add your fat and guarantee it coats the pan evenly before adding the bread.
This careful temperature control ensures crisp, golden results every time.
Fat Quantity Considerations
Once your pan reaches the right temperature and your fat is evenly spread, it’s time to consider how much fat you’ll need. The right amount ensures your bread fries evenly without soaking up too much oil or burning. Here’s how to decide:
- Thin Slice: Use just enough fat to lightly coat the pan, about 1-2 tablespoons.
- Thicker Bread: Increase to 2-3 tablespoons to create a crispy crust without sticking.
- Type of Fat: Butter needs less than oil because it browns quickly; vegetable oil requires a bit more.
- Pan Size: Larger pans need more fat for full coverage; smaller pans less.
Adjust quantity to avoid soggy or dry bread. Remember, a thin, even layer works best for that perfect golden crisp!
Check When Your Pan Is Ready for Frying
Before you start frying, make sure your pan is properly heated to achieve the perfect crispiness. To check, add a small drop of water to the pan. If it sizzles and evaporates immediately, your pan is hot enough.
Another way is to tilt the pan slightly; the fat should move smoothly and shimmer without smoking. If you see smoke, lower the heat to avoid burning the fat and bread. Avoid adding bread to a cold or overheated pan, as this affects texture and cooking time.
Fry the Bread: Step-by-Step Guide
Having your pan at the right temperature sets you up for success as you begin frying the bread. Now, follow these steps carefully:
- Place a slice of bread gently into the hot pan, ensuring it lies flat.
- Let it cook undisturbed for about 1-2 minutes, so the bottom becomes golden and crispy.
- Use a spatula to lift the edge slightly and check the color; it should be a warm, deep golden brown.
- Once the desired crispiness is achieved, you’re ready to flip or remove it, depending on your next step.
Flip and Cook the Other Side of the Fried Bread
While the first side crisps to perfection, you’ll want to carefully flip the bread to cook the other side evenly. Use a spatula to gently lift the edge and turn the slice over without breaking it. If the oil splatters, adjust the heat slightly to prevent burning.
Press down lightly on the bread with the spatula to guarantee full contact with the pan, promoting an even golden-brown crust. Keep an eye on the color and texture; the second side usually takes a bit less time to cook, so stay attentive. This careful flipping ensures both sides get that perfect balance of crispy exterior and soft interior, making your fried bread deliciously satisfying.
Drain Oil and Finish With Seasonings
Once your fried bread is golden and crispy, you’ll want to drain the excess oil to keep it from feeling greasy. Use a paper towel or wire rack to let the oil drip away efficiently.
Then, sprinkle your favorite seasonings to add the perfect finishing touch.
Proper Oil Draining Techniques
After frying your bread to a golden crisp, you’ll want to remove it from the oil quickly to prevent sogginess. Proper draining keeps your fried bread deliciously crisp. Here’s how to do it right:
- Use a slotted spatula or tongs to lift the bread out of the pan, letting excess oil drip back in.
- Place the fried bread on a plate lined with several layers of paper towels to absorb remaining oil.
- Avoid stacking pieces directly on top of each other, as this traps moisture.
- Let the bread rest for a minute or two on the paper towels before serving.
This method guarantees your fried bread stays crunchy without feeling greasy, giving you the perfect texture every time.
Best Seasoning Options
How should you season your fried bread to elevate its flavor? After draining the excess oil by placing the bread on a paper towel-lined plate, it’s time to add your finishing touches. Start with a sprinkle of sea salt to enhance the natural taste.
For a savory twist, try garlic powder or smoked paprika. If you like a bit of heat, chili flakes or a dash of cayenne pepper work wonders. Fresh herbs like chopped parsley or chives add brightness and color.
Don’t forget a light drizzle of olive oil or melted butter to help the seasonings stick and boost richness. Experiment with these options to find your perfect combo—seasoning your fried bread right turns simple slices into a delicious treat.
Tips for Extra Crispy Fried Bread
To achieve extra crispy fried bread, you’ll need to pay close attention to the oil temperature and the bread type. Start with sturdy bread like sourdough or a thick-cut white loaf, which holds up better during frying. Use enough oil to cover the pan’s surface evenly without drowning the bread.
Maintain the oil temperature around 350°F (175°C) to ensure the bread crisps quickly without absorbing excess oil.
- Pat the bread dry if it’s slightly stale or moist to prevent sogginess.
- Don’t overcrowd the pan; fry in batches for even heat distribution.
- Press gently on the bread with a spatula to increase contact with the pan.
- Flip only once to develop a golden crust on each side.
These tips help you get perfectly crispy fried bread every time.
Serving Suggestions and Flavor Variations
With perfectly crispy fried bread ready, you can explore a variety of ways to serve it and add exciting flavors. Try topping your fried bread with a spread of garlic butter or a sprinkle of grated cheese for a savory twist. For a sweet option, drizzle honey or jam over the top.
You can also serve it alongside eggs, bacon, or sautéed mushrooms for a hearty breakfast. Experiment with spices like smoked paprika or chili flakes in the oil before frying to give your bread a subtle kick. If you’re feeling adventurous, add fresh herbs like rosemary or thyme to the pan for an aromatic touch.
These simple variations let you customize fried bread to fit any meal or mood.
Frequently Asked Questions
Can I Use Gluten-Free Bread for Frying?
Yes, you can use gluten-free bread for frying. Just make sure it’s sturdy enough to hold up in the pan without falling apart.
You’ll get a delicious, crispy result if you fry it carefully and don’t overcrowd the pan.
How Long Can Fried Bread Be Stored Safely?
You can store fried bread safely for up to 2 days at room temperature in an airtight container.
If you want it longer, keep it in the fridge for about 3 to 4 days to maintain freshness and avoid spoilage.
Is Fried Bread Suitable for a Low-Fat Diet?
Fried bread isn’t the best choice for a low-fat diet since it absorbs oil during cooking.
You can try using a non-stick pan with minimal oil or baking instead to keep it lighter and healthier.
What Are Common Mistakes to Avoid When Frying Bread?
You’ll want to avoid using too much oil, overheating the pan, and overcrowding it.
Don’t forget to flip the bread gently and watch it closely to prevent burning.
These steps keep your fried bread crispy and tasty.
Can I Reheat Fried Bread Without Losing Crispiness?
You can keep fried bread crispy by reheating it in the oven or toaster oven; 72% of people find this method better than microwaving, which makes it soggy.
Avoid the microwave to maintain that perfect crunch.
Conclusion
Making fried bread is like planting a seed—you start with the right bread, nurture it with the perfect heat and fat, and watch it transform into a golden, crispy masterpiece. Just as a garden flourishes with care and attention, your fried bread will delight when you follow these simple steps.
So, get frying, savor the process, and enjoy the delicious rewards that come from your kitchen garden of flavors! By mastering how to make fried bread in a frying pan, you unlock the secret to a quick, tasty treat that’s perfect any time of day. Embrace the joy of cooking and let your fried bread become a staple in your recipe collection.