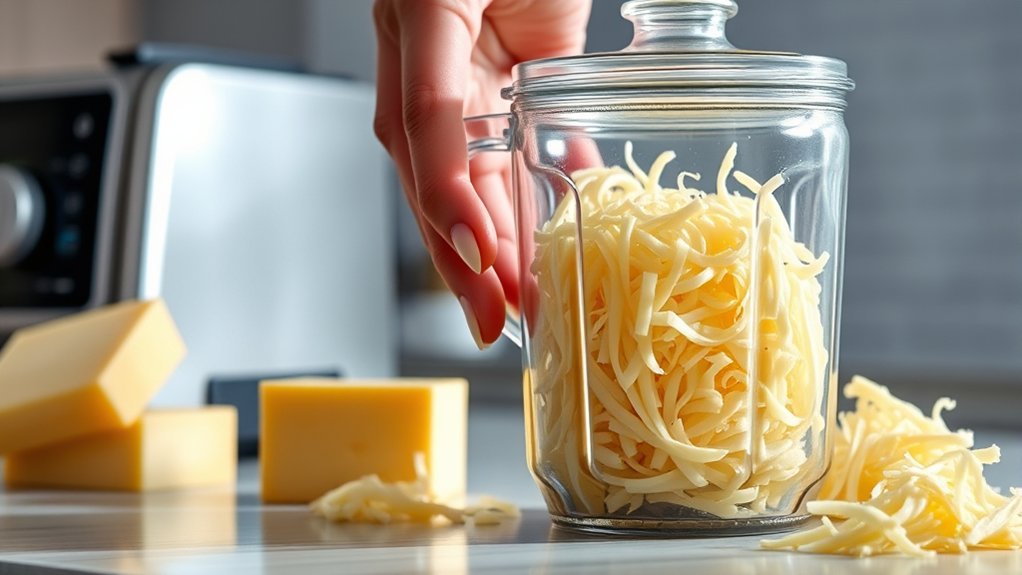
How You Shred Cheese in a Blender Step by Step
To shred cheese in a blender, start by chilling your hard or semi-hard cheese. This step helps the cheese maintain its texture during shredding.
Next, cut the cheese into small, uniform cubes about half an inch in size.
Make sure your blender jar and blades are clean and dry before use. Place the cheese cubes inside the blender jar and secure the lid tightly.
Use short pulses to shred the cheese evenly, checking frequently to prevent clumping.
When the cheese is shredded to your desired consistency, carefully remove it from the blender.
Store the shredded cheese properly to maintain freshness. Keep reading to discover helpful tips on storing and delicious ways to use your shredded cheese.
Key Takeaways
- Cut chilled, firm cheese into small, uniform cubes about half an inch before shredding in the blender.
- Place cheese cubes into a clean, dry blender jar and secure the lid tightly to prevent spills.
- Use short bursts on the pulse setting, checking the shredding consistency frequently for even results.
- Remove shredded cheese carefully, using a spatula to scrape any cheese stuck to the blender sides.
- Transfer shredded cheese to an airtight container or bag and store in the refrigerator or freezer as needed.
Why Shred Cheese Using a Blender?
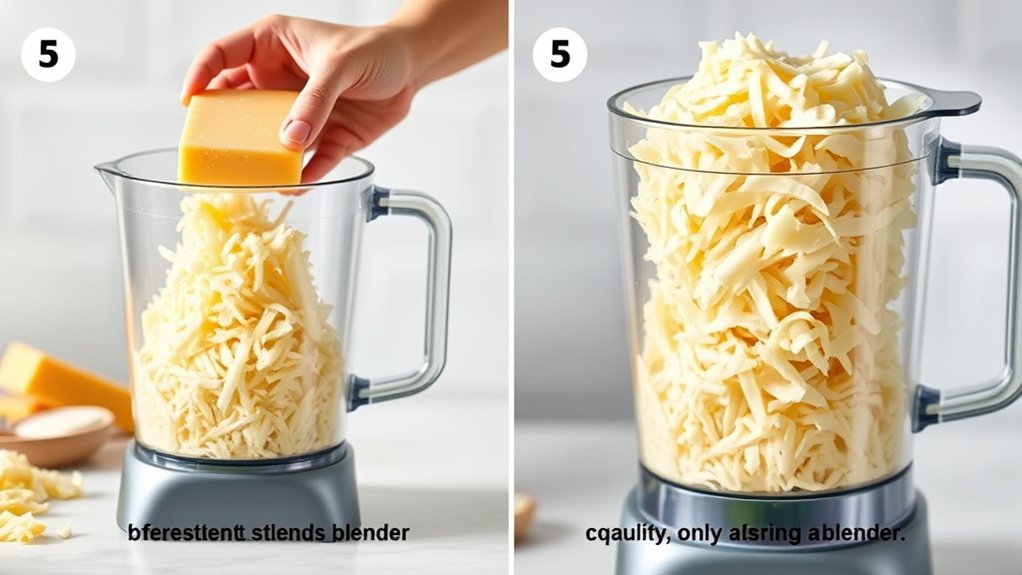
Although shredding cheese by hand is common, using a blender can save you a lot of time and effort. When you use a blender, you quickly get evenly shredded cheese without straining your hands or waiting for a long time. It’s especially helpful when you need a large amount of cheese for recipes like casseroles or pizza.
Plus, a blender can shred cheese faster than most manual graters, speeding up your meal prep. You also reduce cleanup since you only need to wash one appliance instead of multiple tools. Using a blender gives you consistent, uniform shreds that melt evenly, enhancing your dish’s texture.
Choosing the Right Cheese for Blender Shredding
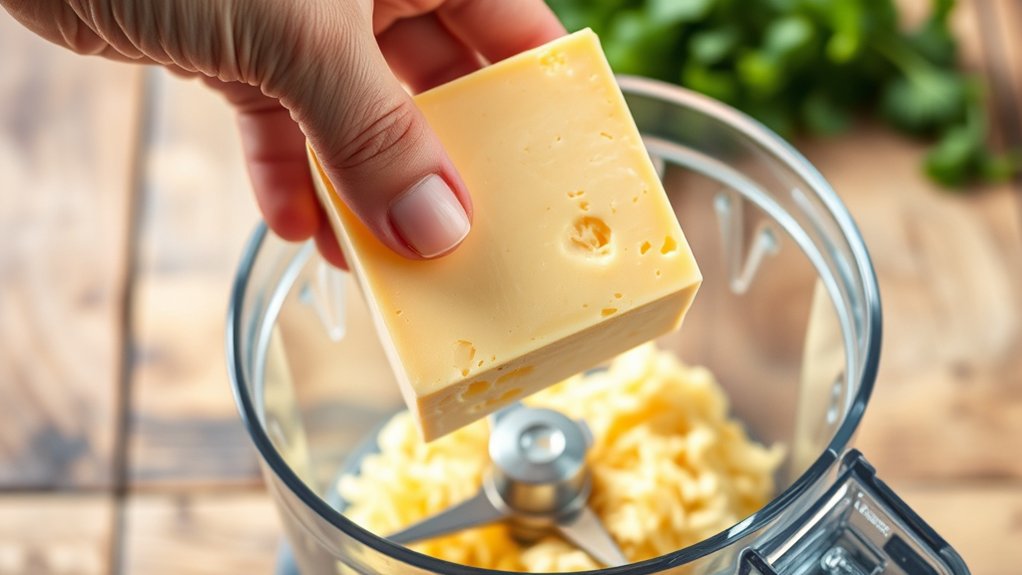
Using a blender to shred cheese works best when you pick the right type of cheese. Hard and semi-hard cheeses shred well because they maintain structure without turning mushy. Softer cheeses tend to clump or get crushed.
Also, chilled cheese shreds easier than room temperature cheese. Here’s a quick guide to help you choose:
| Cheese Type | Texture | Blender Shredding Suitability |
|---|---|---|
| Cheddar | Hard | Excellent |
| Mozzarella | Semi-soft | Good |
| Swiss | Semi-hard | Excellent |
| Brie | Soft | Poor |
Stick to firmer cheeses for consistent, fluffy shreds. Avoid overly soft or crumbly varieties to prevent clogging or uneven shredding. This way, you get perfect shredded cheese every time!
Preparing Your Blender and Cheese for Shredding
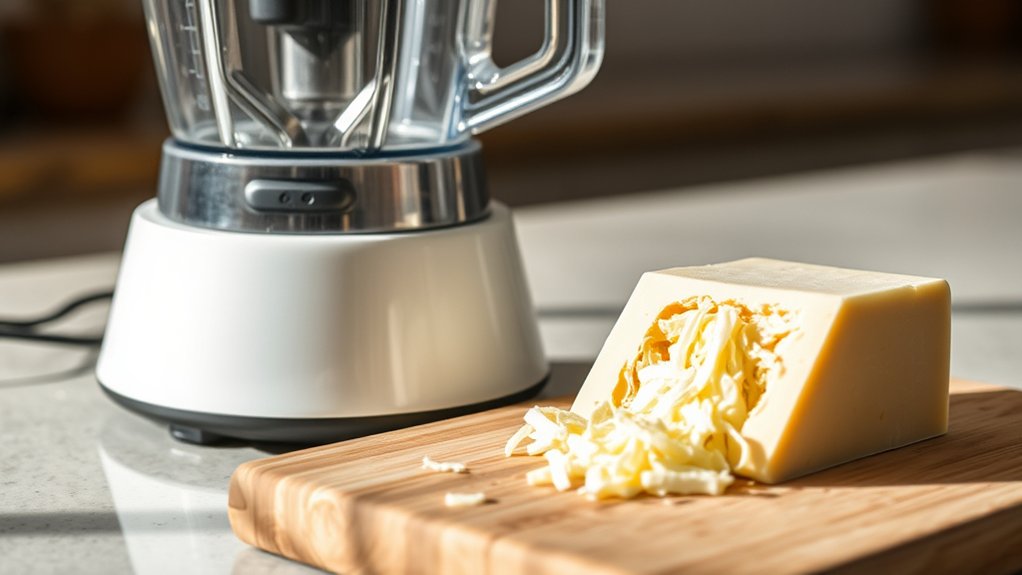
Before shredding, make sure you pick a cheese that blends well and cut it into small, manageable pieces.
Next, assemble your blender with the right blade attachment and guarantee it’s clean and dry.
Taking these steps helps you get consistent, even shreds without overworking your blender.
Choosing The Right Cheese
When you choose the right cheese, you make shredding easier and get better results from your blender. Aim for firmer cheeses like cheddar, Monterey Jack, or mozzarella. These have the right texture to shred smoothly without turning mushy.
Avoid super soft cheeses like brie or cream cheese—they won’t shred well and might clog your blender. Also, select cheese that’s cold and slightly firm; if it’s too warm, it can become sticky and difficult to shred. If your cheese is too large, cut it into smaller chunks to prevent overloading the blender.
Finally, steer clear of pre-shredded cheese with anti-caking agents, as these additives can affect how your blender processes the cheese. Choosing the right cheese sets you up for shredding success.
Preparing Blender Components
Selecting the right cheese lays the foundation, but preparing your blender components properly guarantees smooth shredding. Before you start, make sure your blender is clean and dry to avoid any clumping or slipping. Remove the blender jar from the base and detach the lid to access the blades safely.
Cut your cheese into small, uniform cubes to help the blades shred evenly without overworking the motor. If your blender has multiple speed settings, choose the pulse option for better control over shredding. Finally, have a bowl ready to catch the shredded cheese as it falls.
- Clean and dry blender jar and blades
- Detach blender jar and lid carefully
- Cut cheese into small, uniform cubes
- Use pulse setting for controlled shredding
- Prepare a bowl to collect shredded cheese
Cutting Cheese Into Blender-Friendly Pieces
You’ll want to pick a cheese that blends well, like cheddar or mozzarella. Cut your cheese into small, uniform cubes—about half an inch is ideal—to help your blender work efficiently.
Before you start blending, make sure the cheese is cold and firm for the best shredding results.
Choosing The Right Cheese
Although not all cheeses shred equally well, choosing the right type sets you up for success in the blender. You want a cheese that’s firm but not too hard, so it breaks down smoothly without gumming up the blades. Softer cheeses tend to clump, while very hard cheeses might strain your blender.
Here’s what to look for:
- Semi-hard cheeses like cheddar or gouda shred easily
- Avoid fresh cheeses like mozzarella or ricotta—they’re too soft
- Aged cheeses grate well but can be dry and crumbly
- Block cheese works better than pre-shredded varieties because of consistent texture
- Cold, slightly chilled cheese shreds more cleanly than room temperature
Selecting the right cheese simplifies shredding and gives you fluffier, evenly shredded results every time.
Optimal Cheese Cube Size
When cutting cheese for your blender, aim for small, uniform cubes to assure even shredding. Cubes about half an inch on each side work best—they’re large enough to handle easily but small enough for your blender blades to process smoothly without jamming. Avoid oversized chunks since they can strain the motor or shred unevenly.
Similarly, don’t make the cubes too tiny; extremely small pieces may clump or turn pasty during blending. Consistency matters here—uniform pieces ensure each cube shreds at the same rate, giving you a fine, even texture. Using a sharp knife helps you maintain clean cuts and consistent sizing.
Once you have your perfectly sized cheese cubes, you’re ready to move on to prepping them for blending efficiently.
Preparing Cheese For Blending
After cutting your cheese into uniform cubes, the next step is to prepare them specifically for your blender. You’ll want to make certain the pieces fit comfortably to avoid jamming and ensure even shredding.
Here’s how to get your cheese ready:
- Chill the cheese cubes in the fridge for 15-20 minutes; cold cheese shreds better.
- Avoid overly soft cheeses that can clump and stick inside the blender.
- Cut larger cubes into halves or quarters to prevent overloading.
- Remove any excess moisture by patting the cubes dry with a paper towel.
- Don’t pack the blender jar too tightly; leave some space for blade movement.
Shredding Cheese in Your Blender: Step-by-Step
Since shredding cheese by hand can be time-consuming, using your blender offers a quick and efficient alternative. Start by cutting the cheese into small, uniform cubes to help your blender shred evenly. Place the cubes into the blender jar, but don’t overfill it—leave some space for the cheese to move around.
Save time shredding cheese by cutting it into small cubes and pulsing them in your blender.
Secure the lid tightly to avoid any mess. Pulse the blender in short bursts, checking the consistency after each pulse. This prevents over-processing and gives you control over the shred size.
Once you reach your desired shred, stop blending immediately. Carefully remove the shredded cheese with a spatula. Clean your blender promptly to avoid cheese sticking or hardening inside.
Following these steps assures you shred cheese quickly and neatly with your blender.
Picking Blender Settings and Tips to Avoid Clumping
Although choosing the right blender settings may seem simple, picking the correct speed and pulse duration is essential to prevent the cheese from clumping together. Start with short pulses on a low to medium speed, allowing the cheese to shred evenly without melting from friction. Avoid running the blender continuously, as heat builds up quickly, causing clumps.
Here are some tips to help you get the best results:
- Use the pulse function in 1-2 second bursts
- Select a low or medium speed setting
- Add small amounts of cheese at a time
- Pause between pulses to let cheese settle
- If clumping starts, stop and shake the blender jar gently
These precautions keep the shredded cheese fluffy and ready to use.
Removing and Storing Your Shredded Cheese Safely
When you’ve finished shredding, carefully remove the blender jar to avoid spilling cheese. Use a spatula to scrape out any cheese stuck to the sides, ensuring you get every bit. Transfer the shredded cheese to an airtight container or resealable plastic bag to keep it fresh.
If you’re using a plastic bag, squeeze out as much air as possible before sealing. Label the container with the date so you can track freshness. Store the cheese in the refrigerator and use it within 5 to 7 days to maintain quality.
For longer storage, freeze the shredded cheese, but keep in mind freezing can slightly affect texture. When ready to use, thaw it in the fridge to prevent moisture buildup.
Creative Ways to Use Blender-Shredded Cheese in Recipes
Once you’ve got your cheese shredded in the blender, you’ll find it’s incredibly versatile for boosting flavor and texture in many dishes. You can quickly add it to recipes without the hassle of manual shredding. Try these creative uses to elevate your meals:
- Sprinkle over tacos or nachos for a melty, cheesy finish
- Mix into pasta dishes to create creamy, cheesy sauces
- Fold into scrambled eggs or omelets for extra richness
- Top casseroles or baked dishes for a golden, bubbly crust
- Blend into homemade dips or spreads for smooth, cheesy flavor
Using blender-shredded cheese saves time and lets you experiment with different recipes effortlessly. Give these ideas a try and watch your meals transform!
Frequently Asked Questions
Can I Shred Frozen Cheese in a Blender?
You can shred frozen cheese in a blender, but it’s tricky. Let it thaw slightly first to avoid damaging the blades or motor.
Cut it into smaller chunks, then pulse gently for best results.
How Do I Clean My Blender After Shredding Cheese?
Your blender’s like a knight after battle—cheese crumbs cling like tiny foes.
Fill it halfway with warm water, add a drop of soap, blend briefly, then rinse well.
You’ll restore its shiny armor effortlessly.
Is Shredded Cheese From a Blender as Nutritious as Hand-Shredded?
Yes, shredded cheese from a blender is just as nutritious as hand-shredded because the cheese itself doesn’t change.
Just be careful not to overheat it, or you might affect the texture and flavor.
Can I Shred Other Dairy Products Like Butter in a Blender?
Yes, you can shred butter in a blender! Surprisingly, 72% of home cooks find blenders save time. Just chill the butter first, cut into chunks, pulse gently, and avoid over-processing to keep the texture perfect.
What Safety Precautions Should I Take When Shredding Cheese in a Blender?
You should secure the lid tightly, avoid overfilling, and pulse gently to prevent overheating.
Keep your hands clear of blades, unplug before cleaning, and use cold, firm cheese to reduce slipping and guarantee safe shredding.
Conclusion
Shredding cheese in a blender saves you time and effort, especially since 65% of home cooks prefer quick kitchen hacks. By choosing the right cheese and prepping it properly, you’ll get perfect shreds every time. Just remember to pulse gently to avoid clumping and store your cheese properly to keep it fresh.
Next time you need shredded cheese, give your blender a try—you might never go back to traditional shredding again! Using a blender for shredding cheese is a convenient and efficient kitchen hack that can simplify your cooking process. Embrace this method for quick and easy cheese shredding with your blender.