How to Cook Hamburgers in Ninja Foodi Grill XL in 10 Easy Steps
To cook juicy hamburgers in your Ninja Foodi Grill XL, start by choosing ground beef with 15-20% fat for optimal flavor and moisture.
Gently shape the patties with a thumb indent to prevent bulging during grilling.
Preheat the grill to 400°F to ensure a perfect sear and even cooking.
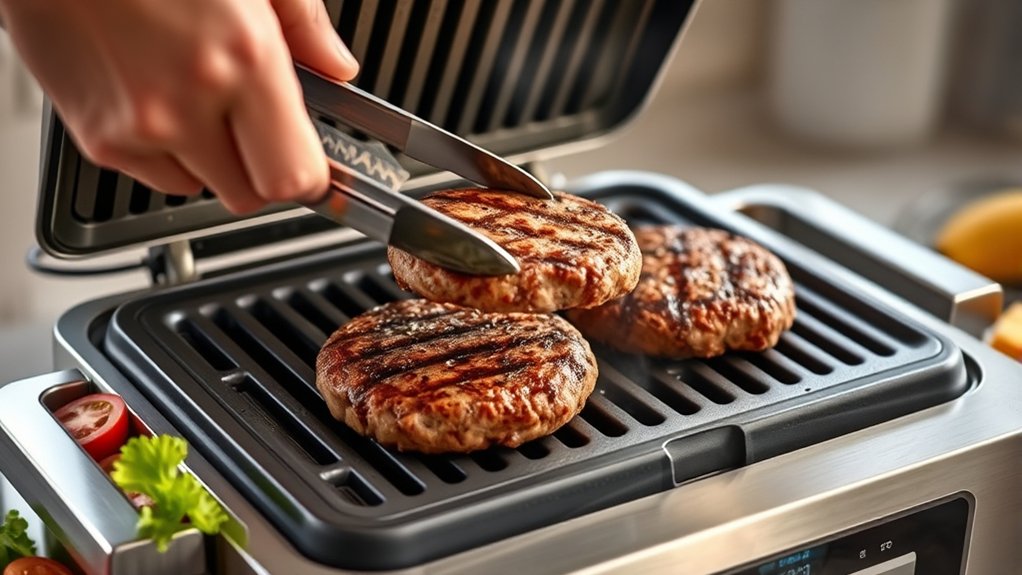
Arrange the patties spaced evenly on the grill, then cook until they reach your preferred doneness.
Add cheese near the end of grilling to melt it beautifully.
Toast your buns at 375°F for a warm, crispy texture.
Finally, assemble your burgers with fresh toppings and condiments for delicious flavor.
Don’t forget to clean the grill after cooking for the best results.
Keep going to discover tips and flavor twists.
Key Takeaways
- Preheat the Ninja Foodi Grill XL to 400°F and wait for the indicator light before placing patties on the grill.
- Shape 6 oz beef patties gently with a thumb indent to prevent bulging and season generously with salt and pepper.
- Arrange patties evenly on the grill, avoiding crowding, and cook until the desired internal temperature, flipping halfway.
- Add cheese slices during the last minute of grilling and close the lid to melt evenly.
- Toast buns at 375°F using the “Air Crisp” function for 2-3 minutes, then assemble burgers with fresh toppings and condiments.
Choose the Best Ground Beef for Juicy Hamburgers
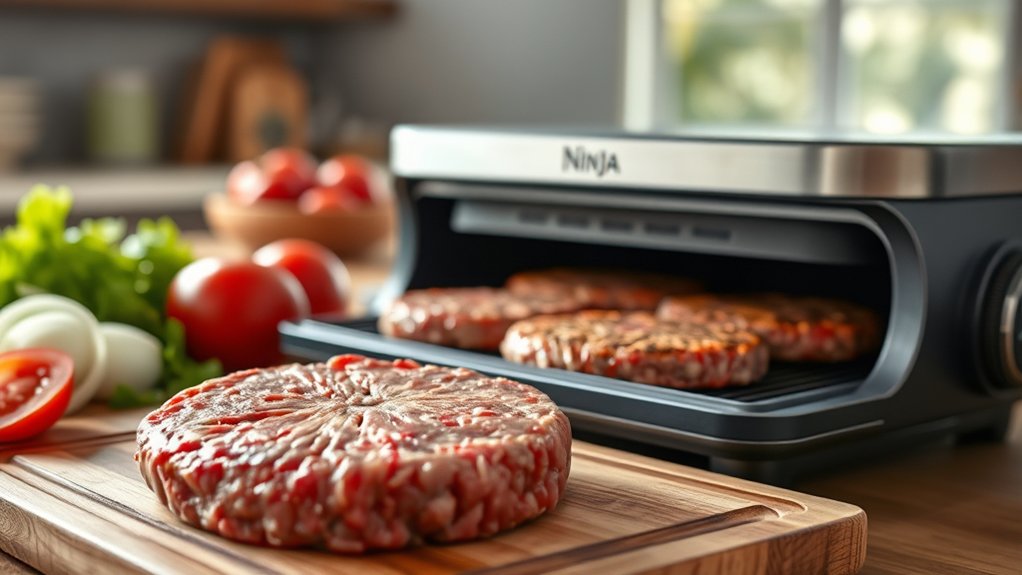
To make juicy hamburgers, start by choosing the right ground beef. You want beef with a fat content between 15% and 20% because the fat helps keep the patties moist and flavorful as they cook. Leaner beef dries out quickly, while too much fat can cause flare-ups on your Ninja Foodi Grill XL.
Look for ground chuck, which typically has the perfect balance of meat and fat. Freshly ground beef is best, so try to buy it from a butcher or grind your own if possible. Avoid pre-seasoned or pre-formed patties at this stage; you’ll handle seasoning and shaping later.
Shape and Season Burger Patties for Perfect Flavor
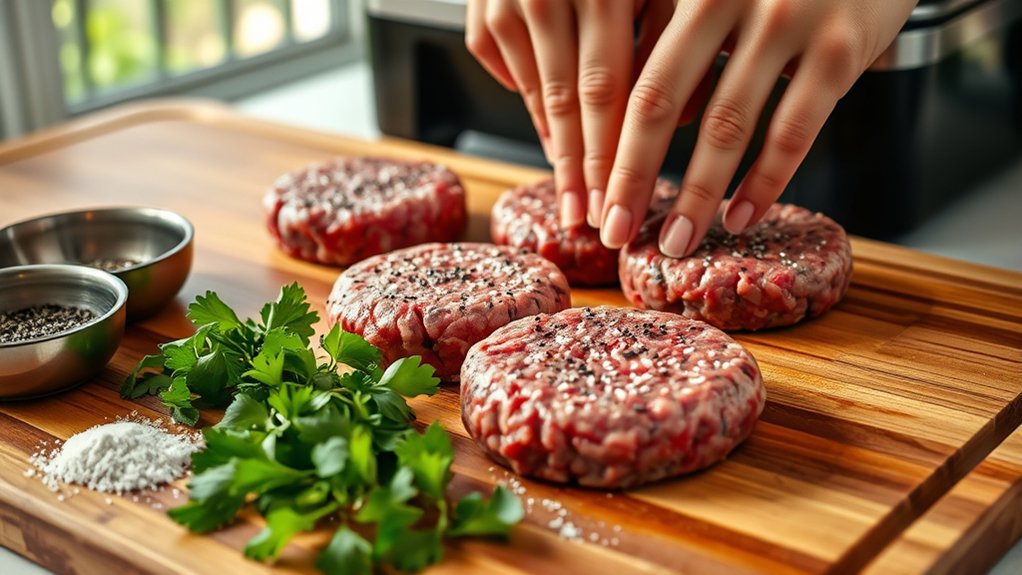
Once you’ve selected the right ground beef, the next step is shaping and seasoning your patties to lock in flavor. Divide the meat into equal portions—about 6 ounces each works well—and gently form them into round, flat discs roughly ¾ inch thick. Avoid overworking the meat to keep your burgers tender.
Press a small indentation in the center of each patty with your thumb; this prevents puffing during cooking. Season both sides generously with salt and freshly ground black pepper. You can also add garlic powder, onion powder, or smoked paprika for extra depth.
Seasoning right before cooking ensures the flavors stay fresh and the patties don’t become dry. With properly shaped and seasoned patties, you’re ready to get the most flavorful, juicy burgers from your Ninja Foodi Grill XL.
Preheat Your Ninja Foodi Grill XL and Set the Temperature
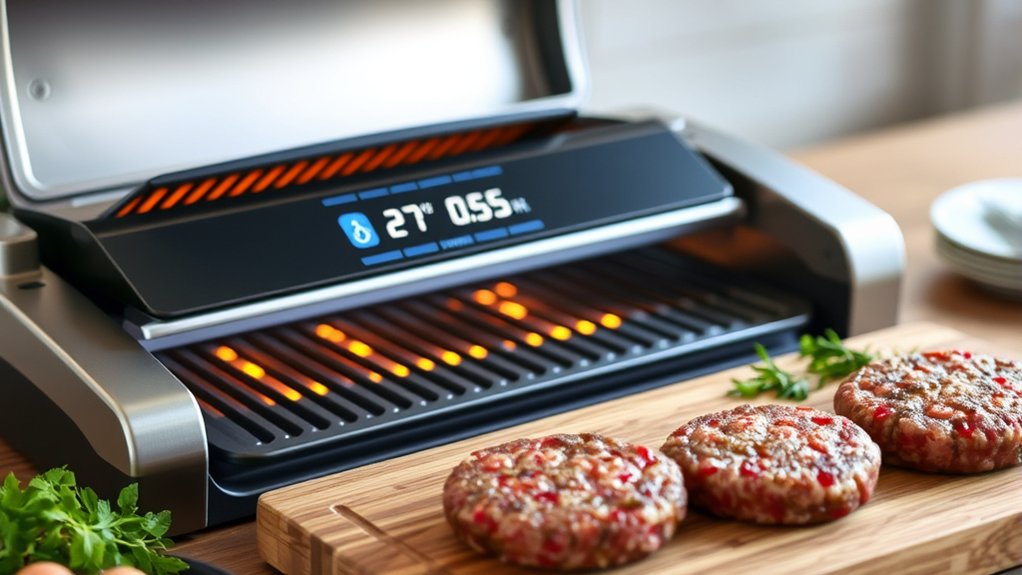
Although shaping and seasoning your patties are crucial steps, you’ll need to preheat your Ninja Foodi Grill XL to guarantee even cooking and that perfect sear. Start by plugging in your grill and closing the lid. Press the “Grill” function, then use the temperature controls to set it to 400°F.
This temperature is ideal for cooking juicy burgers with a nicely browned crust. Give the grill about 5 minutes to reach the set temperature; the indicator light will notify you when it’s ready. Preheating ensures the grill plates are hot enough to sear the patties immediately, locking in moisture and flavor.
Avoid skipping this step—it’s essential for achieving a restaurant-quality burger every time with your Ninja Foodi Grill XL.
Arrange Burger Patties for Even Cooking on the Grill
When you place the burger patties on the grill, make sure to leave enough space between each one so the heat circulates evenly. Crowding the grill traps steam, which prevents a proper sear and can lead to uneven cooking. Arrange the patties in a single layer, avoiding overlap or stacking.
Position thicker patties toward the grill’s center where heat is most consistent, and thinner ones near the edges to prevent overcooking. Also, avoid placing patties too close to the grill’s hinges or vents, as these areas can have temperature fluctuations. By spacing the patties thoughtfully, you’ll promote even heat distribution, resulting in well-cooked burgers with a nice crust.
Proper arrangement sets you up for perfectly cooked burgers every time.
Grill Burgers to Your Preferred Doneness
After arranging your burger patties for even cooking, it’s time to focus on grilling them to your preferred doneness. Close the Ninja Foodi Grill XL lid and cook the burgers, checking the internal temperature with a meat thermometer for accuracy. For rare, aim for 120-125°F; medium-rare, 130-135°F; medium, 140-145°F; medium-well, 150-155°F; and well-done, 160°F or higher.
Flip the patties halfway through cooking to ensure even heat distribution and grill marks on both sides. Avoid pressing down on the patties, as this squeezes out juices and dries them out. Remember, carryover cooking will raise the temperature slightly after removing the burgers from the grill, so consider pulling them off just before they reach your target temperature.
Add Cheese and Melt It on the Ninja Foodi Grill XL
If you want perfectly melted cheese on your burgers, add the slices during the last minute of grilling. Simply place your favorite cheese slice on each patty and close the lid to trap the heat, allowing the cheese to soften and melt evenly. Different cheese types melt at varying rates, so keep this in mind.
| Cheese Type | Melting Time | Flavor Profile |
|---|---|---|
| Cheddar | 45 seconds | Sharp, tangy |
| American | 30 seconds | Creamy, mild |
| Swiss | 60 seconds | Nutty, slightly sweet |
Adding cheese at this stage guarantees it doesn’t overcook or dry out. Once melted, serve immediately for the best taste and texture.
Toast Burger Buns in the Ninja Foodi Grill XL
Though the burgers are nearly ready, you shouldn’t skip toasting the buns in your Ninja Foodi Grill XL. Toasting adds a delightful crunch and warmth that enhances every bite. Simply slice your buns in half and place them cut-side down on the grill plates.
Set the grill to the “Air Crisp” function at 375°F, and toast the buns for about 2-3 minutes. Keep a close eye to prevent burning, as buns can toast quickly. This step seals the buns, helping them resist sogginess from burger juices and condiments later on.
Once toasted, carefully remove the buns using tongs or a spatula. Now, your buns are perfectly crisped, ready to hold your juicy, melted-cheese-topped burgers with an ideal texture and flavor contrast.
Assemble Your Burgers With Toppings and Condiments
Now that your buns are toasted, it’s time to pick fresh toppings that add crunch and flavor. Don’t forget to choose popular condiments like ketchup, mustard, or mayo to complement your burger.
Layer your ingredients thoughtfully to balance taste and texture in every bite.
Choosing Fresh Burger Toppings
What makes a burger truly memorable? It’s the fresh toppings that add texture, flavor, and a burst of color. When choosing your burger toppings, pick crisp lettuce, juicy tomato slices, and thinly sliced onions to balance the richness of the meat.
Fresh pickles add a tangy crunch, while ripe avocado can introduce a creamy element. Don’t forget to wash and dry your veggies thoroughly to keep your burger from becoming soggy. You want each bite to have a perfect mix of flavors and textures.
Also, consider adding fresh jalapeños or sautéed mushrooms for a bit of an extra kick. By selecting fresh, high-quality toppings, you’ll elevate your homemade burgers to a whole new level.
Popular Condiment Options
When you assemble your burgers, choosing the right condiments can make all the difference in flavor balance. Classic options like ketchup and mustard add tang and sweetness, while mayo brings a creamy richness that complements juicy patties.
If you want a little kick, try spicy sriracha or chipotle mayo for smoky heat. For a tangy zest, barbecue sauce or honey mustard works great. Don’t overlook simple additions like pickles or relish—they add crunch and acidity.
You can also experiment with specialty sauces like garlic aioli or blue cheese dressing to elevate your burger experience. Keep your condiments close by and taste as you go to find the perfect combo that suits your preferences.
Layering Tips For Flavor
Choosing the right condiments sets the stage, but how you layer them with your toppings can transform your burger into a flavor-packed masterpiece. Start by spreading sauces evenly on both buns to prevent sogginess and add moisture throughout.
Next, place leafy greens directly on the bottom bun to create a barrier that keeps the bun from getting wet. Add your patty on top, then layer cheeses and other hot toppings so they melt into the meat.
Finally, pile on fresh veggies like tomatoes and pickles for a crisp contrast.
Here’s a quick layering tip list:
- Spread condiments on both buns
- Place lettuce on the bottom bun
- Add the hot patty and melted cheese next
- Top with fresh vegetables
- Finish with pickles or onions for crunch
This method guarantees every bite bursts with balanced flavor and texture.
Clean Your Ninja Foodi Grill XL After Cooking
You’ll want to start by cleaning the grill grates to remove any leftover grease and food bits. Next, wipe down the exterior surfaces to keep your Ninja Foodi Grill XL looking fresh.
Taking these simple steps right after cooking makes cleanup easier and extends the life of your grill.
Cleaning The Grill Grates
Although the grill grates may seem sturdy, cleaning them promptly after cooking prevents residue buildup and guarantees your Ninja Foodi Grill XL works efficiently every time. Here’s how to clean the grill grates effectively:
- Allow the grates to cool slightly but stay warm for easier residue removal.
- Use a grill brush or non-abrasive scrubber to scrape off food particles.
- Soak the grates in warm, soapy water for 10-15 minutes if stubborn bits remain.
- Rinse thoroughly with clean water to remove soap and loosened debris.
- Dry completely with a clean towel to prevent rust and maintain the non-stick surface.
Wiping Down Exterior Surfaces
Once the grill grates are clean and dry, it’s important to wipe down the exterior surfaces of your Ninja Foodi Grill XL to keep it looking great and functioning well. Start by unplugging the appliance and letting it cool completely. Use a soft, damp cloth with a mild dish soap solution to gently clean the outside.
Avoid harsh chemicals or abrasive sponges, as they can damage the finish. Pay special attention to buttons, handles, and vents, where grease and food splatters tend to accumulate. After wiping, use a dry cloth to remove any moisture.
Regularly cleaning the exterior prevents buildup that could affect performance or cause odors. Taking these simple steps ensures your grill stays in top shape for many delicious burgers to come.
Experiment With Flavor Variations on Your Ninja Foodi Grill XL
When you use your Ninja Foodi Grill XL, experimenting with different seasonings and marinades can transform a basic hamburger into a flavorful masterpiece. Don’t be afraid to mix and match spices or add unique toppings to elevate your burger game.
Here are some ideas to get you started:
- Use a smoky barbecue rub for a rich, savory taste.
- Marinate patties in soy sauce, garlic, and ginger for an Asian twist.
- Add chopped fresh herbs like cilantro or basil into the meat mixture.
- Experiment with spicy blends including cayenne, paprika, and chili powder.
- Top your burgers with unexpected ingredients like grilled pineapple or avocado slices.
Try these variations to personalize your burgers and make every meal exciting on your Ninja Foodi Grill XL.
Frequently Asked Questions
Can I Cook Frozen Burger Patties in the Ninja Foodi Grill XL?
Yes, you can cook frozen burger patties in the Ninja Foodi Grill XL. Just preheat the grill, place the frozen patties on it, and cook longer than fresh patties.
Flip halfway for even cooking and juicy results.
How Long Does It Take to Preheat the Ninja Foodi Grill XL?
It takes about 5 minutes to preheat the Ninja Foodi Grill XL. You’ll know it’s ready when the temperature reaches your set level, and the grill’s indicator light usually signals it’s preheated.
Is It Safe to Use Non-Stick Spray on the Grill Grates?
Don’t beat around the bush—yes, you can use non-stick spray on the grill grates, but spray it before heating. This prevents sticking and keeps your food juicy without damaging the non-stick coating or causing flare-ups.
Can I Use the Ninja Foodi Grill XL for Other Meats Besides Beef?
Yes, you can use the Ninja Foodi Grill XL for other meats like chicken, pork, and fish. It’s versatile, cooks evenly, and locks in juices, making it perfect for grilling a variety of proteins with great flavor.
Does the Ninja Foodi Grill XL Come With a Recipe Book?
Think of the Ninja Foodi Grill XL as a treasure chest—it doesn’t come with a recipe book, but you’ll find plenty of recipes online. You’ll easily discover new ideas to make your cooking adventure exciting and delicious.
Conclusion
Now that you’ve mastered grilling juicy hamburgers in your Ninja Foodi Grill XL, you’re ready to impress like a 1950s diner pro with a futuristic twist. Just follow these steps, and you’ll have perfectly cooked patties every time—no smoke signals needed.
Keep experimenting with flavors, and don’t forget to clean up afterward. Your Ninja Foodi Grill XL will thank you, and your taste buds will too. Happy grilling, and enjoy every bite of your delicious hamburgers!