How to Install a Burner on a Gas Grill in 7 Easy Steps
To install a burner on your gas grill, start by gathering all the necessary tools and turning off the gas supply completely to ensure safety.
Proper burner installation is essential for your grill’s performance and longevity.
Next, remove the grill grates and carefully take out the old burner. Clean the burner housing thoroughly and inspect for any blockages or damage that could affect operation.
Slide the new burner into place and secure it firmly.
Reassemble the grill, reconnect the gas line, and test for leaks and proper flame.
Following these steps guarantees a safe, efficient replacement—there’s more to help you get it just right.
Key Takeaways
- Turn off the gas supply, disconnect the gas line, and move the grill to a well-ventilated area before starting installation.
- Remove grill grates, old burner, flame tamers, and clean the burner housing and venturi tubes thoroughly.
- Inspect the igniter, wiring, mounting brackets, and screws, replacing any damaged or corroded parts.
- Position and secure the new burner, reconnect the gas hose tightly, and reassemble heat shields and cooking grates.
- Perform a leak test, light the burner, check for an even blue flame, and adjust for optimal performance before use.
Gather the Tools and Replacement Parts
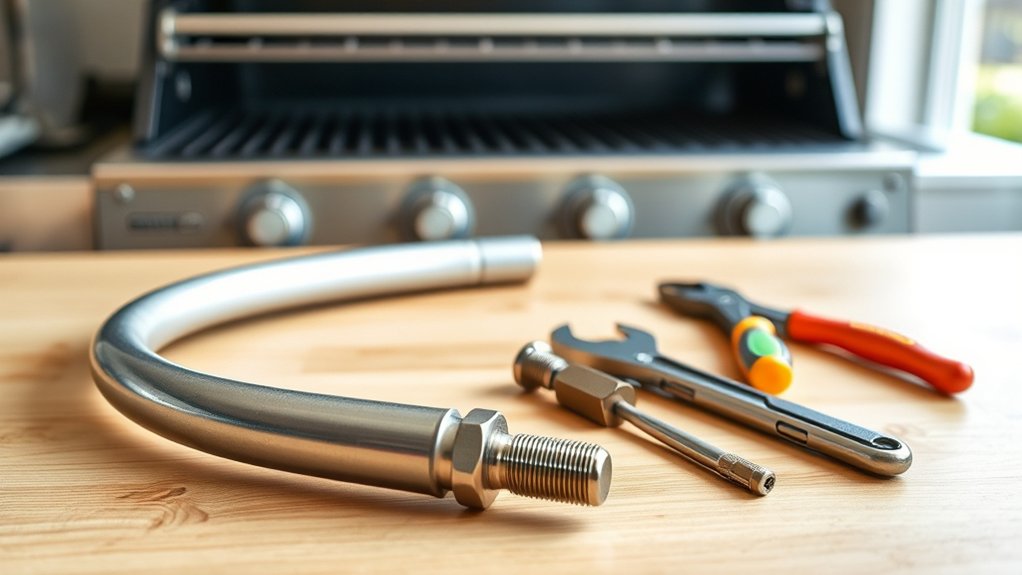
Before you begin installing the burner, make sure you gather all the necessary tools and replacement parts. You’ll need a screwdriver, adjustable wrench, and possibly a socket set, depending on your grill model. Have a new burner that matches your grill’s make and model to guarantee proper fit and function.
Don’t forget to grab a wire brush to clean areas around the burner, helping the new part seat correctly. It’s also a good idea to have some soapy water ready for leak testing later. Double-check your grill’s manual for any specific tools or parts required.
Getting everything organized beforehand saves you time and prevents interruptions during installation. Once you have everything, you’re set to move on with confidence.
Turn Off the Gas Supply and Disconnect the Grill
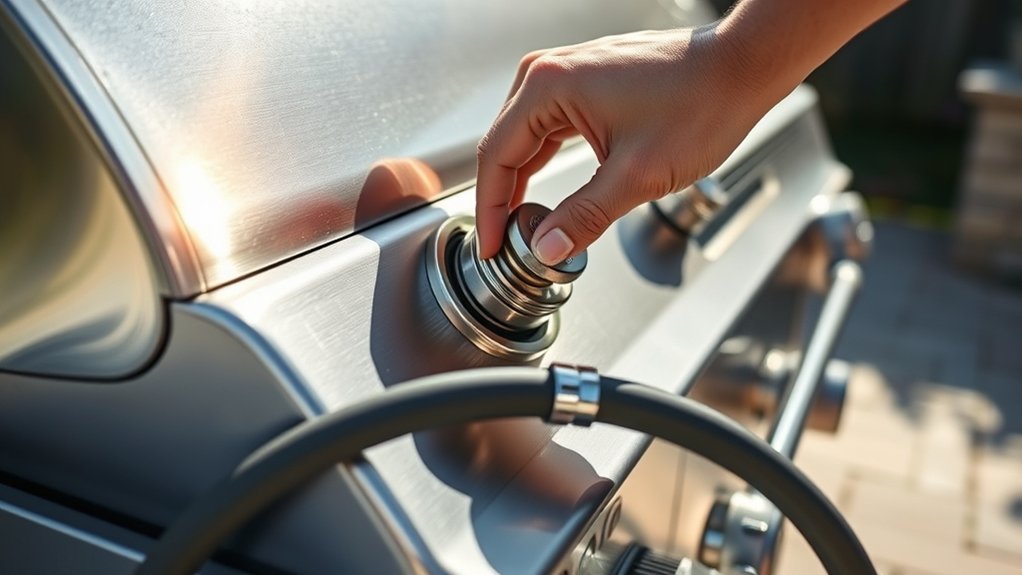
First, find the gas valve and turn it off to stop the fuel flow. Next, carefully disconnect the gas line from the grill, making sure not to damage any connections.
Taking these steps guarantees your safety before you start working on the burner.
Locate Gas Valve
How do you guarantee safety when working with your gas grill? First, you need to locate the gas valve, which controls the flow of gas to your grill. Usually, it’s found near the propane tank or where the gas line connects to the grill.
It often has a knob or lever that you can turn to shut off the gas supply. Before starting any work, make sure this valve is fully closed to prevent gas leaks. If you have a natural gas grill, trace the gas line back to the main supply valve, typically located near the house’s meter or shutoff point.
Knowing exactly where the gas valve is ensures you can quickly and safely stop gas flow whenever necessary during maintenance or burner installation.
Safely Detach Connections
Once you’ve turned off the gas supply at the valve, carefully disconnect the grill from the gas source to avoid any leaks or accidents. First, verify the grill knobs are in the off position. Then, use a wrench to loosen the connection between the gas hose and the grill’s regulator.
Turn the fitting counterclockwise until it detaches completely. Check the hose for any signs of wear or damage while you’re at it. Once disconnected, move the grill away from the gas cylinder or supply line to a safe, ventilated area.
Never force any connections, and avoid using tools that could damage fittings. Taking these steps will keep you safe and prevent gas from escaping during your burner installation.
Remove the Grill Grates and Old Burner
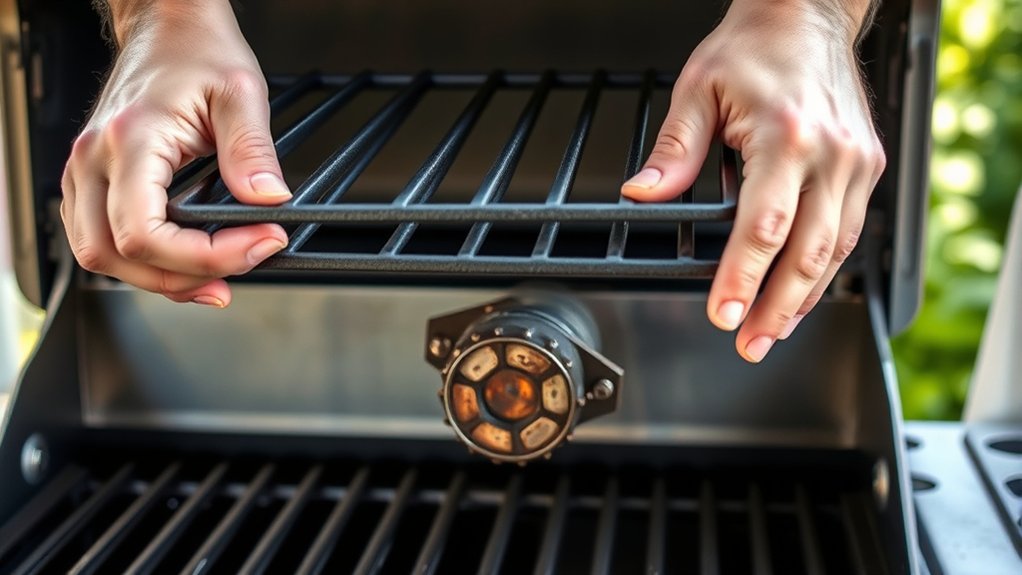
Start by lifting the grill grates carefully to avoid damage. Next, disconnect any burner connections attached to the old burner.
Finally, remove the entire burner assembly from the grill.
Lift Grill Grates Carefully
Before you can replace the burner, you’ll need to lift the grill grates carefully to avoid damaging them or the surrounding components. Start by ensuring the grill is completely cool. Use both hands to grasp the grates firmly on opposite sides.
Lift them straight up to prevent bending or scratching. If the grates feel stuck due to grease or rust, gently wiggle them free without forcing. Set the grates aside on a clean, flat surface to keep them safe.
Take your time during this step since grill grates can be heavy and fragile. Handling them carefully preserves their shape and prevents unnecessary repairs. Once the grates are off, you’ll have clear access to the burner for the next installation steps.
Disconnect Burner Connections
With the grill grates carefully removed and set aside, you can now focus on disconnecting the burner connections. First, locate the burner’s gas supply tube where it attaches to the valve or manifold. You’ll usually find a small screw or clamp holding the connection in place.
Use a screwdriver or wrench to loosen it gently. Be careful not to damage the tube or fittings. Once loosened, carefully pull the burner away from the gas supply.
If the burner is secured with clips or brackets, unfasten these as well. Keep track of all hardware for reassembly. Disconnecting the burner connections guarantees you can safely remove the old burner assembly in the next step without damaging the grill’s gas system.
Remove Old Burner Assembly
How do you safely remove the old burner assembly from your gas grill? First, make sure the grill is completely cool and disconnected from the gas source. Then, follow these steps:
- Remove the grill grates by lifting them out carefully and setting them aside.
- Take out the flame tamers or heat shields that sit above the burner to expose the burner assembly.
- Locate the screws or clips securing the burner to the grill body, and use a screwdriver or pliers to remove them.
- Gently lift and slide the burner out, disconnecting any remaining gas tubes or brackets.
Clean the Gas Grill Burner Housing and Inspect Components
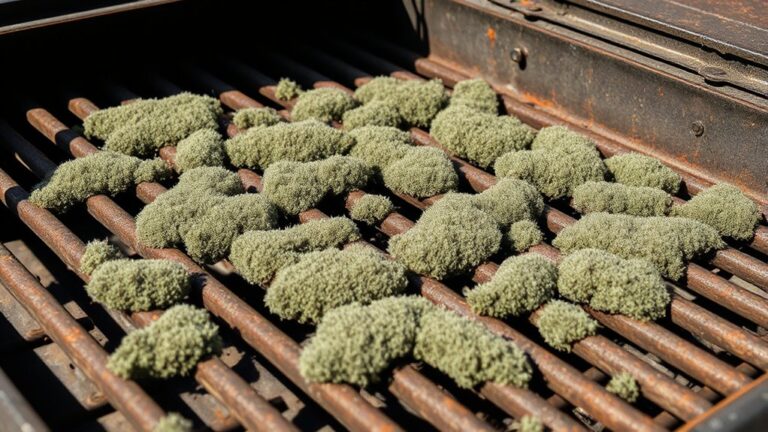
Since a clean burner housing guarantees ideal grill performance, you should thoroughly remove any grease, debris, or rust from the area. Use a wire brush or a stiff bristle brush to scrub the inside and outside of the burner housing. Wipe away loosened grime with a damp cloth.
Check the venturi tubes for blockages like spider webs or dirt that could restrict gas flow. Clear these carefully with a pipe cleaner or compressed air. Inspect the igniter and its wiring for damage or corrosion, guaranteeing it’s intact and positioned correctly.
Also, examine the mounting brackets and screws; replace any that are bent, rusted, or missing. Taking these steps guarantees a safe, efficient grilling experience and prepares your grill properly for the new burner installation.
Install the New Burner
After thoroughly cleaning and inspecting the burner housing, you’re ready to install the new burner. Make sure the replacement burner matches your grill model for a proper fit. Follow these steps to install it correctly:
Thoroughly clean and inspect before installing a new burner that matches your grill model.
- Align the new burner with the mounting brackets and gas tube connection.
- Slide the burner into place, ensuring the gas inlet fits snugly onto the orifice.
- Secure the burner by tightening any screws or clips that hold it firmly.
- Double-check that the burner sits evenly and doesn’t wobble or shift.
Taking these steps ensures your burner is properly installed and ready for safe, efficient operation. Avoid forcing parts, as this can damage connections or the burner itself.
Reassemble the Grill and Reconnect the Gas
Once you’ve securely installed the burner, reassemble the grill by putting all components back in their proper places. Begin with the heat shields or flavorizer bars, ensuring they sit correctly over the burner.
Next, replace the cooking grates, aligning them so they rest firmly and evenly. Make sure any screws or clips you removed earlier are tightened to keep parts stable.
After everything is back in place, reconnect the gas supply hose to the grill’s regulator. Turn the connection clockwise by hand until snug, then give it a slight turn with a wrench—don’t overtighten.
Finally, open the gas valve on your propane tank or natural gas line. Now your grill is reassembled and ready for the next step: testing the burner safely.
Test the Burner for Safety and Performance
Before you light the burner, double-check all connections for leaks and make certain the gas valve is open. Testing the burner ensures safety and confirms proper performance. Follow these steps:
- Use a soapy water solution on connections to spot bubbles indicating leaks.
- Light the burner using the grill’s ignition system or a long lighter.
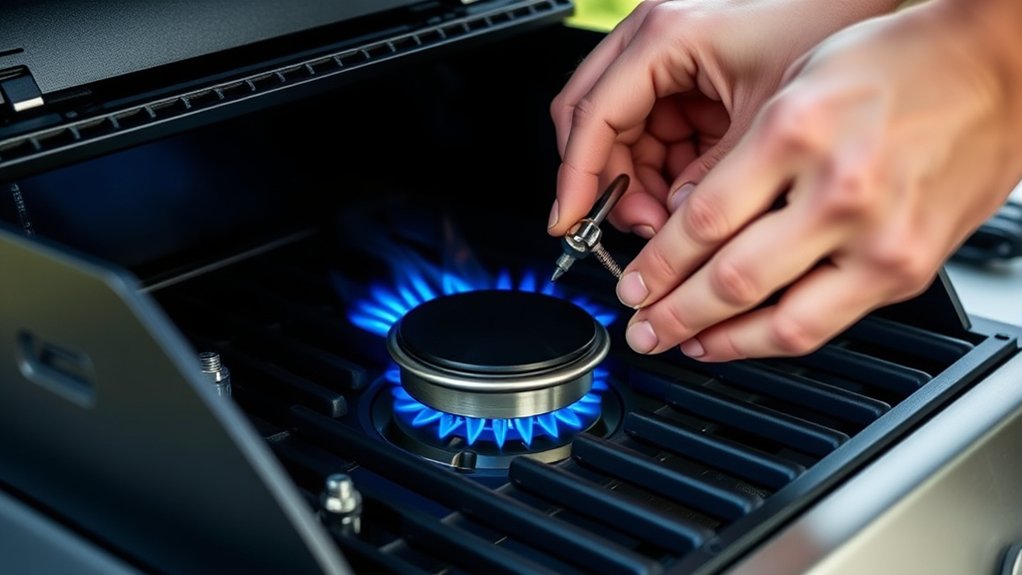
- Observe the flame; it should be steady, blue, and evenly distributed without yellow tips.
- Adjust the air shutter if flames appear weak or irregular to improve combustion.
If you detect any leaks or abnormal flames, shut off the gas immediately and address the issue before proceeding. Proper testing guarantees your grill operates safely and efficiently every time you use it.
Frequently Asked Questions
What Type of Gas Is Used in Most Grills?
Most grills use propane gas because it’s portable and easy to connect. Some grills run on natural gas, which requires a direct line.
You’ll want to check your grill’s specifications before choosing the gas type.
How Often Should Grill Burners Be Replaced?
You should replace grill burners about every 3-5 years—unless you enjoy playing fire roulette. If rust or uneven flames show up, don’t wait; swap them out to keep grilling safe and tasty.
Can I Upgrade My Grill Burner for Better Heat Output?
Yes, you can upgrade your grill burner for better heat output. Just guarantee the new burner matches your grill’s specifications and gas type.
Upgrading improves performance, but always prioritize safety and proper installation to avoid issues.
What Are Common Signs of a Faulty Grill Burner?
You’ll notice uneven flames, yellow instead of blue flames, or no flames at all. Rust, cracks, or holes on the burner also signal problems.
If your grill heats inconsistently, it’s time to check or replace the burner.
Are Propane and Natural Gas Burners Interchangeable?
You might think you can swap them easily, but propane and natural gas burners aren’t interchangeable. Their pressure and orifice sizes differ, so using the wrong one can be dangerous.
Always match your burner to your gas type.
Conclusion
Now that you’ve installed your new burner, your grill is ready to roar like a lion at a summer barbecue. With everything reassembled and the gas reconnected, you can confidently fire it up, knowing you’ve done the job right.
Remember, a well-maintained burner keeps your grill cooking evenly and safely. This ensures that every meal turns into a masterpiece, full of flavor and perfectly cooked.
Enjoy the sizzle and the savory aroma—it’s your reward for a job well done. Proper burner installation on a gas grill is key to achieving great grilling results and long-lasting performance.