How to Crush Ice Without a Blender in 7 Easy Steps
To crush ice without a blender, start by freezing uniform, fresh ice cubes. Separating them before use helps avoid solid blocks, making crushing easier. This simple method is perfect for anyone who needs crushed ice quickly without specialized equipment.
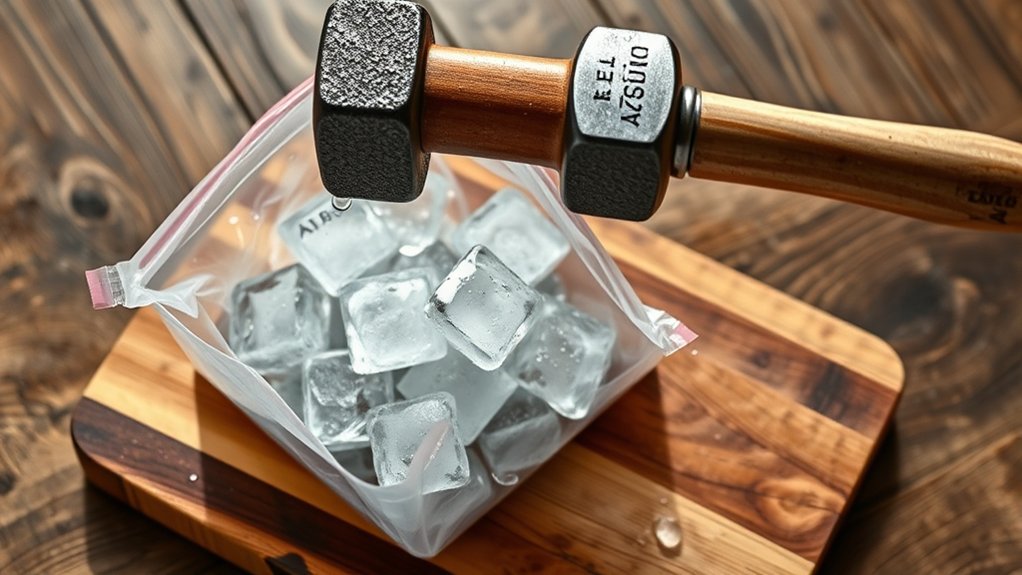
Place the ice cubes in a strong resealable bag and squeeze out excess air to prevent clumping. Use a mallet, rolling pin, or even the back of a spoon to gently tap and break the ice into your desired size.
Keep the ice cold throughout the process to maintain its texture. Store any extra crushed ice in an airtight container for later use.
Follow these easy steps, and you’ll master the art of crushing ice with simple tools and practical tips.
Key Takeaways
- Place ice cubes in a sturdy, resealable plastic bag and remove excess air to prevent tearing and clumping.
- Use a mallet, rolling pin, or spoon to gently tap and crush ice to the desired size on a flat, hard surface.
- Apply controlled, firm pressure and check ice size frequently to avoid over-crushing or damaging the bag.
- Keep the ice cold during crushing and store crushed ice in an airtight container in the freezer for freshness.
- Shake the container briefly before use to loosen clusters and maintain a loose, even texture for easy handling.
Preparing Ice Cubes for Easy Crushing
Before you start crushing ice, make sure your ice cubes are the right size and shape. Smaller cubes or even crushed ice freeze faster and are easier to break apart. If your ice tray makes large, bulky cubes, consider using trays with smaller compartments or breaking the cubes into halves before freezing.
Also, avoid using ice that’s stuck together in a solid block; separate the cubes before you freeze them to prevent this. Clear, fresh ice works best since cloudy ice tends to be denser and harder to crush. Finally, slightly warming the ice for a few seconds under running water can soften the surface, making it easier to crack without shattering into unpredictable pieces.
Preparing your ice properly saves time and effort in the next steps.
Crush Ice Safely With a Bag and Mallet
To crush ice safely, start by choosing a durable, resealable bag that won’t tear easily. Then, use a mallet with controlled, firm taps to break the ice without damaging your countertop.
With the right tools and technique, you’ll get perfectly crushed ice in no time.
Choosing the Right Bag
How do you pick the perfect bag for crushing ice safely? First, choose a heavy-duty plastic or silicone bag that won’t tear easily. Look for one labeled as freezer-safe or designed for food storage since these are sturdier.
Avoid thin sandwich bags—they’re prone to ripping and spilling icy shards. A resealable zipper closure is ideal to keep the ice contained and prevent leaks. Also, consider a bag large enough to hold the amount of ice you need without overcrowding, giving you room to crush effectively.
You might want to double-bag for extra protection, especially if the ice is sharp or jagged. Picking the right bag guarantees safety and keeps your workspace clean while you crush ice without a blender.
Proper Mallet Techniques
Once you’ve secured your ice in a sturdy bag, the next step is mastering the mallet technique to crush it safely. Hold the mallet firmly with both hands, positioning it over the bag. Use controlled, moderate force instead of wild swings to prevent the bag from tearing or slipping.
Start by tapping the ice gently, breaking it into smaller chunks. Then, increase the intensity with steady, deliberate strikes. Keep your non-dominant hand clear of the striking zone to avoid injury.
Place the bag on a hard, flat surface to ensure better control. Check the ice frequently, stopping when it reaches your desired size. By following these steps, you’ll crush ice efficiently and safely without damaging your tools or risking harm.
Crush Ice Using a Rolling Pin or Heavy Pan
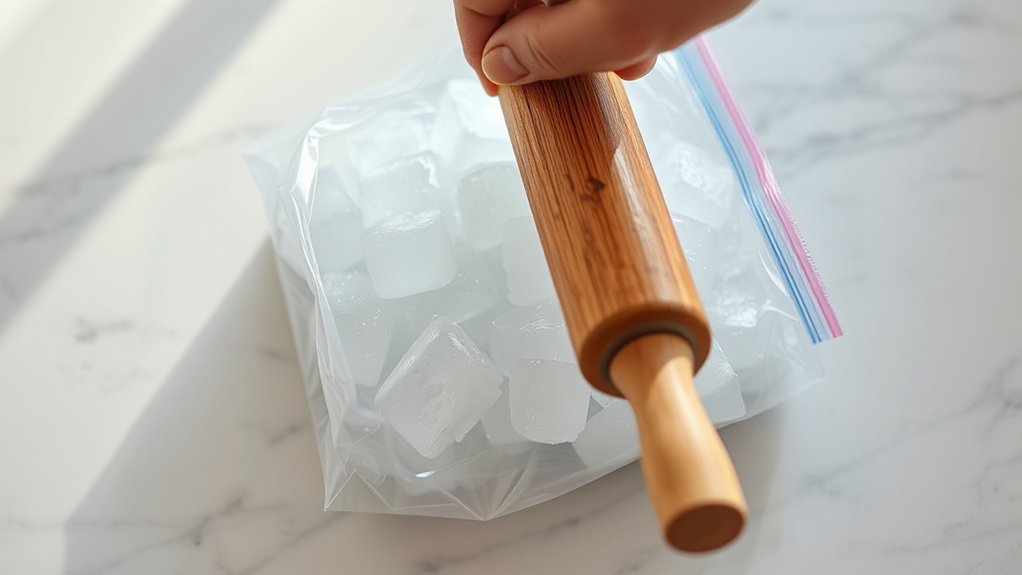
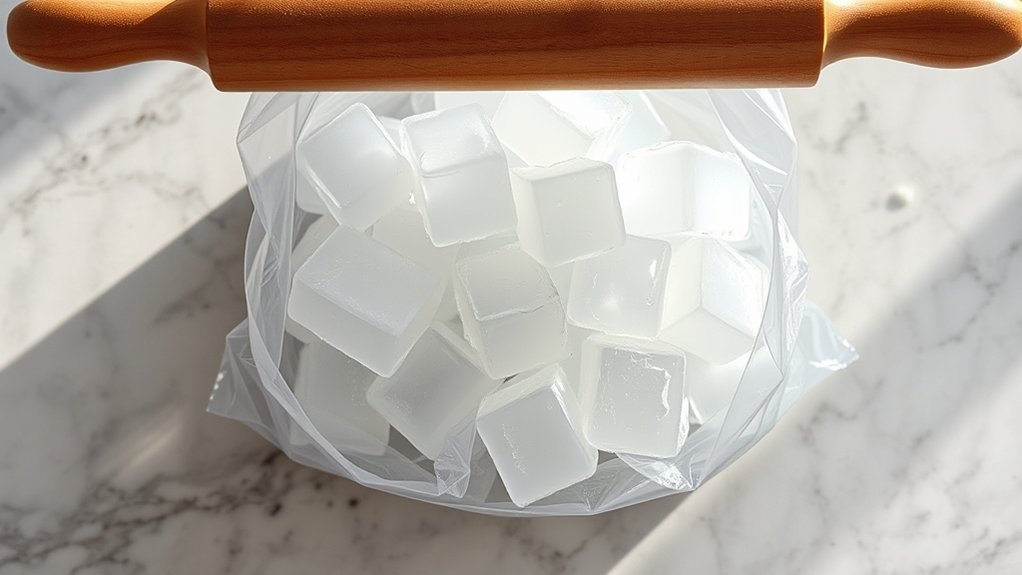
Although it might seem unconventional, using a rolling pin or heavy pan can quickly crush ice when you don’t have a blender. Start by placing ice cubes in a sturdy plastic bag and seal it tightly.
Lay the bag flat on a solid surface. Then, firmly press down and roll the pin or pan over the ice, applying even pressure. Repeat until you achieve the desired size.
| Step | Tool Needed | Action |
|---|---|---|
| 1. Prepare | Plastic bag | Put ice cubes inside |
| 2. Seal | Seal or clip | Close the bag securely |
| 3. Crush | Rolling pin/pan | Press and roll over the ice |
| 4. Check size | Eyes | Stop when crushed enough |
Crush Small Ice Batches Using a Spoon or Meat Tenderizer
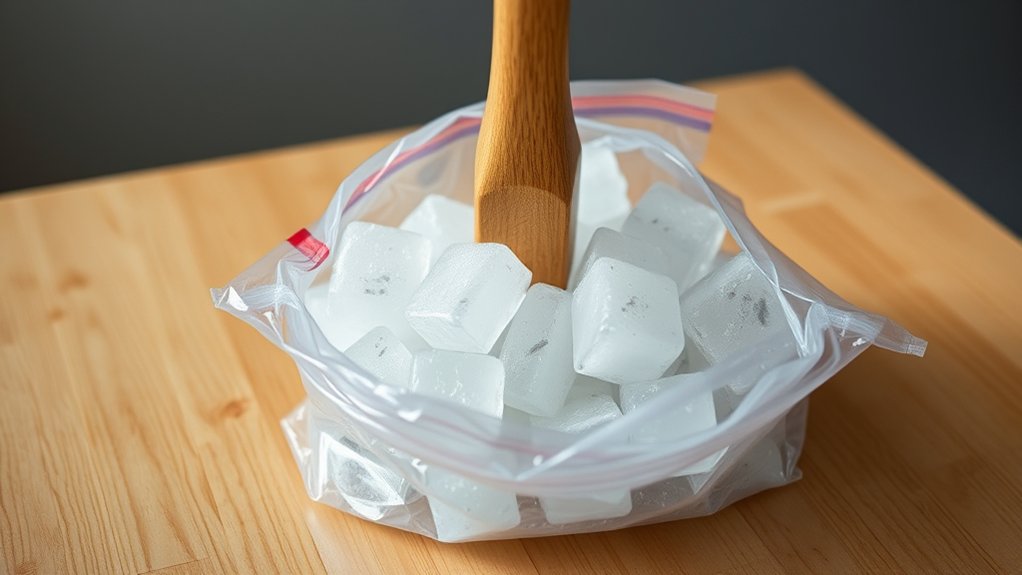
If you only need to crush a small batch of ice, a spoon or meat tenderizer can get the job done quickly and with minimal cleanup. Start by placing the ice cubes in a sturdy, resealable plastic bag. Remove as much air as possible and seal it tightly.
Then, use the back of a sturdy spoon or the flat side of a meat tenderizer to gently tap and crush the ice, applying consistent pressure. Be careful not to hit too hard to avoid tearing the bag. Continue tapping until you reach your desired ice texture.
This method is perfect for cocktails or small servings and saves you from pulling out bulky equipment. Just remember to work on a solid surface for best results.
Electric Alternatives: Crush Ice With a Food Processor or Coffee Grinder
When you need to crush larger amounts of ice quickly, electric appliances like food processors or coffee grinders can be a real time-saver. Simply add ice cubes in small batches, pulse briefly, and watch them turn into crushed ice. Just be sure not to overload the appliance to avoid damage.
Coffee grinders work best for small quantities, while food processors handle bigger loads efficiently.
| Appliance | Best For | Tips |
|---|---|---|
| Food Processor | Large batches | Use pulse mode |
| Coffee Grinder | Small batches | Avoid overheating |
| Both | Quick crushing | Crush in short bursts |
| Food Processor | Even texture | Add ice gradually |
| Coffee Grinder | Fine crush | Clean immediately |
Tips to Handle Crushed Ice Cleanly and Safely
After using your food processor or coffee grinder to crush ice, handling it properly helps keep your workspace tidy and prevents accidents. First, always use a sturdy, non-slip surface to avoid spills. Have a towel or tray ready to catch any stray ice pieces.
When transferring crushed ice, use a scoop or a spoon instead of your hands to reduce slipping risks and avoid frostbite. Keep your fingers clear of sharp edges on containers or tools. Work quickly but carefully, as crushed ice melts fast and creates slippery puddles.
Clean up any water immediately to prevent slips. Finally, dry your tools thoroughly after use to avoid rust or damage. These simple steps guarantee you handle crushed ice safely and maintain a clean workspace.
How to Store Crushed Ice for Later Use
You’ll want to pick the right container to keep your crushed ice fresh and easy to use. Freezing it properly helps prevent clumping and keeps the ice from sticking together.
Let’s explore the best storage methods to make sure your ice stays ready whenever you need it.
Best Containers For Storage
Although crushed ice melts quickly, choosing the right container can help preserve its texture and keep it ready for later use. You’ll want to pick an airtight container to minimize exposure to warm air, which speeds up melting. Plastic containers with tight-fitting lids work well because they’re lightweight and easy to seal.
Glass containers are great too, but be cautious since they’re heavier and can break easily. Avoid using open bowls or bags without seals, as they let moisture escape and ice clump together. If you’re storing crushed ice for a short time, a resealable freezer bag can be handy—just press out excess air before sealing.
Keep your container in the coldest part of the freezer to extend the ice’s lifespan and maintain its crunch.
Ideal Freezing Techniques
Choosing the right container is just the first step in keeping your crushed ice fresh. To freeze and store your ice properly, you’ll want to follow some simple techniques to maintain quality and prevent quick melting.
- Use airtight containers or heavy-duty freezer bags to minimize exposure to air.
- Spread crushed ice evenly in the container to ensure uniform freezing.
- Label your container with the date so you can track freshness.
- Freeze the ice flat for a few hours before adding more to avoid clumping.
- Store containers in the coldest part of your freezer for maximum longevity.
Preventing Ice Clumping
How can you keep crushed ice from sticking together after freezing? The key is to store it properly to prevent clumping. First, spread the crushed ice on a baking sheet and freeze it flat for about 30 minutes.
This step helps the pieces freeze individually rather than in one solid block. Once frozen, transfer the ice to an airtight container or a resealable plastic bag. Make sure to squeeze out as much air as possible to reduce moisture buildup, which causes clumping.
When you’re ready to use the ice, give the container a quick shake to break up any small clusters. Following these simple steps ensures your crushed ice stays loose and ready for your drinks or recipes whenever you need it.
Frequently Asked Questions
Can I Crush Flavored or Colored Ice Without Affecting Taste?
Yes, you can crush flavored or colored ice without affecting taste by using a clean towel or plastic bag to avoid contamination.
Just be gentle to keep flavors intact and prevent mixing with other ingredients or odors.
What Types of Ice Cubes Work Best for Crushing?
Think of ice cubes as tiny crystals of possibility—clear, uniform cubes work best for crushing since they break evenly without turning slushy. Avoid large or oddly shaped ice; they’ll resist your efforts and yield uneven chunks instead.
How Does Crushed Ice Affect Drink Dilution Rates?
Crushed ice melts faster, so your drink dilutes quicker. You’ll get a colder drink initially, but it won’t last as long.
If you want to control dilution, consider larger ice chunks instead.
Is Crushed Ice Safe for Pets to Chew On?
Think of crushed ice as tiny, chilly pebbles your pet can safely chew. You’ll want to watch them closely, though, to avoid any choking hazards or sensitive teeth getting stunned by the cold crunch.
Can Crushed Ice Be Used in Skincare Routines?
Yes, you can use crushed ice in skincare routines. It helps reduce puffiness, soothes irritation, and tightens pores.
Just wrap the ice in a cloth to avoid direct skin contact and prevent frostbite or redness.
Conclusion
Now that you’ve mastered the art of crushing ice without a blender, you’re ready to crack, smash, and roll your way to perfect chill every time.
Like a maestro conducting a symphony of frost, you’ve got the tools and the rhythm to keep your drinks icy and your gatherings cool.
So go ahead—turn that solid block of ice into sparkling gems that dance in your glass, and savor the invigorating harmony you’ve created.
With these simple steps to crush ice without a blender, you can enjoy refreshing, perfectly crushed ice anytime.
Embrace the ease and convenience of this method to keep your beverages cool and your entertaining effortless.
Now you’re fully equipped to crush ice without a blender and elevate every drink to icy perfection!