10 Easy Steps to Clean Grill Grates With Aluminum Foil
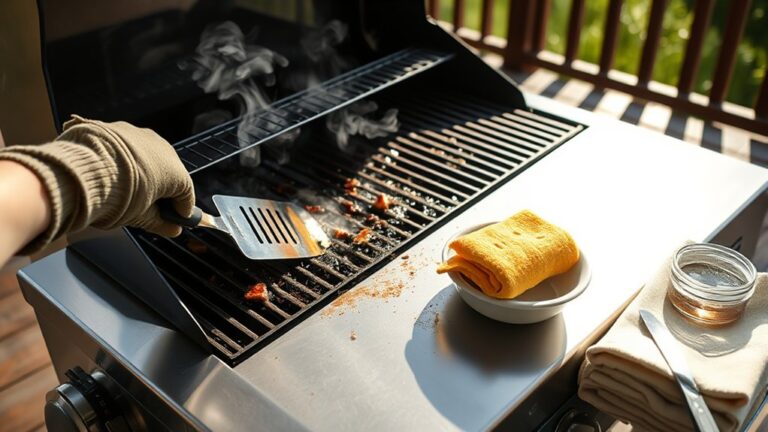
Start by gathering aluminum foil, water, and oil to effectively clean grill grates with aluminum foil. Preheating your grill to 400-450°F helps loosen grime, making the cleaning process easier and more efficient. This simple method is perfect for maintaining your grill’s performance and longevity.
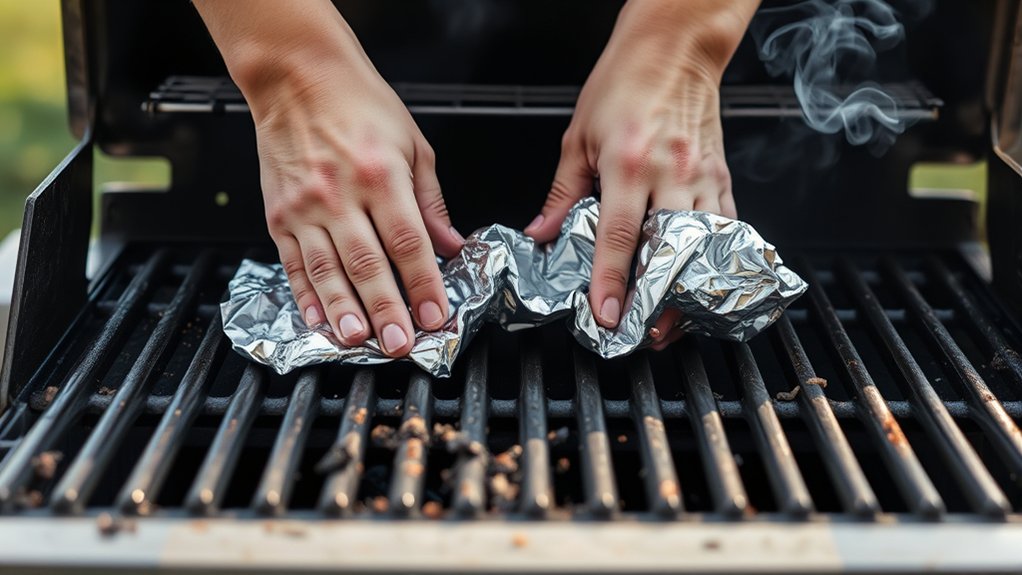
Crumple the aluminum foil into a firm ball and use tongs to scrub the hot grates in circular motions, flipping the foil as needed. Wipe both sides of the grates with folded foil to remove any remaining debris.
Rinse the grates with warm water and dry them thoroughly.
Finish by applying oil to the grates to prevent rust and keep them in good condition. Regular cleaning after each use will help you maintain your grill.
For tougher buildup and advanced maintenance tips, continue exploring these effective strategies.
Key Takeaways
- Preheat grill to 400-450°F for 10-15 minutes to loosen grease and debris for easier cleaning.
- Crumple heavy-duty aluminum foil into a firm ball for scrubbing grill grates effectively.
- Use tongs to scrub grates with the foil ball in back-and-forth or circular motions, focusing on heavy buildup.
- Rinse grates with warm, soapy water before scrubbing and dry thoroughly to prevent rust.
- After cleaning, coat grates evenly with high smoke point oil to protect against rust and food sticking.
Gather Supplies: Aluminum Foil, Water & Oil
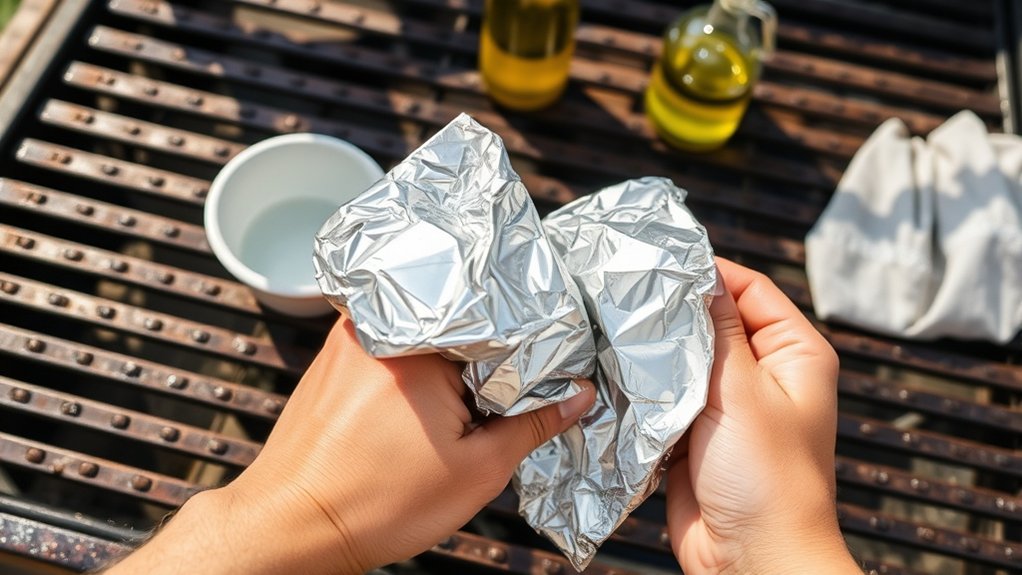
To get started, you’ll need just three simple supplies: aluminum foil, water, and oil. Grab a sturdy roll of aluminum foil—this will be your main cleaning tool. Tear off a sheet about the size of a standard notebook page; it should be thick enough to scrunch into a firm ball.
Next, have a small container or spray bottle of water handy to help loosen stuck-on grime. Finally, keep a bottle of cooking oil nearby, like vegetable or olive oil, to coat the grill grates after cleaning and prevent rust. With these items ready, you’re set to tackle your grill grates efficiently.
Keeping your supplies organized saves time and gets you closer to a sparkling, ready-to-use grill.
Preheat Your Grill to Loosen Debris
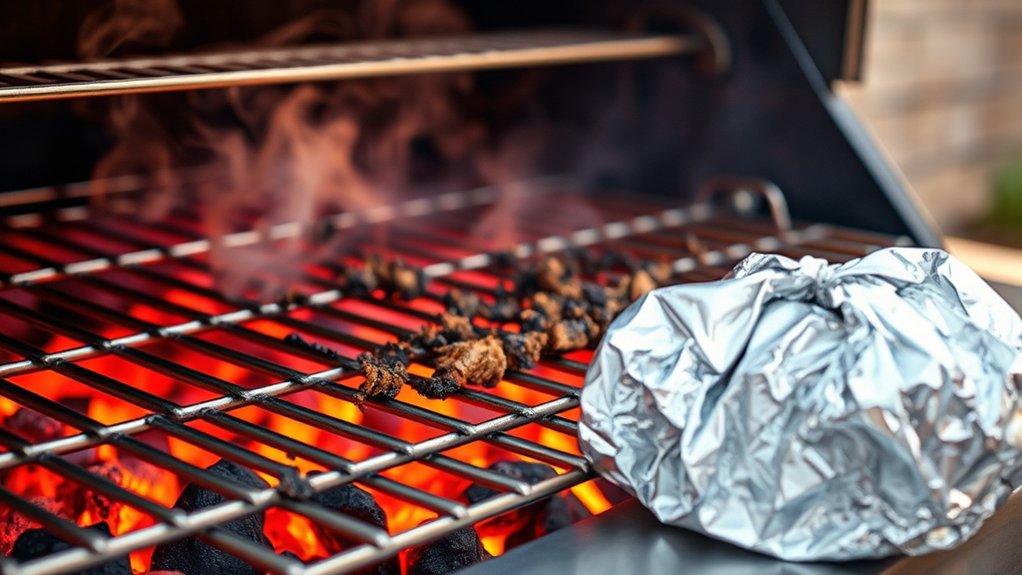
Before you start scrubbing, preheat your grill to around 400-450°F to loosen stuck-on debris effectively. Make sure the heat spreads evenly across the grates for consistent results.
Let it run for 10-15 minutes to soften residue and make cleaning easier.
Optimal Temperature Settings
Although it might seem simple, setting your grill to the right temperature is essential for loosening stubborn debris on the grates. Aim for medium-high heat, around 400°F to 450°F. This range is hot enough to soften grease and charred bits without burning them onto the surface.
Turn on your grill and let it preheat for 10 to 15 minutes to reach this ideal temperature. Avoid going too hot, as extreme heat can damage the grates or make cleaning harder later. Once the grill is properly heated, you’ll find it much easier to remove residue with aluminum foil.
Getting the temperature right saves you time and effort, making your grill cleaning routine more effective and hassle-free.
Importance of Even Heating
When you preheat your grill evenly, you make loosening debris much easier. Even heating guarantees the entire surface of your grill grates reaches the right temperature, softening stuck-on food particles uniformly. If some areas stay cooler, debris clings tighter, making your cleaning job tougher.
By allowing the heat to distribute consistently, you prepare the grates for effective scrubbing with aluminum foil. This step reduces the effort needed to remove grease and charred bits while preventing uneven wear on your grill. So, before you start scraping, give your grill enough time to heat up across all grates.
This simple action saves time and helps maintain your grill’s condition, making your next cookout that much more enjoyable.
Timing for Effective Loosening
Once your grill reaches an even temperature, the timing becomes key to loosening debris effectively. Preheat your grill for about 10 to 15 minutes, allowing the heat to soften stuck-on food and grease. If you wait too long, debris can carbonize, making it harder to remove.
On the other hand, cleaning too soon means the grime won’t loosen properly. Aim for a strong, consistent heat—not too high to avoid warping grates, but hot enough to break down residue. After preheating, turn off the grill or reduce the heat before you start scrubbing with aluminum foil.
This timing ensures the grime is pliable, so your cleaning requires less effort and leaves your grates spotless. Timing really makes your cleaning effective and efficient.
Crumple Aluminum Foil Into a Ball for Scrubbing
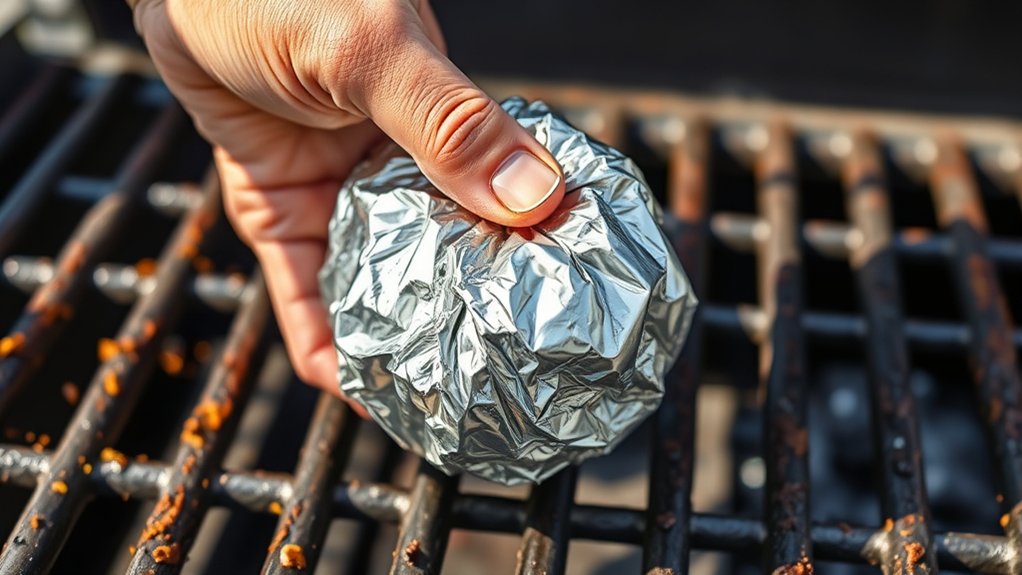
Since a smooth surface won’t scrub effectively, crumple a piece of aluminum foil into a tight ball. This shape gives you the right texture and grip to tackle stubborn grease and burnt bits on your grill grates. Make sure the ball is firm but not so compact that it loses flexibility.
You want enough surface area to cover the grates while maintaining the roughness needed for scrubbing. Using your hand, press and squeeze the foil repeatedly until it forms a solid, manageable ball. This simple step transforms ordinary foil into a handy cleaning tool.
Keep a few balls ready so you can switch to a fresh one if the first gets too dirty or loses its scrubbing power during your grill cleaning session.
Scrub Hot Grill Grates With Foil to Remove Residue
As you grill, residue and grease build up on the hot grates, making cleanup easier if you tackle it right away. Once your grill is hot, grab the aluminum foil ball you’ve crumpled up. Using a pair of tongs, firmly press the foil ball against the grates and scrub in back-and-forth or circular motions.
The heat loosens stuck-on food, and the foil’s abrasive texture scrapes away grime efficiently. Focus on areas with the most buildup but don’t press too hard to avoid damaging the grates. Keep turning and reshaping the foil ball as it wears down to maintain its scrubbing power.
Wipe Down Both Sides of Grill Grates With Foil
You’ll get the best results by wiping down both sides of your grill grates with foil, which helps remove leftover residue more effectively. Fold your foil carefully to create a sturdy pad that won’t tear during cleaning.
This way, you’ll avoid leaving bits of foil behind and keep your grates spotless.
Benefits Of Double-Sided Cleaning
Cleaning both sides of your grill grates with aluminum foil doubles the effectiveness of your effort. When you wipe both the top and bottom, you remove stuck-on grease, food residue, and carbon buildup that can harbor bacteria and affect flavor. This thorough cleaning prevents flare-ups and guarantees even heat distribution during your next cookout.
Plus, tackling both sides extends the lifespan of your grill grates by preventing rust and corrosion. You’ll find your grill looks better and performs more efficiently after each cleaning session. Taking the time to clean both sides with foil doesn’t add much effort but delivers a noticeable difference in cleanliness and grilling results.
It’s a simple step that really elevates your maintenance routine.
Proper Foil Folding Technique
When you fold aluminum foil properly, it creates a sturdy, effective tool for scrubbing grill grates clean on both sides. Start by tearing off a 12×12 inch sheet, then fold it in half lengthwise.
Continue folding lengthwise 2-3 more times until you get a thick, manageable pad. This technique guarantees you have a firm grip and enough surface area to clean both sides of the grates efficiently.
| Step | Action |
|---|---|
| 1. Tear Foil | 12×12 inch sheet |
| 2. Fold Length | Fold in half lengthwise |
| 3. Repeat Fold | Fold 2-3 more times lengthwise |
| 4. Form Pad | Compact and thick pad |
| 5. Grip Pad | Hold firmly for scrubbing |
This method helps you wipe down both sides evenly without tearing the foil.
Avoiding Residue On Grates
Although scrubbing grill grates with aluminum foil is effective, leaving behind residue can affect your food’s flavor and safety. To avoid this, always wipe down both sides of the grates thoroughly with clean foil after scrubbing. Fold a fresh piece of aluminum foil into a thick pad, then run it over each side, applying firm pressure to remove any leftover particles.
This extra step guarantees that loose bits of foil or grime don’t stick to your food during cooking. It also helps prevent buildup that could cause flare-ups or uneven heating. Taking the time to clean both sides of your grill grates with foil not only extends their lifespan but also keeps your grilling experience safe and enjoyable every time.
Rinse Grill Grates to Remove Loose Debris
Before tackling the tough grime, you’ll want to rinse your grill grates thoroughly to wash away any loose debris. Start by removing the grates from your grill and holding them under a strong stream of warm water. Use your hands or a soft brush to dislodge stuck-on crumbs, ash, and other particles.
This step helps prevent clogging your cleaning tools and makes the aluminum foil scrubbing more effective. Be sure to rinse both sides evenly, ensuring no loose bits remain. If you notice stubborn spots, let the grates soak in warm, soapy water for a few minutes before rinsing again.
This simple rinse sets the stage for a deeper clean, making your grill grates easier to scrub and maintain.
Dry Grill Grates Thoroughly Before Storage or Use
After rinsing your grill grates to remove loose debris, make certain to dry them completely. Moisture left on the grates can lead to rust, which shortens their lifespan and affects cooking quality. Use a clean, dry cloth or paper towels to wipe down every surface thoroughly.
If possible, let the grates air dry in a warm, well-ventilated area. Avoid storing damp grates, especially in enclosed spaces, since trapped moisture encourages corrosion and mold growth. Dry grates also heat more evenly when you’re ready to cook, improving your grilling results.
Taking this simple step ensures your grill stays in top shape and ready for the next use. Don’t rush this process—complete dryness is key to maintaining your grill grates’ durability and performance.
Apply Oil to Grill Grates to Prevent Rust
Since moisture can cause rust, applying oil to your grill grates creates a protective barrier that helps prevent corrosion. After thoroughly cleaning and drying your grates, use a paper towel dipped in high smoke point oil like canola or vegetable oil. Rub the oil evenly over the entire surface, coating every nook and cranny.
This simple step not only keeps rust at bay but also enhances grill performance by reducing food sticking.
| Oil Type | Smoke Point (°F) | Rust Prevention Effectiveness |
|---|---|---|
| Canola Oil | 400 | High |
| Vegetable Oil | 420 | High |
| Olive Oil | 375 | Moderate |
Choose oils with higher smoke points for better durability under heat.
Keep Your Grill Clean After Every Use
Because regular cleaning prevents buildup and prolongs your grill’s life, you should clean your grill grates after every use. Right after cooking, while the grates are still warm, use a ball of aluminum foil to scrub off food residue. This simple habit stops grease and char from hardening, making deep cleans easier.
After scrubbing, apply a light coat of oil to protect the grates from rust. Don’t forget to remove ashes or debris from the grill base to guarantee proper airflow and avoid flare-ups next time you grill. Keeping your grill covered when not in use also shields it from dirt and weather damage.
Troubleshoot Aluminum Foil Cleaning Problems
If your aluminum foil keeps tearing, try folding it thicker or using multiple layers for better durability. When stubborn residue won’t budge, apply a bit of cooking oil to help loosen the grime.
These quick fixes will make your grill cleaning smoother and more effective.
Foil Tearing Solutions
When you notice your aluminum foil tearing while cleaning grill grates, it’s often due to using foil that’s too thin or applying too much pressure. To prevent this, try switching to heavy-duty foil, which is thicker and more durable. Also, avoid scrubbing aggressively; gentle, consistent motions work better.
If the foil still tears, consider folding it multiple times to create a sturdier pad. Ultimately, ensure your grill grates aren’t too hot, as extreme heat can weaken the foil.
Here are some quick tips to stop foil tearing:
- Use heavy-duty aluminum foil for better strength
- Fold foil several times for extra thickness
- Apply gentle pressure during scrubbing
- Let the grill cool slightly before cleaning
These steps help you clean effectively without ruining your foil.
Stubborn Residue Removal
Tackling stubborn residue on your grill grates can challenge even the best aluminum foil cleaning methods. When foil scrubbing alone doesn’t cut it, try crumpling the foil into a tight ball for extra abrasion power. If residue persists, sprinkle coarse salt or baking soda on the grates before scrubbing—these act as natural abrasives that boost cleaning efficiency.
For really tough buildup, heat the grill on high for 10–15 minutes to loosen grime, then scrub immediately while it’s warm. Avoid using excessive force to prevent damaging your grates. If spots still remain, repeat the process or switch to a specialized grill brush briefly to target those areas.
With patience and the right technique, you can restore your grill grates to clean perfection.
Frequently Asked Questions
Can Aluminum Foil Damage Non-Stick Grill Grates?
Yes, aluminum foil can scratch and damage non-stick grill grates if you scrub too hard. You should be gentle and avoid using foil aggressively to protect the coating, keeping your grill grates in good condition.
Is It Safe to Use Aluminum Foil on Cast Iron Grates?
If you’re like Jake, who accidentally scraped his cast iron grates with foil, you’ll want to avoid it. Using aluminum foil on cast iron grates isn’t safe since it can scratch and damage the seasoning layer.
The seasoning is crucial for maintaining the non-stick surface and preventing rust. Any damage to it can reduce the lifespan of your grates.
To keep your cast iron grates in good condition, it’s best to avoid direct contact with aluminum foil.
How Often Should I Deep Clean My Grill Grates?
You should deep clean your grill grates at least once every few months, or more often if you grill frequently. This keeps them in great shape, prevents buildup, and guarantees your food tastes fresh every time.
Can Aluminum Foil Be Reused for Multiple Cleanings?
You can reuse aluminum foil a couple of times for cleaning, but it loses effectiveness as it gets dirty and torn.
For best results, switch to a fresh piece when it starts breaking down or doesn’t clean well anymore.
What Are Alternatives to Aluminum Foil for Cleaning Grill Grates?
You can use a grill brush, crumpled newspaper, or a pumice stone to clean your grill grates. Steel wool and onion halves also work well.
Just pick what fits your style and grill type best.
Conclusion
Now that you’ve mastered these simple steps, your grill grates will shine like new every time. But here’s the twist—neglecting this easy routine could mean stubborn buildup that won’t budge, ruining your next cookout. Don’t let that happen.
With just aluminum foil, water, and a bit of effort, you hold the secret to effortless cleaning. Ready to keep your grill in top shape and impress every guest? The choice is yours.
By following these 10 easy steps to clean grill grates with aluminum foil, you ensure a sparkling grill and delicious meals every time. Make grill maintenance a breeze and enjoy your cookouts without hassle. Keep your grill grates clean and ready for action!