How Long to Cook Chicken Breast on Electric Grill in 7 Simple Steps
To cook chicken breast on an electric grill perfectly, start by preheating it to medium-high heat (350°F-375°F). This temperature range ensures even cooking and juicy results. Proper preparation is key for flavorful chicken.
Pat your chicken dry, pound it evenly, and season or marinate as you like. These steps help the chicken cook uniformly and absorb more flavor.
Grill for 6-8 minutes per side, up to 10 minutes if the breast is thicker, keeping the lid closed. Use a thermometer to check doneness, aiming for an internal temperature of 165°F.
Let the chicken rest for a few minutes before slicing to retain its juices. Follow these steps, and you’ll master moist, flavorful chicken every time—there’s more handy tips ahead.
Key Takeaways
- Preheat the electric grill to medium-high heat, around 350°F to 375°F (175°C to 190°C), for 5-10 minutes.
- Pound chicken breast to even thickness and season or marinate for at least 30 minutes before grilling.
- Cook chicken breast for 6-8 minutes per side, increasing to 10 minutes for thicker pieces, keeping the lid closed.
- Use a digital thermometer to ensure the internal temperature reaches 165°F (74°C) for safe consumption.
- Let the chicken rest for 5-7 minutes after cooking to redistribute juices before slicing and serving.
How Long to Cook Chicken Breast on an Electric Grill
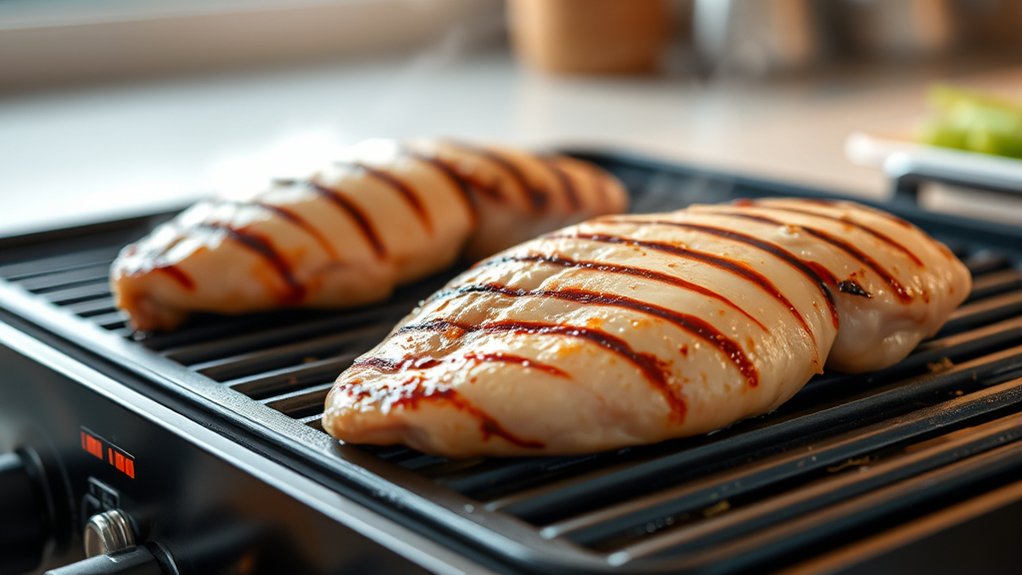
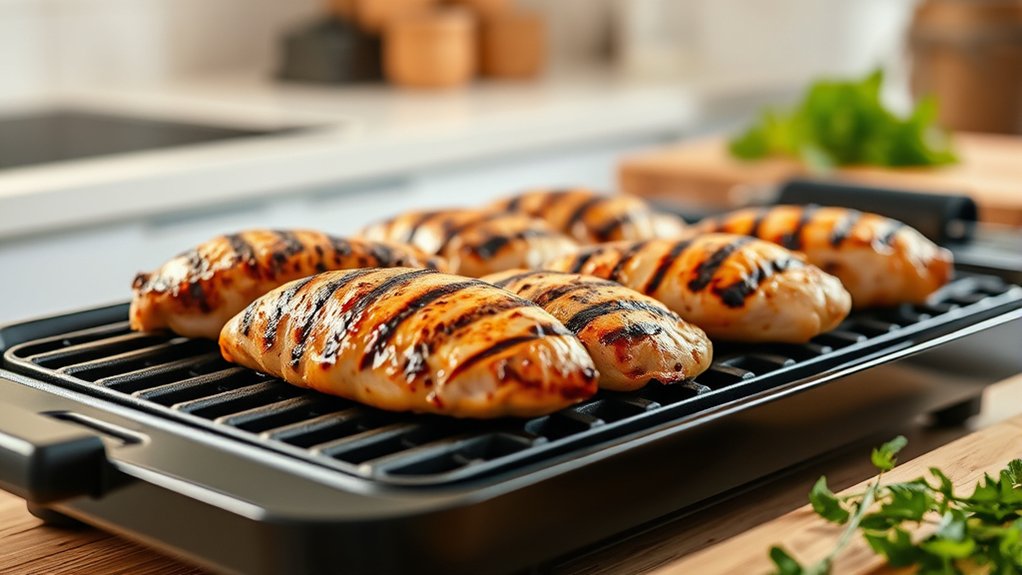
When you grill chicken breast on an electric grill, it usually takes about 6 to 8 minutes per side to cook through, depending on the thickness. Thicker pieces might need closer to 10 minutes per side, while thinner ones could be done faster. You’ll want to preheat the grill first to ensure even cooking.
Use a meat thermometer to check for doneness; the internal temperature should reach 165°F (74°C). Avoid flipping the chicken too often—once per side is enough to get those nice grill marks and lock in juices. Keep the lid closed while cooking to maintain a consistent temperature.
Once it’s cooked, let the chicken rest a few minutes to redistribute the juices before slicing or serving.
How to Prepare Chicken Breast for Electric Grilling
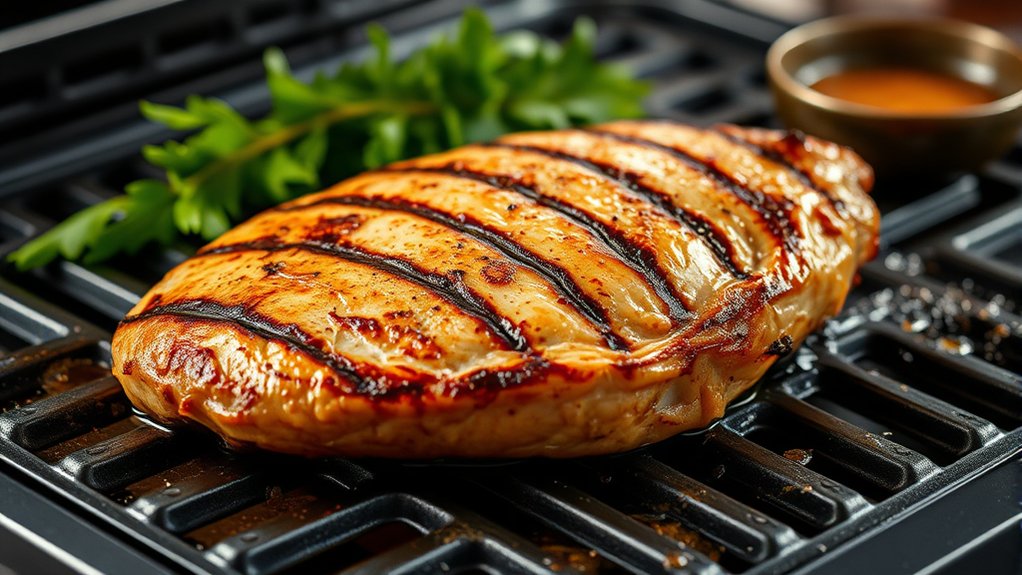
Before you start grilling, properly preparing your chicken breast guarantees even cooking and better flavor. Begin by patting the chicken dry with paper towels to remove excess moisture, which helps achieve a nice sear. If the breasts are uneven in thickness, pound them gently to an even thickness using a meat mallet or rolling pin; this prevents thinner parts from overcooking while thicker parts finish.
Next, season your chicken with salt, pepper, and any preferred herbs or spices. You can also marinate the chicken for 30 minutes to a few hours to add extra flavor and tenderness. Finally, let the chicken sit at room temperature for about 15 minutes before grilling to assure more consistent cooking throughout.
How to Set the Right Temperature for Chicken Breast on an Electric Grill
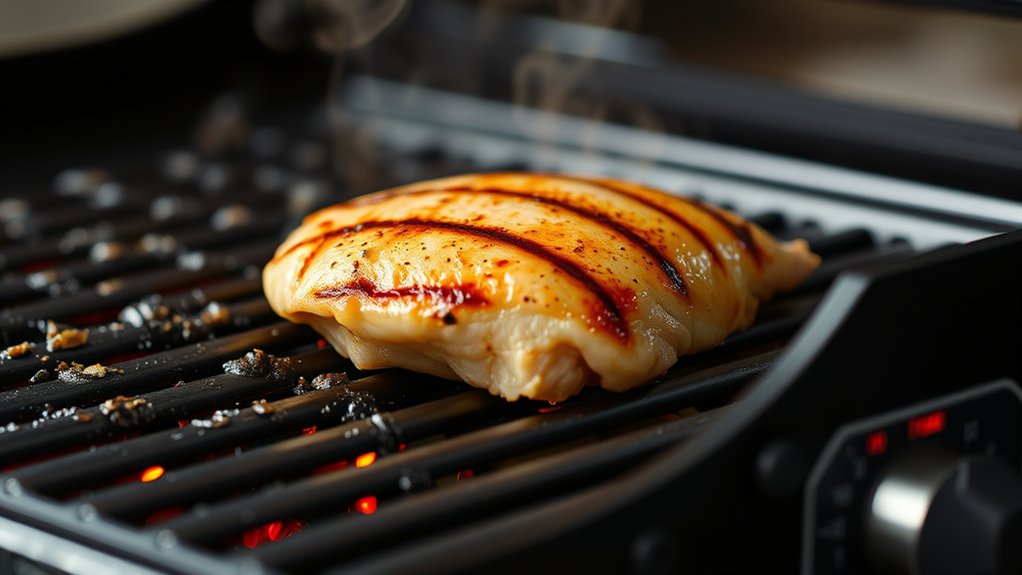
Although electric grills vary, setting the right temperature for chicken breast is essential to cook it thoroughly without drying it out. Aim for a medium-high heat, typically between 350°F and 375°F (175°C to 190°C). This range ensures the chicken cooks evenly and retains moisture.
Avoid temperatures above 400°F, as they can char the outside before the inside cooks through. Preheat your grill for about 5 to 10 minutes to reach the desired temperature. If your grill has adjustable settings, choose the “medium” or “medium-high” option.
Using a grill with a built-in thermostat helps maintain consistent heat. Remember, steady temperature control is vital—you want to cook the chicken breast gently but thoroughly for tender, juicy results every time.
How to Check Chicken Breast for Doneness Safely
You’ll want to use a meat thermometer to check that the chicken breast reaches an internal temperature of 165°F for safe eating.
Besides temperature, look for clear juices and firm texture as visual signs of doneness.
These steps help guarantee your chicken is cooked properly without overcooking.
Internal Temperature Guidelines
When cooking chicken breast on an electric grill, checking the internal temperature is the most reliable way to guarantee it’s safe to eat. You want to aim for a temperature that eliminates harmful bacteria without overcooking the meat. Here’s how to do it right:
- Use a digital meat thermometer for the most accurate reading.
- Insert the thermometer into the thickest part of the breast, avoiding bones.
- Look for an internal temperature of 165°F (74°C), which is the USDA’s safe minimum.
- Once it hits 165°F, remove the chicken from the grill and let it rest for a few minutes to allow juices to redistribute.
Following these guidelines assures your chicken is both safe and juicy every time.
Visual Doneness Indicators
While relying on a meat thermometer is the safest method, you can also use visual cues to check if your chicken breast is cooked through. Look for firm, white meat with clear juices running out when you press or cut it. Avoid pink or translucent areas, which mean it’s undercooked.
Use the table below to guide your visual check:
| Visual Indicator | What It Means for You |
|---|---|
| Juices run clear | Safe to eat, perfectly cooked |
| Juices pink or red | Needs more cooking, unsafe |
| Firm texture | Chicken is done, ready to enjoy |
| Soft or jiggly texture | Undercooked, cook longer |
| White, opaque meat | Ideal doneness, juicy and safe |
Trust these signs if you don’t have a thermometer handy.
Tips for Juicy, Tender Chicken Breast on an Electric Grill
To achieve juicy, tender chicken breast on an electric grill, start by properly preparing the meat before it hits the heat. Follow these tips to lock in moisture and flavor:
- Pound the chicken to an even thickness for uniform cooking.
- Marinate or brine the chicken for at least 30 minutes to enhance juiciness.
- Preheat the grill to medium-high so the chicken sears quickly, sealing in juices.
- Avoid overcooking by monitoring the internal temperature, aiming for 165°F (74°C).
Fixing Unevenly Cooked Chicken Breast on Your Electric Grill
Even if you follow all the right steps, uneven cooking can still happen on an electric grill due to inconsistent heat distribution or varying chicken thickness. To fix this, move thicker parts to hotter zones and thinner parts to cooler areas. Use a meat thermometer to check doneness, aiming for 165°F (74°C).
If one side cooks faster, flip the chicken more frequently and adjust the grill temperature.
| Problem | Emotion | Solution |
|---|---|---|
| Undercooked center | Frustration | Cover with foil, cook low |
| Overcooked edges | Disappointment | Adjust placement, lower heat |
| Uneven grill marks | Annoyance | Rotate chicken regularly |
These simple fixes help you enjoy perfectly cooked chicken every time.
Letting Your Chicken Rest for Juicier Results
After you take the chicken breast off the electric grill, letting it rest for a few minutes allows the juices to redistribute, making every bite tender and flavorful. Skipping this step can cause the juices to run out when you cut into the meat, leaving it dry.
Here’s how to rest your chicken properly:
- Place the chicken on a clean plate or cutting board.
- Tent it loosely with foil to keep it warm without trapping steam.
- Let it rest for about 5 to 7 minutes.
- Slice and serve immediately after resting.
Frequently Asked Questions
Can I Marinate Chicken Breast Before Grilling on an Electric Grill?
Yes, you can marinate chicken breast before grilling on an electric grill. It adds flavor and keeps the meat juicy.
Just don’t marinate it too long—about 30 minutes to 2 hours works best for tender, tasty results.
What Side Dishes Pair Best With Grilled Chicken Breast?
You’ll love pairing grilled chicken breast with roasted veggies or a fresh salad—studies show 70% of people prefer colorful plates. Quinoa or garlic mashed potatoes also complement the flavors perfectly, making your meal balanced and tasty.
Is It Safe to Reuse Marinade After Grilling Chicken?
You shouldn’t reuse marinade after grilling chicken unless you boil it first to kill bacteria. Otherwise, it can cause foodborne illness.
Always prepare fresh marinade for basting or serving to keep things safe and tasty.
How Do I Clean My Electric Grill After Cooking Chicken?
You should unplug your grill and let it cool slightly. Then, use a damp cloth or sponge with mild soap to wipe down the plates. Avoid soaking electrical parts.
Clean the drip tray separately for best results.
Can I Cook Frozen Chicken Breast on an Electric Grill?
You can cook frozen chicken breast on an electric grill, but it’ll take longer and cook unevenly. It’s better to thaw it first for safer, juicier results.
Use a meat thermometer to guarantee it’s fully cooked.
Conclusion
Now that you know how to cook chicken breast on your electric grill, you’re ready to master the art of juicy, tender meat every time. Remember, practice makes perfect, and don’t rush the process—good things come to those who wait.
By prepping well, grilling at the right temperature, and letting your chicken rest, you’ll turn out delicious meals that are sure to impress. Keep these tips in your back pocket for your next cookout!
With the right technique, cooking chicken breast on an electric grill becomes easy and rewarding. Follow these steps, and enjoy perfectly cooked chicken every time you grill.