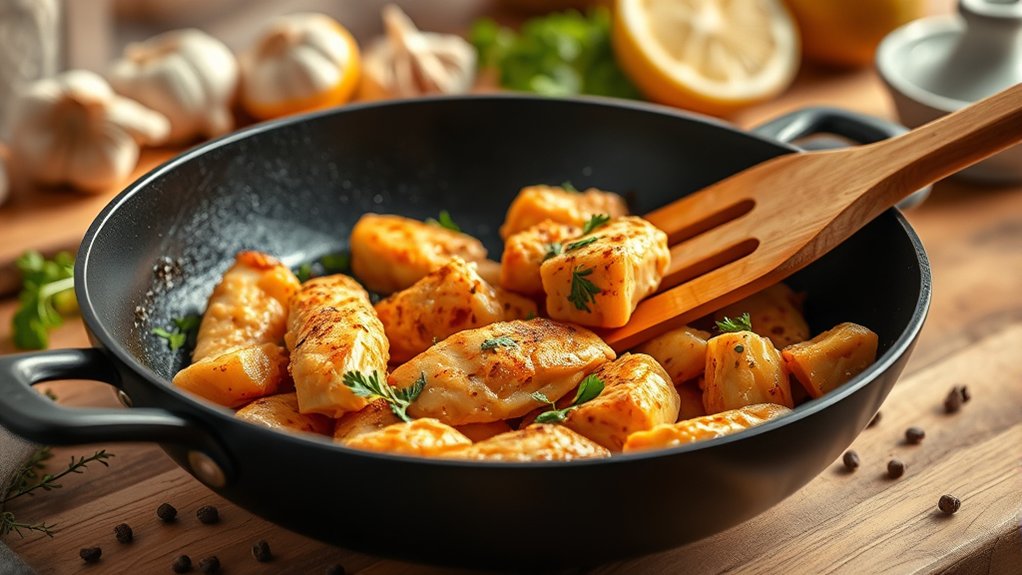
10 Easy Steps to Cook Chicken Strips in a Frying Pan
Choose boneless, skinless chicken breasts or thighs and cut them into even strips. Pat them dry, then season or marinate for flavor and tenderness.
Setting up a breading station with flour, eggs, and breadcrumbs ensures an even coating.
Heat oil to the right temperature and fry the strips in batches until golden and cooked through.
Drain on paper towels to remove excess oil.
Serve hot with your favorite dips.
Enjoy juicy, crispy chicken strips every time. Keep going to uncover more tips and tricks for perfect frying pan chicken strips.
Key Takeaways
- Slice boneless chicken into uniform strips, marinate with spices and acid for 30 minutes to 4 hours.
- Set up breading station with flour, beaten eggs, and breadcrumbs; coat chicken evenly.
- Heat high smoke point oil to medium heat until shimmering, then fry chicken in batches without overcrowding.
- Fry chicken strips 3-4 minutes per side until golden brown, maintaining consistent oil temperature.
- Drain cooked strips on paper towels, check for 165°F internal temperature, and serve hot with preferred dips.
Choose the Right Chicken for Crispy Strips

To make crispy chicken strips, start by choosing the right cut of chicken. You’ll want boneless, skinless chicken breasts or thighs for the best texture and flavor. Chicken breasts offer lean meat that crisps up nicely, while thighs add extra juiciness and tenderness.
Avoid using whole chicken or bone-in pieces since they’re harder to cook evenly in a pan. Next, slice the chicken into even strips about one inch thick to guarantee they cook uniformly. Thicker strips may stay raw inside, while thinner ones can dry out quickly.
Choosing fresh, high-quality chicken also matters—it’ll improve taste and safety. Once you’ve picked your cut and sliced the chicken properly, you’re ready to move on to prepping your ingredients and setting up the breading station.
Get Ingredients Ready and Set Up Breading Station for Chicken Strips
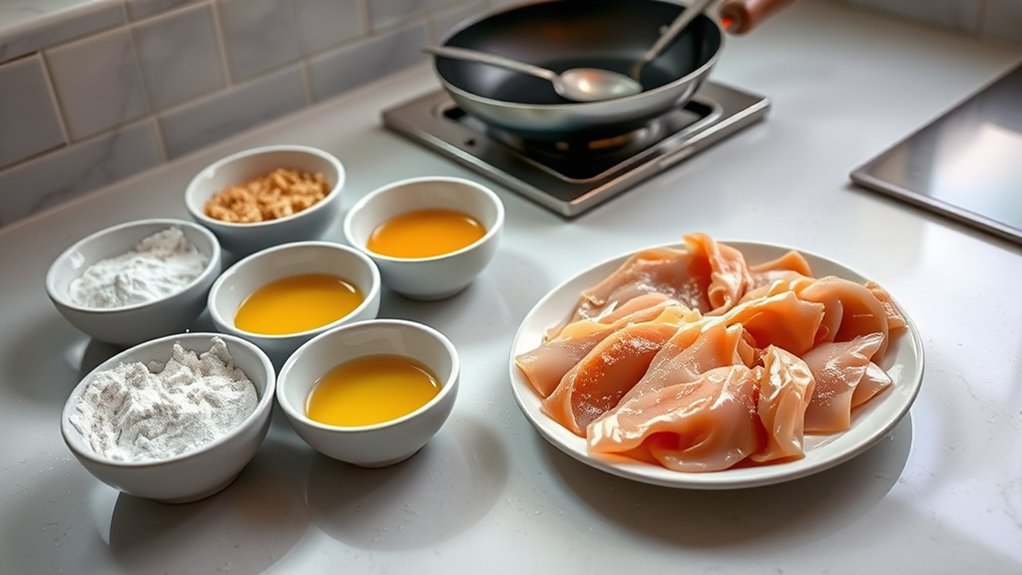
How do you prepare everything so your chicken strips turn out perfectly crispy? First, gather all your ingredients and set up a breading station for an efficient cooking process. You’ll need to have everything within reach to avoid mess and ensure even coating.
Start by arranging three shallow dishes:
- Flour mixture: Seasoned with salt, pepper, and your favorite spices.
- Beaten eggs: Acts as the glue for the breading.
- Breadcrumbs or panko: For that extra crunch.
Place these dishes in a line on your countertop. This setup makes dipping each strip quick and consistent, helping your chicken strips cook evenly and achieve that golden, crispy texture you want.
Cut Chicken Into Even, Bite-Sized Strips
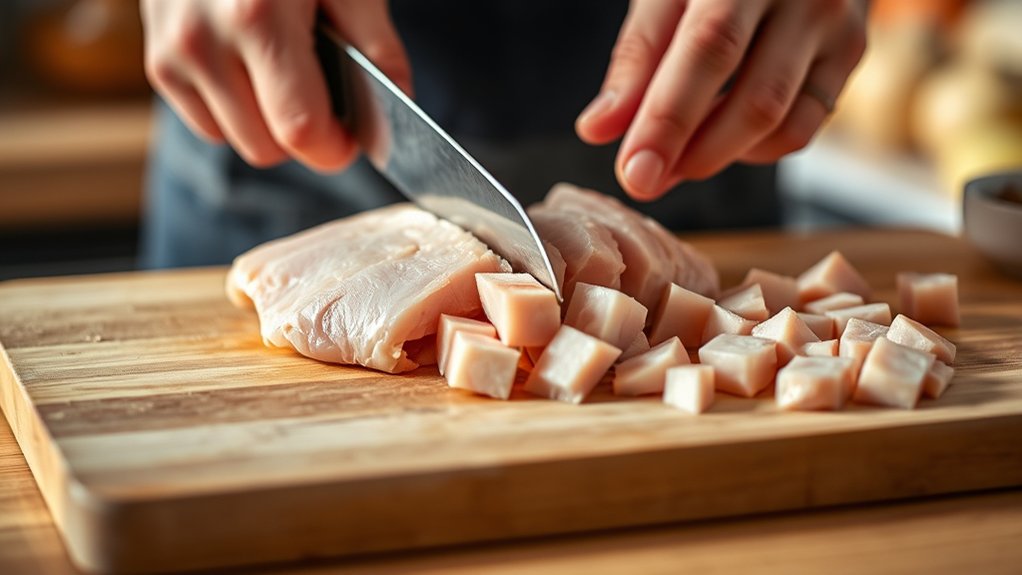
Grab a sharp knife to make clean, precise cuts that’ll cook evenly. Make sure to slice the chicken into uniform, bite-sized strips so they cook at the same rate.
Before cutting, pat the chicken dry to keep it from slipping and to get the best grip.
Choosing The Right Knife
Selecting the right knife makes all the difference when cutting chicken into even, bite-sized strips. You want a knife that feels comfortable and gives you control for precise cuts. A sharp blade ensures clean slices without tearing the meat, making cooking and eating easier.
Here’s what to look for when choosing your knife:
- Sharpness: A sharp knife reduces slipping and uneven cuts.
- Blade length: A 6-8 inch blade is ideal for handling chicken breasts smoothly.
- Handle comfort: Choose a knife with a grip that fits your hand well to prevent fatigue.
With the right knife, you’ll cut through chicken easily and prepare strips that cook evenly and look great on your plate.
Ensuring Uniform Strip Size
Cutting your chicken into uniform strips guarantees they cook evenly and finish at the same time, preventing some pieces from drying out while others remain undercooked. Start by trimming any excess fat or uneven parts to create a consistent shape. Aim for bite-sized strips, about half an inch thick, so they cook quickly and retain juiciness.
Use a sharp knife and steady your hand to slice straight, avoiding jagged edges that can cook unevenly. If you cut strips too large, they won’t cook through properly; too small, and they might dry out. Taking the time to measure or visually compare each strip helps maintain size consistency.
Preparing Chicken For Cutting
Before you start slicing, make sure your chicken is fully thawed and patted dry to prevent slipping and guarantee clean cuts. Place the chicken breast on a clean cutting board, then trim any excess fat or tendons. Use a sharp knife to make precise, confident cuts.
Cutting against the grain helps tenderize the strips, making them easier to chew. Focus on these key tips for preparing your chicken:
- Use a sharp knife to avoid shredding the meat
- Cut into even, bite-sized strips for uniform cooking
- Work slowly and carefully to maintain control and safety
Season Chicken Strips for Maximum Flavor
You’ll want to pick the right spices to bring out the best flavor in your chicken strips. Don’t forget to marinate them for a bit to let the seasonings really soak in.
This step makes a huge difference in taste and tenderness.
Choosing The Right Spices
Selecting the right spices can transform simple chicken strips into a flavorful dish that excites your taste buds. You want to balance heat, aroma, and depth to make every bite memorable. Start by choosing spices that complement chicken without overpowering it.
Here are three essential spices to contemplate:
- Paprika: Adds a mild smokiness and vibrant color.
- Garlic powder: Brings a savory punch that enhances overall flavor.
- Cayenne pepper: Introduces a subtle heat for a spicy kick.
Feel free to combine these or adjust quantities based on your preference. Remember, the goal is to create a tasty, well-rounded seasoning that works beautifully when frying your chicken strips. Experiment with these basics before moving on to more complex seasoning blends.
Marinating Tips For Flavor
Although seasoning alone adds flavor, marinating your chicken strips reveals deeper taste and tenderness. To maximize flavor, choose a marinade with acid like lemon juice, vinegar, or yogurt to break down proteins and soften the meat. Add oil to keep the strips moist during cooking.
Incorporate herbs, spices, garlic, or soy sauce for complexity. Make sure your chicken strips are fully submerged or evenly coated, and marinate in the refrigerator for at least 30 minutes—up to 4 hours for best results. Avoid marinating too long, as the acid can make the texture mushy.
When ready, remove excess marinade before frying to prevent splatter and promote browning. With these tips, your chicken strips will be juicy, flavorful, and perfectly tender every time.
Heat Oil in Frying Pan for Chicken Strips
Before adding the chicken strips, heat enough oil in your frying pan to cover the bottom evenly. Use a neutral oil with a high smoke point like vegetable, canola, or peanut oil to avoid burning. Place the pan on medium heat and give the oil time to warm up.
Heat neutral oil over medium until shimmering to ensure perfectly crispy, golden chicken strips.
You’ll know it’s ready when it shimmers and moves fluidly across the pan’s surface. Here are some quick tips to get your oil just right:
- Avoid overheating to prevent smoking and off flavors.
- Test the temperature by dipping a small piece of bread; it should sizzle immediately.
- Keep a close eye on the oil to maintain consistent heat throughout cooking.
Properly heated oil guarantees crispy, golden chicken strips every time.
Coat Chicken Strips With Batter or Breadcrumbs
Once your chicken strips are prepped, you’ll want to coat them evenly with batter or breadcrumbs to guarantee a crispy, flavorful crust. Start by setting up a simple dredging station: one bowl with beaten eggs or a batter mix, and another with seasoned breadcrumbs or panko. Dip each strip first into the egg or batter, making sure it’s fully covered.
Then press the strip into the breadcrumbs, coating all sides evenly. Don’t be shy—apply a gentle but firm press to help the crumbs stick well. If you prefer extra crunch, double-dip by repeating the egg and breadcrumb steps.
Once coated, place the strips on a plate or wire rack to rest briefly before frying. This ensures your chicken strips have the perfect texture and taste.
Fry Chicken Strips to Golden Perfection
After coating your chicken strips, it’s time to heat your frying pan and get them cooking. Pour enough oil to cover the bottom of the pan and heat it over medium heat until shimmering but not smoking. Carefully place the strips in the pan, making sure not to overcrowd them.
Fry each side for about 3-4 minutes until they turn golden brown and crispy.
Keep these tips in mind:
- Use tongs to flip the strips gently for even cooking.
- Adjust the heat if the oil starts to smoke or the strips brown too fast.
- Maintain consistent oil temperature to achieve that perfect golden crust.
This method guarantees your chicken strips get crispy on the outside while staying juicy inside.
Check Chicken Doneness Without Overcooking
Although your chicken strips look golden and crispy, you need to verify they’re fully cooked without drying them out. To do this, cut one strip in the thickest part and check the inside. The meat should be white and opaque, with no pink or translucent areas.
If it’s still undercooked, return the strips to the pan for a minute or two more. Avoid pressing or squeezing the strips as you check, since this can release juices and cause dryness. Alternatively, use a meat thermometer to confirm the internal temperature reaches 165°F (74°C).
Once they hit this temperature, remove the strips promptly to prevent overcooking. This method helps you serve juicy, safe-to-eat chicken every time.
Drain Oil to Keep Chicken Strips Crispy
To keep your chicken strips crispy, you’ll want to drain the excess oil right after cooking. Leaving them sitting in oil will make the coating soggy, ruining that satisfying crunch.
As soon as you remove the strips from the pan, transfer them to a plate lined with paper towels. This simple step absorbs the extra grease quickly and effectively.
Here’s how to drain oil properly:
- Use a slotted spatula or tongs to lift strips, letting excess oil drip back into the pan.
- Arrange strips in a single layer on paper towels to avoid trapping steam.
- Gently pat the tops with additional paper towels if they seem oily.
Doing this keeps your chicken strips crisp and ready to enjoy!
Serve Chicken Strips With Dips and Sides
When you serve your chicken strips with flavorful dips and complementary sides, you elevate the entire meal experience. Choose dips that enhance the crispy texture and savory taste, while sides add balance and variety.
Whether you prefer spicy, tangy, or creamy dips, pairing them with fresh veggies or fries makes every bite satisfying.
Here’s a quick guide to popular pairings:
| Dip | Flavor Profile | Side Suggestion |
|---|---|---|
| Honey Mustard | Sweet & Tangy | Coleslaw |
| Ranch | Creamy & Herby | French Fries |
| Barbecue Sauce | Smoky & Sweet | Corn on the Cob |
| Spicy Sriracha | Hot & Bold | Celery Sticks |
| Garlic Aioli | Rich & Garlicky | Sweet Potato Fries |
Frequently Asked Questions
Can I Use Frozen Chicken Strips Instead of Fresh Ones?
Yes, you can use frozen chicken strips, but you’ll need to cook them a bit longer to guarantee they’re fully cooked. Don’t thaw them completely; just adjust the heat and time while frying for best results.
What Type of Oil Is Best for Frying Chicken Strips?
You’ll want to use oils with high smoke points like vegetable, canola, or peanut oil for frying chicken strips. They handle heat well and keep your strips crispy without burning or imparting unwanted flavors.
These oils maintain their quality even at high temperatures, making them ideal for frying. Avoid oils with low smoke points to prevent burning and off-flavors. Using the right oil ensures delicious, crispy chicken every time.
How Do I Store Leftover Chicken Strips Safely?
You should cool leftover chicken strips quickly, then store them in an airtight container in the fridge.
Eat them within 3-4 days, and reheat thoroughly before enjoying to keep them safe and tasty.
Can I Bake Chicken Strips Instead of Frying Them?
Of course, you *could* fry them until the smoke alarm sings, or just bake chicken strips for a healthier, less chaotic option.
Pop them in the oven at 400°F for 15-20 minutes—crispy goodness awaits!
Are Chicken Strips Gluten-Free if I Use Gluten-Free Breadcrumbs?
Yes, your chicken strips are gluten-free if you use gluten-free breadcrumbs. Just make sure all other ingredients, like seasonings and sauces, are gluten-free too, so you avoid any hidden gluten in your cooking process.
Check labels carefully to ensure that nothing contains gluten, as cross-contamination can occur during manufacturing.
Conclusion
Now that you’ve mastered these easy steps, you’re ready to enjoy crispy, flavorful chicken strips anytime.
Fun fact: Americans eat over 1.3 billion pounds of chicken strips annually, showing just how loved this simple dish is.
By following these tips, you’ll make your homemade version even better—crispy outside, juicy inside, and full of flavor.
So, grab your favorite dips, serve up those golden strips, and impress everyone at your next meal!
With these easy chicken strips recipes, you can create delicious, crispy chicken strips right in your frying pan every time.
Enjoy the perfect combination of taste and texture with this simple frying pan chicken strips method!