How to Put Oven Door Back On in 10 Easy Steps
To put your oven door back on safely and correctly, start by gathering essential tools like screwdrivers and gloves. Identifying your oven door type is crucial for proper handling. Always unplug the oven before beginning any work to ensure safety.
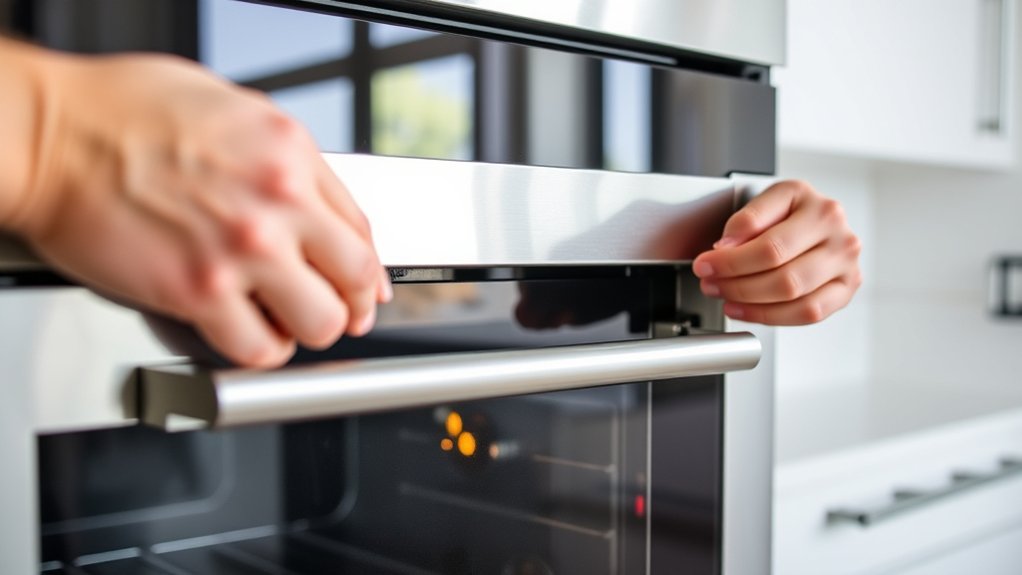
Next, align the hinges carefully with the oven frame, making sure they are fully extended and parallel. Gently slide the hinges into their slots, then secure them by locking the clips or levers in place.
Test the door by opening and closing it smoothly, adjusting the hinges if necessary.
Inspect the door seal for any damage and clean it thoroughly. Follow these steps to master perfect alignment and troubleshoot common issues with your oven door.
Key Takeaways
- Align the oven door hinges with the oven frame, ensuring they are fully extended and parallel.
- Carefully slide the hinges into the slots on the oven frame, feeling for slight resistance as they settle.
- Engage the hinge locks by pushing or pulling until you hear a click, ensuring the door is securely attached.
- Test the door by opening and closing it slowly to confirm smooth movement and proper alignment.
- Inspect the door seal for damage and clean it to maintain an airtight and efficient oven closure.
Tools You Need to Reinstall Your Oven Door
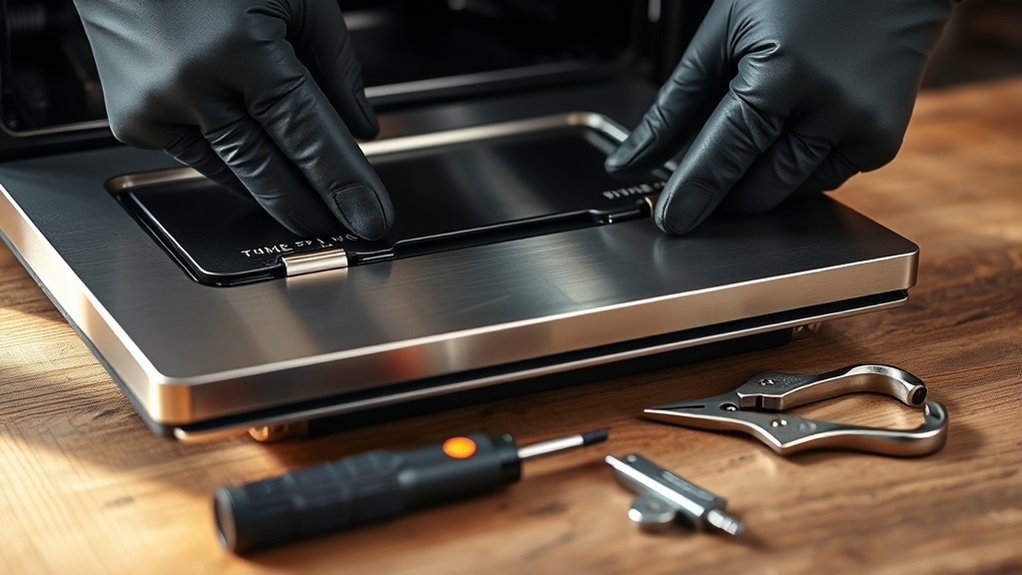
Before you begin reinstalling your oven door, gather the essential tools to make the process smooth and safe. You’ll need a flathead screwdriver to loosen or tighten screws and a Phillips screwdriver for any crosshead screws. A pair of pliers can help you grip and adjust hinges or clips if they’re stubborn.
Have a work gloves on to protect your hands from sharp edges or heat residue. If your oven door has springs, a spring hook tool or a sturdy pair of needle-nose pliers will be handy to handle them safely. Keep a flashlight nearby for better visibility inside tight spaces.
Having these tools ready will save you time and prevent damage to your oven or door during reinstallation.
How to Identify Your Oven Door Type
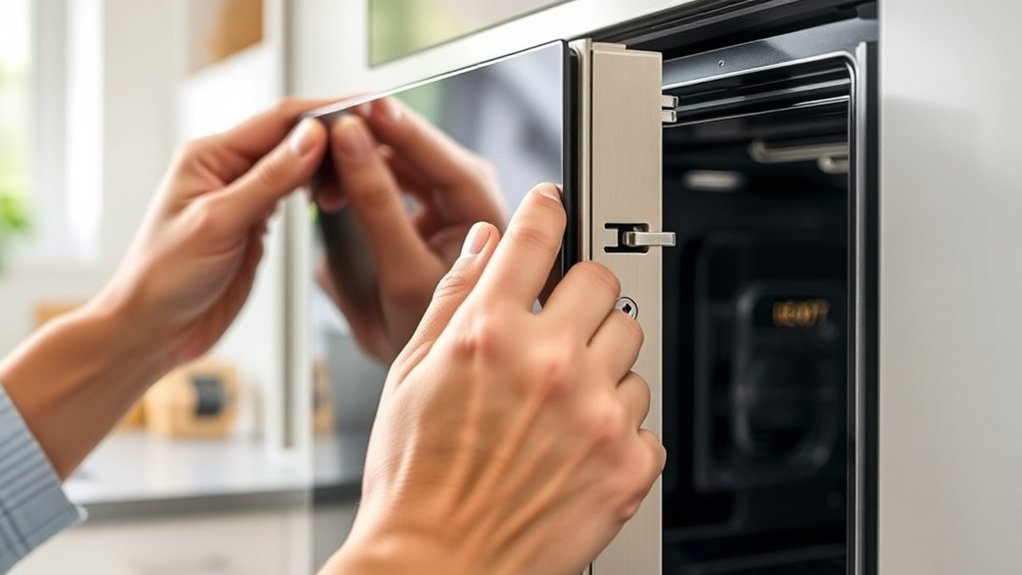
To put your oven door back on correctly, you first need to identify its type. Look closely at the hinge mechanism and check for any model numbers on the door. Recognizing common door designs will make reinstallation much easier.
Common Oven Door Designs
How can you tell which oven door design you have? Start by looking at the overall structure. Many ovens feature a drop-down door that hinges at the bottom, allowing the door to open downward.
Others have a side-swing door that opens like a cabinet, hinged on either the left or right side. Some modern ovens come with a sliding door that retracts beneath the oven cavity, saving space. You might also find a French door style, where two smaller doors open outward from the center.
Pay attention to the door’s frame and handle placement, as these often hint at the design. Identifying your oven door design helps you understand how it fits back on and guarantees you handle it correctly during reassembly.
Identifying Hinge Mechanisms
Wondering which hinge mechanism your oven door uses? Start by carefully opening the door and examining the hinges on both sides. Most oven doors feature either a lift-off hinge, a drop-down hinge, or a spring-loaded hinge.
Lift-off hinges allow the door to be removed by lifting it straight up after fully opening. Drop-down hinges pivot downward and usually lock into place when the door is open. Spring-loaded hinges use tension to hold the door in position and often have visible springs or clips.
Look for any screws, pins, or locking tabs that secure the hinge. Identifying the hinge type helps you understand how to reattach the door correctly and avoid damage. If you’re unsure, take clear photos for reference before proceeding.
Checking Door Model Numbers
Where can you find the essential information to identify your oven door type? Start by looking for the model number, usually located on the oven frame or inside the door edge. You might need to open the door fully and check the inner rim or the oven cavity’s side walls.
The model number often includes letters and numbers that correspond to your oven’s specific make and design. Once you’ve found it, jot it down or take a photo for reference. This number is vital when ordering replacement parts or searching for installation instructions.
If you can’t spot it, consult your oven’s user manual or manufacturer’s website. Knowing your exact model ensures you get the right door and hinge fit for a smooth reinstallation.
Prepare the Oven and Door for Installation
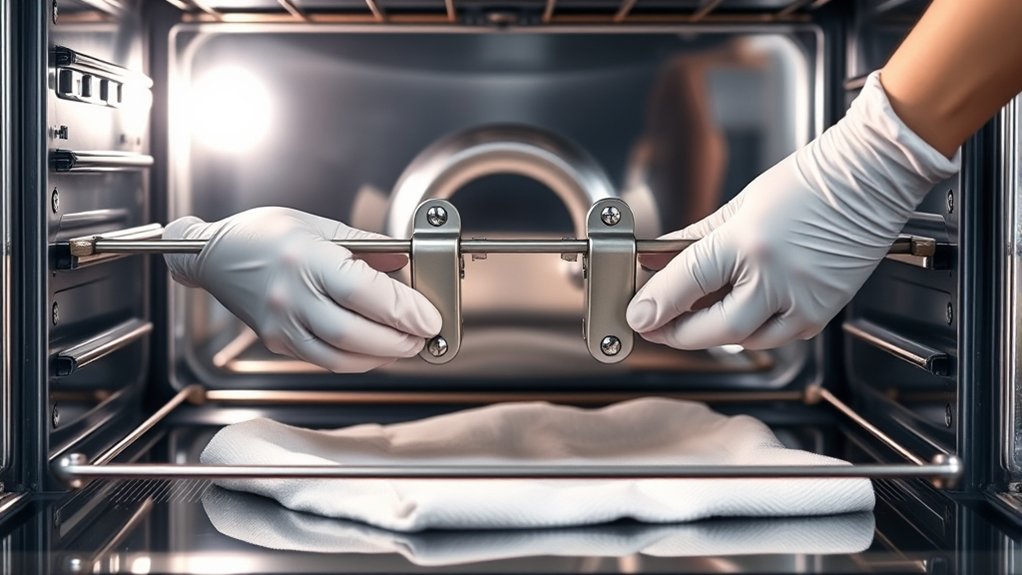
Before you put the oven door back on, make sure to clean the door surfaces thoroughly and check the hinges for any damage or wear. You’ll also want to gather all the necessary tools so the installation goes smoothly.
Taking these steps will help guarantee the door fits securely and functions properly.
Cleaning Oven Door Surfaces
Although reattaching the oven door might seem straightforward, cleaning both the door and oven surfaces thoroughly guarantees a secure fit and proper sealing. Start by unplugging your oven or switching off its power to stay safe. Remove any loose debris or crumbs from the door edges and the oven frame using a soft brush or cloth.
Next, apply a mild, non-abrasive cleaner to a damp cloth and wipe down the door’s interior and exterior surfaces, paying close attention to the gasket area. Avoid harsh chemicals that might damage seals or finish. Finally, dry all surfaces completely with a clean, dry cloth.
This step prevents dirt buildup and assures the door sits flush, reducing heat loss and improving oven efficiency once reinstalled.
Inspecting Door Hinges
To guarantee your oven door reattaches smoothly, start by inspecting the hinges carefully. These components are vital for secure and proper door alignment. Follow these steps to confirm they’re in good shape:
- Check for damage: Look for cracks, bends, or rust that could weaken the hinges.
- Test hinge movement: Open and close the hinges gently to confirm they move smoothly without sticking.
- Verify attachment points: Make sure screws and pins holding the hinges are tight and secure.
- Clean the hinges: Remove any dirt or debris that might interfere with hinge operation.
Gathering Necessary Tools
Once you’ve checked the hinges and confirmed they’re in good condition, gather the tools you’ll need to reattach the oven door properly. Typically, you’ll need a screwdriver—either Phillips or flathead depending on your oven model—to secure the hinges back in place. Have a pair of work gloves ready to protect your hands from sharp edges.
A flashlight can help you see the hinge slots clearly, especially if your kitchen lighting is dim. If your oven door has screws or brackets, keep a magnetic tray nearby to hold small parts and prevent loss. Finally, keep the oven door within easy reach to avoid unnecessary strain or awkward positioning as you work.
Preparing these tools will make the installation smoother and safer.
Align the Oven Door Hinges Properly
How do you guarantee the oven door fits back perfectly? Start by aligning the hinges with care to avoid misplacement. Follow these steps to get it just right:
- Hold the door upright and position the hinges so they line up evenly with the oven frame.
- Check that both hinges sit parallel to each other without any tilt.
- Ensure the hinge tips are fully extended, ready to slide into their slots later.
- Adjust the door slightly forward or backward to confirm smooth movement and proper sealing.
Taking your time to align the hinges properly prevents damage and ensures the door closes securely. This careful alignment sets the stage for the next step—reinserting the hinges into their slots with ease.
Insert the Oven Door Hinges Into Their Slots
After carefully aligning the oven door hinges so they sit evenly and fully extended, you can begin inserting them into their slots. Hold the door firmly and position the hinges at the edge of the oven frame. Slowly slide each hinge into its corresponding slot, making sure they fit snugly without forcing.
You should feel a slight resistance as the hinges settle into place. Keep the door steady and double-check that both hinges are fully inserted and aligned evenly. If you notice any misalignment, gently adjust the door to guarantee the hinges slide in smoothly.
Taking your time here prevents damage to the hinges or slots. Once both hinges are properly seated, you’re ready to move on to securing the oven door.
Secure the Oven Door by Locking the Hinges
Now that the hinges are in place, make certain they’re properly aligned to fit snugly. You’ll want to engage the hinge locks securely to keep the door stable.
This step ensures your oven door stays safely attached during use.
Aligning Door Hinges Properly
Where should you start when aligning the oven door hinges? Begin by positioning the door close to the oven opening. Then, follow these steps:
- Hold the door at a slight angle to match the hinge slots on the oven frame.
- Insert the top part of each hinge into the corresponding slot carefully.
- Gently lower the door until the hinges sit fully inside the slots.
- Check that the door aligns evenly with the oven frame on all sides.
Make sure the hinges slide smoothly without forcing them. Proper alignment ensures the door seals correctly and operates without resistance.
If the door feels loose or uneven, lift it off and repeat the process. Taking your time here prevents damage and guarantees a secure fit before you move on to locking the hinges.
Engaging Hinge Locks Securely
Once you’ve aligned the oven door hinges correctly and confirmed the door sits evenly, it’s time to activate the hinge locks. Start by locating the locking mechanisms on each hinge—these are usually small levers or clips that snap into place. Gently push or pull the locks until you hear a click, indicating they’re securely fastened.
Make sure not to force them, as this could damage the hinges. After locking both hinges, test the door by opening and closing it slowly to ensure it moves smoothly without wobbling. If it feels loose, disengage the locks and realign the hinges before trying again.
Activating the hinge locks firmly ensures your oven door stays in place and operates safely.
Test the Oven Door for Smooth Opening and Closing
Before you fully secure the oven door, you’ll want to check that it opens and closes smoothly without sticking or catching. Follow these steps to verify proper function:
- Grasp the oven door handle firmly and gently pull it open halfway.
- Pause to feel for any resistance or unusual friction.
- Slowly close the door and listen for consistent contact sounds along the seal.
- Open and close the door completely a few times, confirming it moves fluidly without jerks or misalignment.
If you notice any sticking or rough motion, double-check the hinge locks and alignment before proceeding. Smooth operation means your oven door sits correctly, ensuring safety and efficiency during use.
Take your time with this test to avoid future issues.
Inspect and Clean the Oven Door Seal
How often do you check the oven door seal for dirt or damage? This seal plays a vital role in keeping heat inside your oven, so it’s important to keep it clean and intact. Start by carefully inspecting the rubber gasket around the door for cracks, tears, or any signs of wear.
If you spot dirt or grease buildup, wipe it away gently using a damp cloth with mild soap. Avoid harsh chemicals that can damage the seal. Make sure the seal is properly seated without any gaps or folds, as these can cause heat leaks.
Taking a few minutes to inspect and clean the oven door seal regularly helps maintain your oven’s efficiency and safety.
Adjust the Door Alignment If It Doesn’t Fit Right
If your oven door doesn’t fit properly, you’ll need to adjust its alignment to guarantee a tight seal and proper function. Start by checking the hinges to see if they’re seated correctly. Then, follow these steps:
- Open the oven door halfway and locate the hinge adjustment screws.
- Use a screwdriver to slightly loosen the screws, allowing movement.
- Gently shift the door up, down, or sideways until it aligns evenly with the oven frame.
- Tighten the screws securely while holding the door in the correct position.
After adjusting, close the door fully to check for gaps or unevenness. Repeat if necessary until the door fits snugly and operates smoothly, ensuring your oven stays efficient and safe.
When to Call a Professional for Oven Door Problems
When should you call a professional for oven door problems? If your oven door is severely damaged, won’t close properly despite adjustments, or if you notice broken hinges or glass, it’s time to get expert help.
Also, if the door won’t stay securely in place or you experience unusual noises when opening or closing it, a technician can ensure safety and proper repairs. Avoid forcing the door back on yourself if it feels stuck or misaligned beyond minor fixes.
Professionals have the right tools and knowledge to handle delicate parts and prevent further damage. Calling a professional can save you time, avoid injury, and make sure your oven door works safely and efficiently. Don’t hesitate when the problem seems complex or risky.
Frequently Asked Questions
Can I Use a Substitute Tool if I Don’T Have the Recommended Ones?
Yes, you can use substitute tools if you don’t have the recommended ones, but make sure they fit well and won’t damage the oven. Using the right size screwdriver or pliers helps you work safely and efficiently.
How Do I Safely Remove a Broken Oven Door Glass?
You’ve got to be careful—first, wear thick gloves and eye protection. Then, gently loosen the door hinges and lay it flat.
Slowly remove the broken glass pieces, keeping them contained to avoid injury or mess.
What Should I Do if the Oven Door Handle Is Loose?
Tighten the screws holding the handle using a screwdriver. If screws are stripped, replace them or use thread locker. Avoid overtightening to prevent damage.
Check regularly to keep the handle secure and safe during use.
Are There Specific Cleaning Products to Avoid on Oven Doors?
You shouldn’t use abrasive cleaners or bleach on oven doors—they can damage the finish or glass. Instead, try mild dish soap and water. Avoid harsh chemicals; they don’t improve cleaning but can ruin your oven’s appearance.
How Often Should Oven Door Hinges Be Lubricated?
You should lubricate your oven door hinges about once a year to keep them moving smoothly. If you notice squeaking or stiffness, don’t wait—apply a high-temperature lubricant sooner to prevent damage and guarantee easy opening.
Conclusion
Now that your oven door’s back in place, imagine the satisfying click as it closes snugly, sealing in warmth like a cozy hug.
You’ve mastered the steps to keep your kitchen running smoothly, turning a tricky task into a simple fix.
If it feels off or stubborn, don’t hesitate to call a pro—sometimes the perfect fit needs an expert’s touch.
Enjoy every meal made with your oven, door secure and ready to go!
By following these easy steps to put the oven door back on, you ensure your appliance works efficiently and safely.
Keep this guide handy for quick oven door reassembly anytime you need it.