Grill Duck Breast in 7 Easy Steps
To grill duck breast in 7 easy steps, begin by trimming and scoring the skin to achieve maximum crispiness. Properly seasoning the duck breast with salt, pepper, and your favorite spices enhances flavor and ensures a delicious result. Let the meat rest at room temperature to promote even cooking.
Next, preheat your grill to 400°F and oil the grates to prevent sticking. Place the duck breast skin-side down and sear for 6-8 minutes until the skin is golden and crispy. Flip the duck and cook to medium-rare for juicy, tender meat.
Finally, rest the duck breast before slicing against the grain to retain all its juices. Follow this simple guide for perfect crispy, juicy duck every time!
Key Takeaways
- Score duck breast skin in a crisscross pattern and pat dry for crispy results.
- Season both sides with salt, pepper, and optional spices; let sit 15 minutes at room temperature.
- Preheat grill to 400°F (204°C), clean and oil grates for even cooking and no sticking.
- Sear skin-side down for 6-8 minutes on medium heat, then flip to cook to 135°F (57°C) medium-rare.
- Rest duck breast covered for 5-7 minutes before slicing thinly against the grain to retain juices.
Prepare and Score Your Duck Breast for Grilling
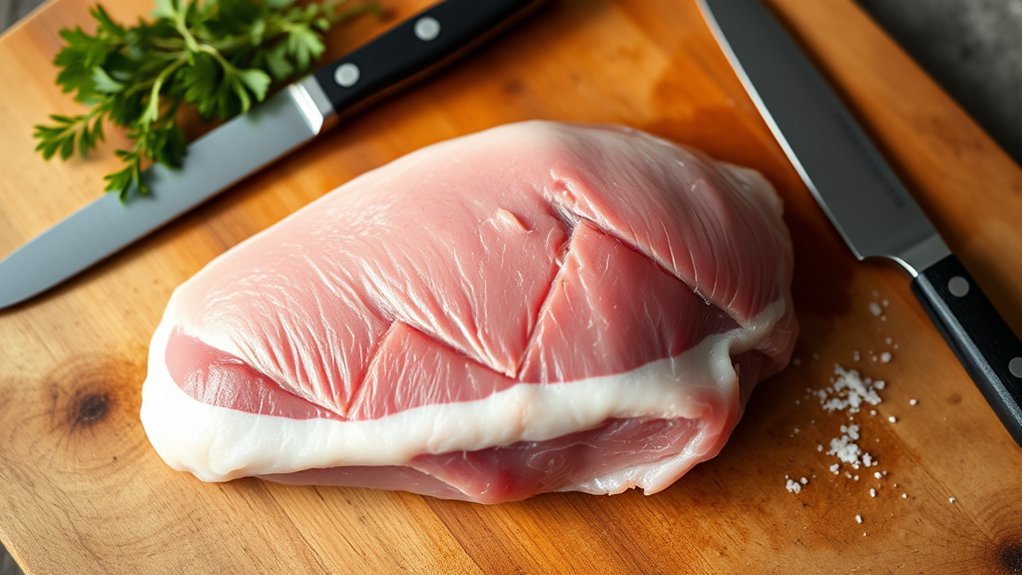
Before you start grilling, prepare your duck breast by trimming any excess fat and gently scoring the skin in a crisscross pattern. This helps the fat render evenly and crisps the skin beautifully. Be careful not to cut too deeply into the meat; just enough to break through the skin and fat.
Pat the duck breast dry with paper towels to remove moisture, which guarantees better browning. Let the meat come to room temperature for about 20 minutes before grilling; this promotes even cooking. When scoring, keep your knife at a shallow angle and apply light pressure.
Taking these steps sets a solid foundation for grilling your duck breast perfectly, giving you that irresistible crispy skin and juicy interior every time you cook.
Season the Duck Breast for Maximum Flavor
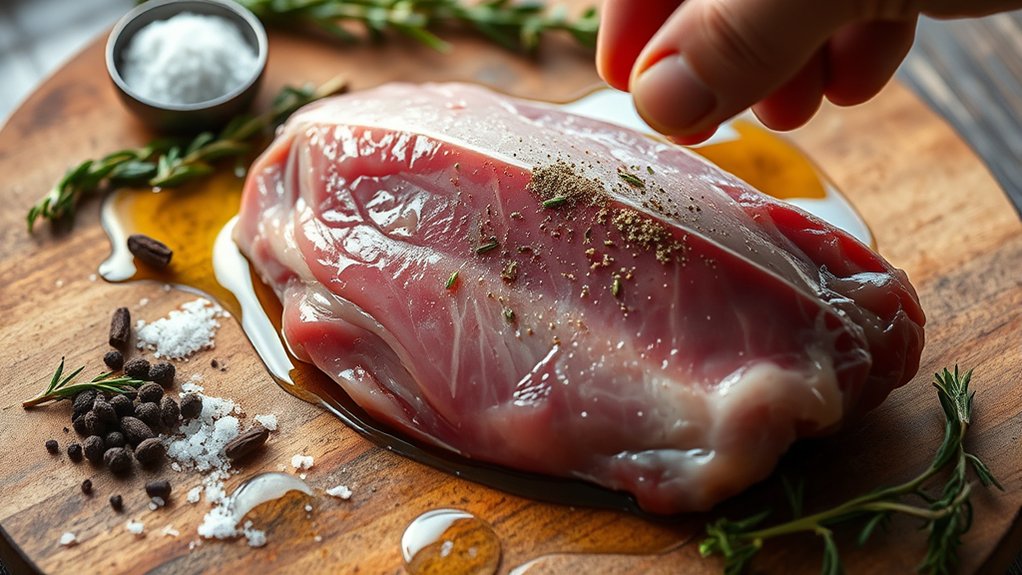
Once your duck breast is prepped and scored, it’s time to enhance its natural flavors with the right seasoning. Start by generously sprinkling kosher salt and freshly ground black pepper on both sides. These basics bring out the meat’s richness and help create a crispy crust.
For an extra flavor boost, add a pinch of garlic powder or smoked paprika. If you like a hint of sweetness, lightly dust the duck with brown sugar or five-spice powder, which complements the meat’s natural gaminess beautifully.
Make sure to rub the seasonings evenly into the scored skin so they penetrate better during grilling. Let the duck breast sit at room temperature for about 15 minutes after seasoning to absorb the flavors fully before you move on to grilling.
Preheat the Grill for Perfect Duck Breast Cooking
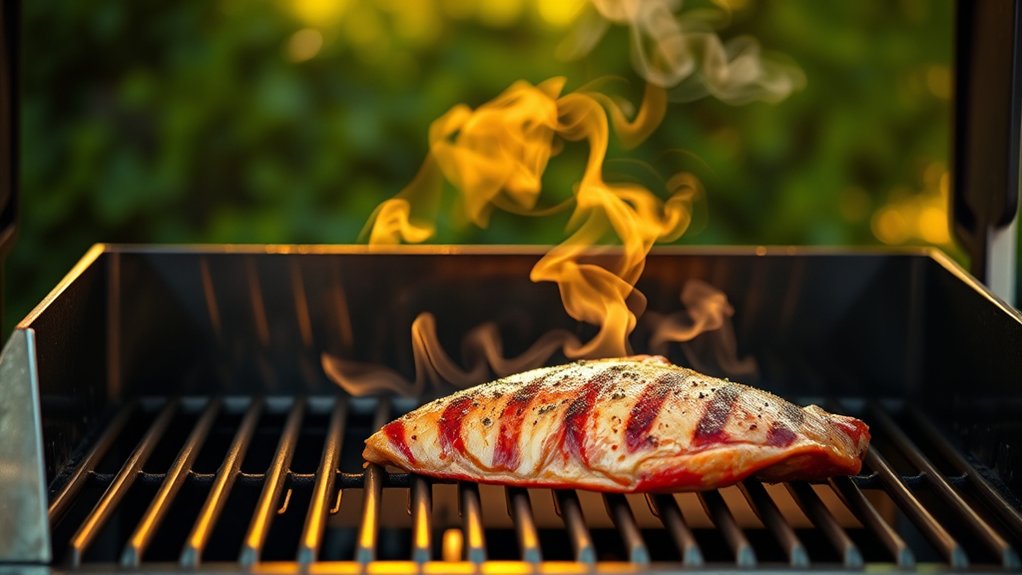
Although the seasoning has set, you’ll want to preheat your grill to medium-high heat to guarantee the duck breast cooks evenly and develops a crispy skin. A properly heated grill guarantees consistent temperature, preventing undercooked or burnt spots.
Before you start, clean the grill grates to avoid sticking and unwanted flavors.
To preheat your grill effectively:
- Open the lid and heat for 10-15 minutes until it reaches about 400°F (204°C).
- Use a grill thermometer to monitor the temperature accurately.
- Oil the grates lightly with a high smoke point oil to reduce sticking.
Sear the Duck Breast Skin-Side Down First
When you place the duck breast skin-side down on the hot grill, you’ll start rendering the fat and crisping the skin to perfection. Press the breast gently to guarantee even contact with the grill grates, helping the skin brown evenly and develop a deliciously crispy texture. Keep the heat medium to prevent burning while allowing the fat to slowly melt away, which also prevents flare-ups.
You’ll notice the skin color change as the fat renders, signaling that the duck is cooking properly. This step is essential because well-rendered fat means less greasiness and a more flavorful, crispy crust. Stay patient and resist the urge to move the duck too soon; let it sear undisturbed for about 6 to 8 minutes.
Flip and Cook Duck Breast to Juicy Medium-Rare
After the skin has crisped beautifully and the fat has rendered, it’s time to flip the duck breast to cook the other side. Place it skin-side up on the grill or pan to finish cooking gently. You want to reach a juicy medium-rare, which means aiming for an internal temperature of about 135°F (57°C).
Flip the duck breast skin-side up and cook gently to a perfect medium-rare at 135°F (57°C).
Keep these tips in mind:
- Cook for 3 to 5 minutes, depending on thickness, to avoid overcooking.
- Use a meat thermometer to monitor temperature precisely.
- Avoid pressing down on the breast; it squeezes out juices you want to keep.
Rest the Duck Breast to Lock in Juices
Letting the duck breast rest for a few minutes allows the juices to redistribute throughout the meat, ensuring every bite stays tender and flavorful. Once you remove the duck from the grill, place it on a clean cutting board or plate. Cover it loosely with aluminum foil to keep it warm without trapping steam, which can soften the crispy skin.
Rest the duck breast for about 5 to 7 minutes—this pause lets the muscle fibers relax and reabsorb the juices that would otherwise escape when you cut into it. Skipping this step might lead to dry meat. So, be patient and resist the urge to slice immediately.
Resting is a simple step that considerably improves your grilled duck breast’s texture and taste.
Serve Your Crispy, Flavorful Grilled Duck Breast
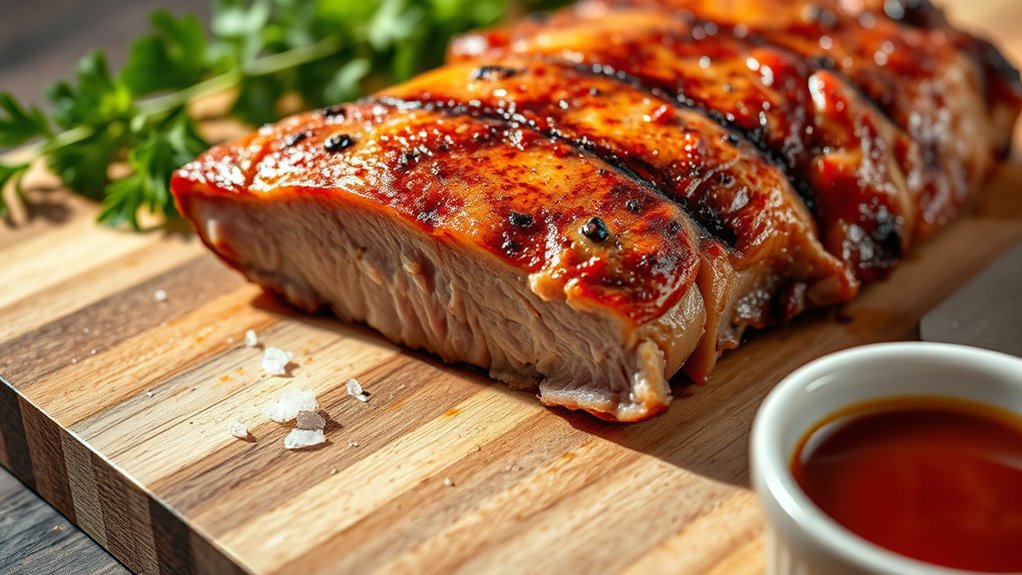
How you serve your grilled duck breast can elevate the entire dining experience. After resting, slice the duck breast thinly against the grain to showcase its juicy, tender interior and crispy skin. Arrange the slices neatly on a warm plate to keep them inviting.
Serving grilled duck breast sliced thinly against the grain highlights its tender, juicy interior and crispy skin.
Complement your duck with sides and sauces that enhance its rich flavor without overpowering it.
Consider these serving ideas to impress your guests:
- Pair with a tangy cherry or orange glaze to add a burst of sweetness.
- Serve alongside roasted root vegetables or a fresh arugula salad for balance.
- Drizzle with a light balsamic reduction for an elegant finish.
Frequently Asked Questions
What Type of Wood Chips Enhance the Duck Breast Flavor on the Grill?
You’ll want to use fruitwoods like apple or cherry wood chips to enhance duck breast flavor. They add a subtle sweetness and complement the rich meat, giving your grilled duck a delicious, smoky aroma and taste.
Can I Grill Duck Breast Without Scoring the Skin?
You can grill duck breast without scoring the skin, but it might cause uneven cooking and less crispy skin. Scoring helps render fat evenly and crisps the skin better, so it’s usually a good idea to score it first.
How Do I Store Leftover Grilled Duck Breast Safely?
Did you know 90% of foodborne illnesses come from improper storage? To store leftover grilled duck breast safely, refrigerate it within two hours in an airtight container and consume it within 3-4 days to keep it fresh and safe.
What Side Dishes Pair Best With Grilled Duck Breast?
You’ll want sides like roasted root vegetables, sautéed spinach, or a fresh arugula salad. Sweet mashed potatoes or a tangy cranberry sauce also complement duck’s rich flavor perfectly. Don’t forget some crusty bread!
Is It Necessary to Marinate Duck Breast Before Grilling?
You don’t have to marinate duck breast before grilling, but it helps enhance flavor and tenderness. If you’re short on time, a simple seasoning works fine, but marinating adds a delicious, deeper taste you’ll appreciate.
Conclusion
Now that you’ve mastered these simple steps, grilling duck breast will be a breeze. With crispy skin and juicy, tender meat, each bite is like a flavor fireworks show in your mouth. Just remember to rest your duck before serving to keep all those delicious juices locked in.
So fire up that grill, trust the process, and get ready to impress yourself—and your guests—with this mouthwatering dish! Perfectly grilled duck breast combines bold flavors and a crispy finish that will elevate any meal. Enjoy the satisfaction of mastering this delicious recipe and savor every bite.