10 Easy Steps to Clean Grill Grates With Vinegar
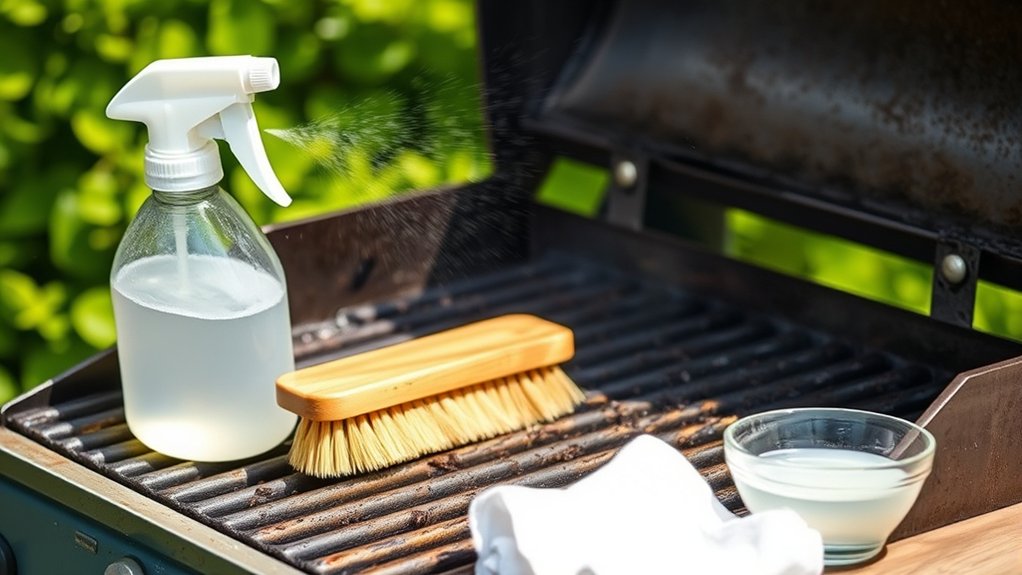
Start by gathering essential supplies like white distilled vinegar, a spray bottle, and a sturdy grill brush to clean grill grates effectively. Using vinegar for grill cleaning is a natural and affordable method that helps remove stubborn grease and residue.
Mix equal parts vinegar and water, then add baking soda for extra cleaning power.
Spray or soak your cool, detached grill grates with the solution to loosen grime.
Scrub away residue with the grill brush, rinse thoroughly to remove any vinegar taste, and dry completely before reassembling.
Regular care prevents rust and keeps your grill ready for every cookout.
Follow these simple steps now, and you’ll reveal even more tips to keep your grill in top shape.
Key Takeaways
- Mix equal parts white distilled vinegar and water, adding a teaspoon of baking soda for extra cleaning power.
- Remove grill grates, spray or soak them in the vinegar solution for 30 minutes to 2 hours for tough grime.
- Scrub grates with a sturdy brush before and after soaking to remove residue, char, and grease.
- Rinse thoroughly with clean water to remove all vinegar and debris, then dry completely before reassembling.
- Inspect grates for leftover residue and rust, repeating cleaning if needed, and maintain regular cleaning every 3 months.
Gather Your Vinegar Cleaning Supplies
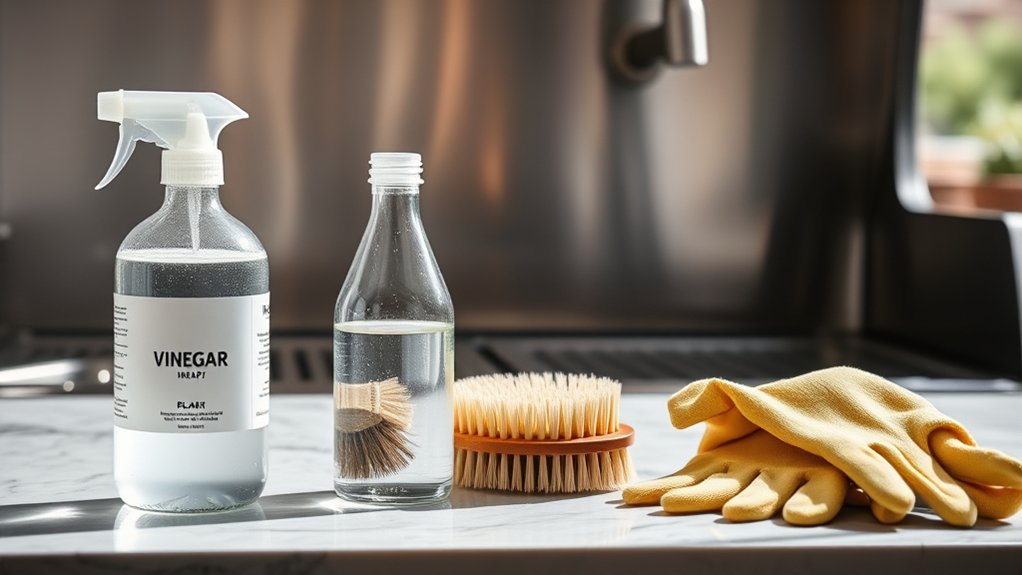
Before you start scrubbing, make sure you have all the vinegar cleaning supplies ready. You’ll need white distilled vinegar, which works best because it’s strong yet safe for your grill grates. Grab a spray bottle or a large bowl—either will help you apply the vinegar efficiently.
You’ll also want a stiff brush or a grill brush to tackle stuck-on grime. Don’t forget rubber gloves to protect your hands from the acidity and hot water for rinsing afterward. Have some old rags or paper towels handy for drying the grates once they’re clean.
Mix Your Vinegar Cleaning Solution
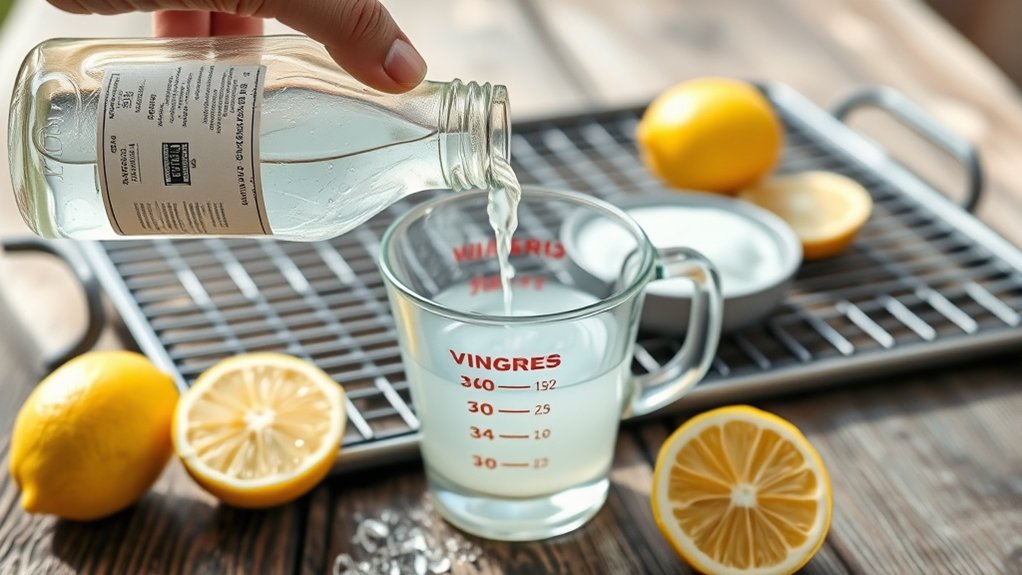
With your vinegar cleaning supplies ready, you can now prepare the solution that will break down grease and grime on your grill grates. Start by mixing equal parts of white vinegar and water in a spray bottle or a bowl—this balance guarantees the acidity is strong enough to clean without damaging your grates.
For extra cleaning power, add a teaspoon of baking soda; it helps lift stubborn residues. Shake or stir the mixture gently to combine the ingredients well. Avoid using harsh chemicals or abrasive additives, as vinegar’s natural acidity is effective and safe.
Once mixed, your solution is ready to tackle the tough buildup on your grill grates, making your cleaning process simple and efficient. Keep this mixture handy for easy application.
Get Your Grill Ready for Cleaning
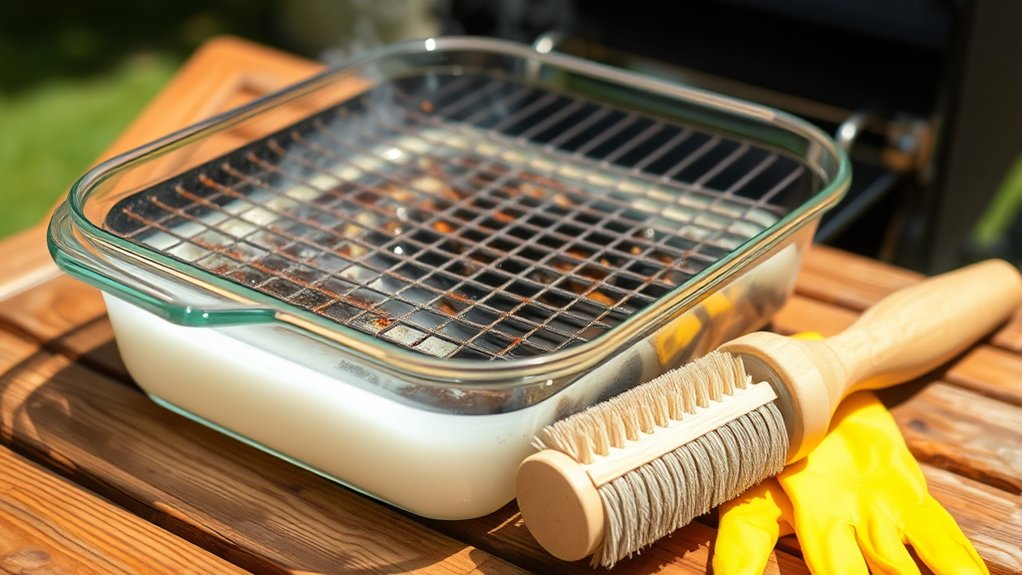
Start by ensuring your grill is completely cool and disconnected from any power or gas sources to keep the process safe. Once it’s safe to work on, prepare your cleaning area to make the task easier and more efficient. Gather all necessary tools and supplies before you begin.
Here’s what you should do to get your grill ready for cleaning:
- Remove any detachable grill parts and place them on a flat surface.
- Lay down newspaper or a tarp underneath the grill to catch drips and debris.
- Have your vinegar cleaning solution and spray bottle within reach.
- Keep a bucket of warm, soapy water nearby for rinsing your cleaning tools.
Remove Loose Debris From the Grill Grates
Start by inspecting your grill grates for any loose food particles or debris. Grab a sturdy grill brush and scrub the grates thoroughly to remove these leftovers.
This step makes the vinegar cleaning more effective and keeps your grill ready for the next cookout.
Inspect Grill Grates
Before you immerse yourself in the cleaning process, take a close look at your grill grates to spot any loose debris. Removing this debris guarantees your cleaning is more effective and prevents flare-ups during your next cookout. Use your eyes and hands to check for:
- Charred food bits stuck between the bars
- Ash or grease buildup on the surface
- Rust spots or corrosion that need attention
- Any leftover charcoal or dirt lodged in crevices
Addressing these before you start keeps the grates in good shape and makes the vinegar cleaning step more efficient. Take your time inspecting each section thoroughly so you don’t miss hidden grime, setting yourself up for a cleaner, safer grill.
Use a Grill Brush
Once you’ve inspected your grill grates and identified any loose debris, grab a sturdy grill brush to tackle those stubborn bits. Use firm, even strokes to scrub the grates, focusing on areas where residue clings. A brush with stiff bristles works best for dislodging charred particles without damaging the metal.
Make sure to brush both the top and underside of the grates to remove all loose debris. This step clears away buildup that can interfere with cleaning solutions later. Remember to brush while the grates are cool to avoid burns and maintain safety.
After brushing, you’ll notice the surface is much cleaner, setting the stage for the vinegar treatment that will deeply sanitize and brighten your grill grates.
Remove Loose Food Particles
Although you’ve already brushed the grill grates, you’ll want to remove any remaining loose food particles by hand or with a damp cloth. This step guarantees your grates are thoroughly cleaned before applying vinegar.
Start by inspecting the grates closely for stuck-on debris. Then, use a few simple tools and techniques to clear them away effectively:
- Use your fingers or a soft cloth to wipe off any loose bits.
- Dampen a cloth with warm water to loosen stubborn residue.
- Avoid using abrasive materials that could damage the grates.
- Dispose of the collected debris properly to keep your grill area tidy.
Taking these small extra steps sets you up for a more effective vinegar cleaning and a longer-lasting grill.
Soak the Grill Grates in Vinegar Solution
You’ll want to mix equal parts white vinegar and water to create your soaking solution. Submerge the grill grates completely and let them soak for at least 30 minutes to loosen grime.
This simple step makes scrubbing much easier afterward.
Vinegar Solution Preparation
Start by mixing equal parts of white vinegar and water in a large container or bucket. This simple solution is powerful enough to break down grease and grime on your grill grates without harsh chemicals. Make certain the container is big enough so the grates can be fully submerged.
Here’s how to prepare your vinegar solution effectively:
- Use white distilled vinegar for the best cleaning results
- Mix the solution in a 1:1 ratio with water
- Choose a container that fits your grill grates comfortably
- Make sure the solution covers all parts of the grates when soaked
Once mixed, your vinegar solution will be ready to tackle the tough buildup on your grill grates.
Optimal Soaking Duration
After preparing your vinegar solution, the next step is to soak the grill grates for the right amount of time. You’ll want to submerge the grates completely to guarantee the vinegar breaks down grease and residue effectively. Aim to soak them for at least 30 minutes, but no more than 2 hours.
Soaking for less than 30 minutes may not loosen tough grime, while soaking longer than 2 hours could cause the metal to corrode. If your grates are extremely dirty, you can extend soaking up to 3 hours, but monitor them closely. After soaking, scrub the grates with a brush to remove loosened debris, then rinse thoroughly with water.
This ideal soaking duration balances thorough cleaning without damaging your grill grates.
Scrub the Grill Grates to Remove Residue
Although vinegar loosens much of the grime, scrubbing the grill grates is essential to remove stubborn residue. Grab a stiff-bristled brush or a grill brush designed for heavy-duty cleaning. Focus on areas where grease and burnt bits cling tightly.
Vinegar helps loosen grime, but scrubbing with a stiff brush removes the toughest grease and burnt-on bits.
Here’s how to scrub effectively:
- Use circular motions to break up stuck-on food.
- Apply firm pressure but avoid damaging the grate.
- Pay extra attention to corners and tight spaces.
- Reapply vinegar spray if needed to keep the surface moist.
Be thorough but gentle enough to preserve the grate’s coating. This step guarantees your grill is free of debris, making your next cookout safer and tastier. Once you’ve scrubbed well, you’ll be ready for the next step in cleaning.
Rinse the Grill Grates Thoroughly
Once you’ve scrubbed away all the stubborn residue, it’s time to rinse the grill grates thoroughly. Grab a hose or a large bucket of clean water and wash off all the vinegar solution and loosened debris. Make sure to rinse every nook and cranny to prevent any leftover vinegar taste or grime.
If you’re using a hose, a strong spray will do the trick quickly, but if you’re rinsing by hand, pour water steadily and move the grates around so every part gets cleaned. Take your time here because incomplete rinsing can affect the flavor of your next barbecue. After rinsing, inspect the grates closely to guarantee no residue remains before moving on to drying.
Dry and Reassemble Your Grill Grates
After rinsing, let your grill grates air dry completely to prevent rust. Take a moment to inspect them for any leftover residue that might need another wipe.
Once they’re clean and dry, carefully reassemble all the parts to get your grill ready for the next cookout.
Thoroughly Air Dry
While the vinegar solution does a great job cleaning your grill grates, you’ll want to let them air dry completely before putting them back together. Moisture trapped in the grates can lead to rust and affect your grill’s performance. To ensure thorough drying, follow these tips:
- Place grates in a sunny, well-ventilated area to speed up drying.
- Use a clean, dry towel to wipe off excess water before air drying.
- Avoid covering the grates while drying, as this traps moisture.
- Allow at least a few hours, or overnight, for complete drying.
Once your grill grates are dry, you can confidently reassemble them, ensuring your grill stays in top shape and ready for your next cookout.
Inspect for Residue
Before reassembling your grill grates, take a close look to spot any leftover residue. Use your fingers or a soft brush to feel for stubborn bits that vinegar and scrubbing might have missed. Pay special attention to corners and crevices where grease often hides.
If you find any residue, wipe it away with a damp cloth or repeat the vinegar cleaning process on those spots. Ensuring the grates are completely clean prevents flare-ups and off-flavors during your next cookout. Once you confirm there’s no residue, your grates are ready for the next step.
Taking this extra moment to inspect helps maintain your grill’s performance and extends the lifespan of your grates, keeping your food tasting great every time you fire up the grill.
Properly Reassemble Parts
Once you’ve confirmed your grill grates are free of residue, it’s time to dry and reassemble them properly. Start by wiping each grate thoroughly with a clean cloth or paper towel to remove any moisture. This prevents rust and keeps your grill in great shape.
When putting everything back, follow these simple tips:
- Make sure all parts are completely dry before reassembling
- Place the grates securely back in their original slots
- Double-check that any screws or fasteners are tightened
- Reattach any additional components like heat shields or drip pans
Taking these steps helps maintain your grill’s performance and extends its lifespan. You’re now ready to enjoy a cleaner, safer cooking experience every time.
Maintain Your Grill Grates Regularly
If you want your grill grates to last and perform well, you need to maintain them regularly. This means cleaning after each use, oiling the grates, and checking for rust or damage. Staying consistent helps prevent buildup and extends the life of your grill.
| Task | Frequency |
|---|---|
| Clean grates | After every use |
| Oil grates | Before each grilling |
| Inspect for rust | Monthly |
| Deep clean with vinegar | Every 3 months |
| Store properly | When not in use |
Troubleshoot Vinegar Cleaning Problems
Keeping up with regular maintenance like cleaning and oiling helps your grill grates stay in great shape, but sometimes vinegar cleaning doesn’t go as smoothly as expected.
If you notice vinegar isn’t breaking down grime or there’s residue left behind, troubleshoot these common issues:
- Make sure you’re using white distilled vinegar, not a diluted or scented variety.
- Check the concentration; a 5% acidity level is best for effective cleaning.
- Don’t let vinegar sit too long—15-20 minutes is enough; prolonged exposure can damage the metal.
- Rinse thoroughly with water afterward to remove any lingering vinegar taste or smell.
Frequently Asked Questions
Can Vinegar Damage Certain Types of Grill Grates?
Yes, vinegar can damage certain grill grates, especially those made of cast iron or aluminum. You should avoid prolonged exposure since it may cause rust or corrosion.
Always rinse and dry your grates thoroughly after cleaning.
Is Vinegar Safe to Use on Porcelain-Coated Grates?
Think of porcelain-coated grates as delicate porcelain dolls; vinegar’s acidity might chip their fragile surface. You shouldn’t use vinegar on them, or you risk dulling their glossy finish and weakening their protective charm.
How Often Should I Deep Clean My Grill With Vinegar?
You should deep clean your grill with vinegar every few months or after heavy use. This keeps your grates fresh, removes buildup, and guarantees better flavor.
Don’t overdo it to protect your grill’s coating.
Can I Use Apple Cider Vinegar Instead of White Vinegar?
Of course, you *could* use apple cider vinegar, but don’t expect that fruity tang to vanish. White vinegar’s sharp acidity cleans better.
Still, if you like your grill with a hint of salad dressing, go ahead!
Does Vinegar Remove Rust From Grill Grates Effectively?
Yes, vinegar effectively removes rust from grill grates. You’ll soak or scrub them with vinegar, which dissolves rust.
Just remember to rinse and dry thoroughly afterward to prevent new rust from forming on your grill.
Conclusion
By following these 10 easy steps, you’ll keep your grill grates spotless and ready for every cookout. Did you know vinegar’s acetic acid can kill up to 90% of bacteria on surfaces? That means your grill won’t just look clean—it’ll be safer, too.
Regular vinegar cleaning saves time and effort, making grilling more enjoyable. Keep up the routine, and your grill grates will stay in great shape season after season! Using vinegar to clean grill grates is an effective and affordable way to maintain your outdoor cooking equipment.