How to Remove Oven Heating Element in 10 Easy Steps
First, turn off power at the breaker and confirm the oven is off. This is a crucial step in oven heating element removal to ensure safety.
Removing the heating element can seem tricky, but with the right guidance, it’s straightforward and manageable.
Remove all oven racks, then locate the heating element at the top or bottom of the oven.
Unscrew the mounting screws using a screwdriver, carefully pull the element out, and disconnect the wires without damaging them.
Inspect the element for damage to decide if it needs replacing.
To make certain of safety and success, follow each step closely and discover how to test and install a new element properly.
Key Takeaways
- Turn off power at the circuit breaker and confirm the oven is off before starting any work.
- Remove oven racks by sliding them out fully to access the heating element easily.
- Locate and unscrew the heating element mounting screws at the base using the appropriate screwdriver.
- Gently pull the heating element straight out, supporting it with both hands near the base.
- Carefully disconnect the wires by pulling off the connectors without damaging the wires or terminals.
Turn Off Power to Your Oven
Before you begin any work on your oven, how do you guarantee your safety? The first and most essential step is to turn off the power to your oven. You don’t want any electricity running through the appliance while you’re handling the heating element.
Head over to your home’s circuit breaker panel and find the switch labeled for your oven or kitchen appliances. Flip it to the “off” position. If you’re unsure which breaker controls the oven, turn off the main power to be safe.
Avoid relying solely on the oven’s control knobs since they don’t cut electrical power completely. Once the power is off, double-check by trying to turn on the oven. If it doesn’t start, you’re safe to proceed with removing the heating element.
Gather the Tools You’ll Need
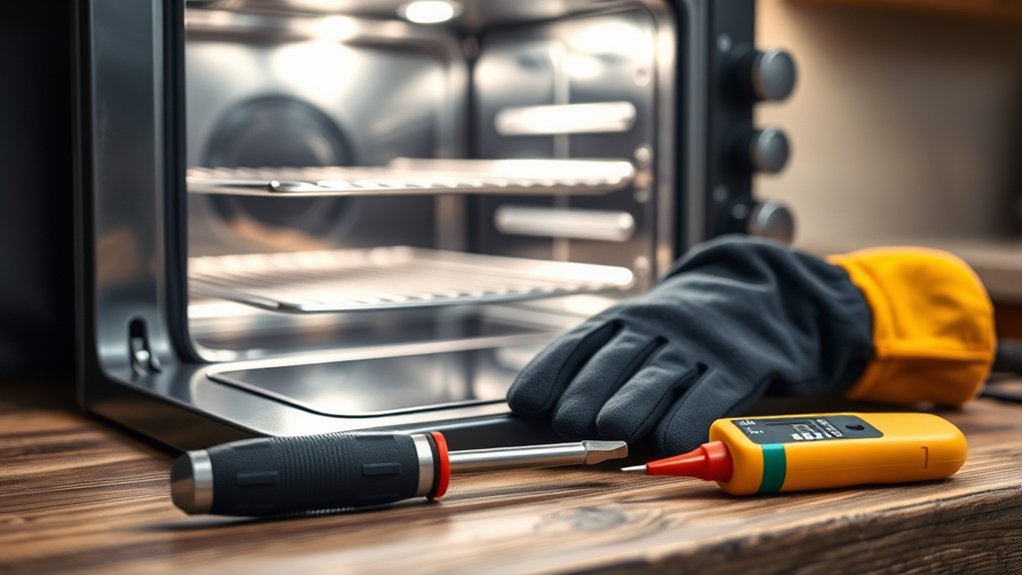
Since working with oven components requires precision, you’ll need to gather the right tools before you start. Having everything ready will make the process smoother and safer.
Here are the essential tools you should have on hand:
- Screwdriver – Usually a Phillips or flathead, depending on your oven’s screws, to remove and secure the heating element.
- Needle-nose pliers – To grip and carefully disconnect wiring attached to the heating element.
- Multimeter – To test for electrical continuity and make certain power is completely off before you touch any wires.
Make sure these tools are within reach before you begin. This preparation prevents interruptions and helps you work efficiently while avoiding potential hazards.
Remove Oven Racks
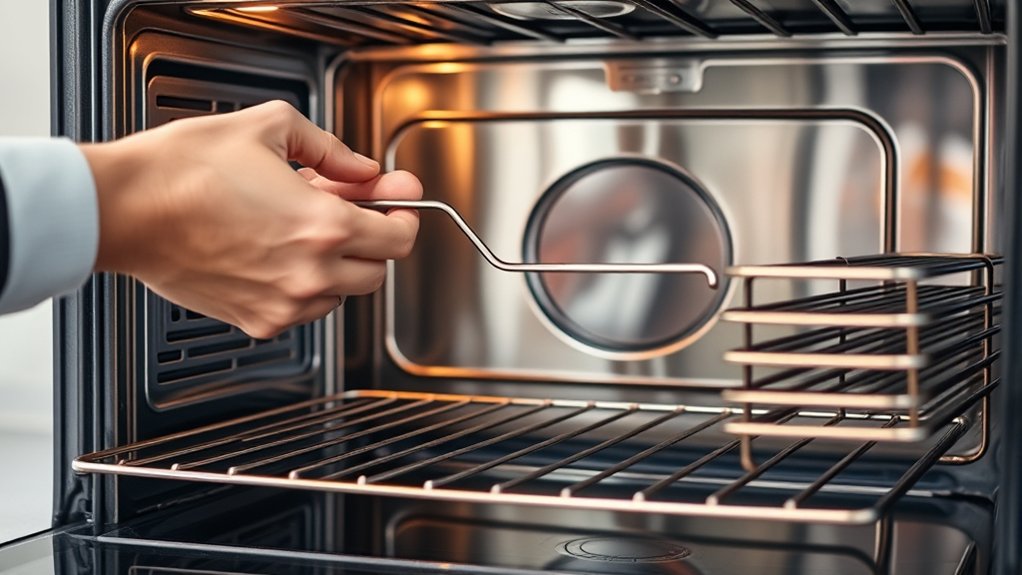
Removing the oven racks gives you clear access to the heating element and prevents any damage while you work. Start by opening the oven door fully to guarantee you have enough room to maneuver. Carefully slide each rack out, one at a time, making sure not to scratch the oven’s interior.
If the racks are stuck, gently wiggle them back and forth until they loosen. Set the racks aside in a safe place where they won’t get bent or dirty. Removing these racks not only gives you better visibility but also makes it easier to move around inside the oven as you continue with the heating element removal.
This step is quick but essential for a smooth, safe process.
Locate the Oven Heating Element
Now that the oven racks are out, you can spot the heating element inside the oven cavity. Take a moment to identify whether it’s a bake element at the bottom or a broil element at the top.
Knowing the type and position will help you remove it safely and correctly.
Identify Element Position
Before you can remove the oven heating element, you need to locate its exact position inside the oven. Typically, the heating element is either at the bottom or top of the oven cavity, depending on your oven model. To identify the element position:
- Open the oven door fully and look inside the oven cavity.
- Check the back wall or the bottom of the oven for a visible metal rod or coil.
- Compare what you see with your oven’s manual or model specifications if you’re unsure.
Knowing the exact location helps you plan the removal process safely and efficiently. Once you’ve pinpointed the element, you’ll be ready to move on to the next step confidently.
Check Element Type
How can you tell what type of heating element your oven has? First, look inside your oven—most elements are either a bake element at the bottom or a broil element at the top. Bake elements usually have a thick, rectangular shape, while broil elements are often thinner and located under the top panel.
Some ovens might have a convection element, which looks like a circular coil at the back. Next, check your oven’s manual or model number online; this can confirm the exact element type. Knowing the element type helps you buy the right replacement and understand how to remove it safely.
Always make sure the oven is off and cool before inspecting to avoid burns or electric shock.
Unscrew Oven Heating Element Mounting Screws
Once you’ve disconnected the oven from power, you can start unscrewing the mounting screws that hold the heating element in place. These screws secure the element firmly to the oven’s interior, so removing them is essential for extraction.
Here’s how to proceed:
- Locate the screws at the base of the heating element, usually found on the back wall of the oven cavity.
- Use a suitable screwdriver, typically a Phillips head, to turn each screw counterclockwise. Apply steady pressure to avoid stripping.
- Keep the screws safe in a small container; you’ll need them when reinstalling the element or a new one.
Take your time and make sure all screws are fully removed before moving on to the next step.
Pull the Heating Element Forward
Before you pull the heating element forward, make sure the oven is completely unplugged to stay safe. Locate the mounting screws you just removed to free the element.
Then, gently pull the element straight out without forcing it.
Safety Precautions First
Although it might seem straightforward, you need to prioritize safety when removing your oven’s heating element. Before you start pulling the element forward, make sure to take these precautions:
- Unplug the oven or turn off the circuit breaker to cut all power and avoid electrical shocks.
- Allow the oven to cool completely so you don’t burn yourself on hot surfaces or the element.
- Wear protective gloves to protect your hands from sharp edges and any residual heat.
Following these steps helps you work safely and prevents accidents. Once you’ve done this, you can confidently move on to pulling the heating element forward without risking injury or damage.
Safety always comes first when dealing with electrical appliances.
Locate Element Mounting Screws
After ensuring the oven is completely powered off and cooled, you can carefully pull the heating element forward to access its mounting screws. Look closely at the base of the element where it connects to the oven’s interior. You’ll find one or two screws holding the element in place, usually positioned near the points where the element attaches to the oven wall.
These screws are often small and may be Phillips head or hex head types. Use a flashlight if needed to get a clear view. Make sure you identify all screws securing the element before proceeding.
This step is vital because removing these screws allows you to detach the element from the oven, leading to a safer and easier removal process in the next steps.
Gently Pull Element Forward
How do you carefully pull the heating element forward without causing damage? Start by supporting the element firmly but gently with both hands near the base where it connects to the oven.
Then, follow these steps to guarantee a smooth removal:
- Apply steady, even pressure—avoid sudden jerks or twisting motions that could bend or break the element.
- Pull straight forward—this keeps the mounting bracket aligned and prevents stress on electrical connections.
- Stop if you feel resistance—double-check for any remaining screws or clips before continuing.
Disconnect Heating Element Wires Safely
When should you disconnect the heating element wires to guarantee safety? Always make certain the oven is completely powered off before touching any wires. Unplug the oven or switch off the circuit breaker to cut the electricity.
Never rely on just turning the oven off using its control panel. Once the power is off, use a voltage tester to confirm no electricity flows to the element wires. Next, carefully grasp the wire connectors attached to the heating element terminals and gently pull them off.
Avoid tugging on the wires themselves to prevent damage. If connectors are tight, use pliers for a steady grip. Wearing insulated gloves adds an extra layer of protection.
Following these steps helps you safely disconnect the heating element wires without risk of electric shock.
Inspect the Heating Element and Decide If Replacement Is Needed
Now that you’ve disconnected the wires, take a close look at the heating element for any visible cracks, blisters, or breaks.
If it looks damaged, you’ll likely need to replace it. You can also test its functionality with a multimeter to be sure it’s working properly.
Visual Damage Indicators
Although oven heating elements are built to last, they can wear out or get damaged over time. When inspecting your oven’s heating element, look closely for these visual damage indicators to decide if replacement is necessary:
- Visible breaks or cracks: Any fractures in the element mean it won’t heat properly and should be replaced immediately.
- Burn marks or discoloration: Dark spots or unusual coloring can signal overheating or electrical issues.
- Warping or bending: If the element is misshapen, it may not make proper contact, causing uneven heating.
If you spot any of these signs, it’s a clear indication that your heating element needs substitute. Catching these early prevents further damage and ensures your oven heats safely and efficiently.
Functionality Testing Methods
Spotting visible damage on your oven’s heating element is a strong clue that replacement might be necessary, but appearance alone doesn’t tell the whole story. To accurately test its functionality, first unplug your oven to ensure safety. Use a multimeter set to the ohms setting to check the element’s resistance.
Disconnect the element’s wires and touch the multimeter probes to each terminal. A reading of 10 to 50 ohms typically indicates the element is working properly. If you get an infinite or zero reading, the element is faulty and needs replacing.
Also, check for continuity between the element terminals and the metal casing; any continuity here suggests a short circuit, meaning replacement is necessary. This simple test helps you decide if removal is truly required.
Unpack and Inspect the New Heating Element
Before installing your new heating element, carefully unpack it to avoid any damage. Handle it gently, as the element is fragile and can easily bend or break.
Once unpacked, inspect the element thoroughly to ensure it’s in perfect condition. Check for any visible defects or signs of damage from shipping.
Follow these steps to inspect your new heating element:
- Visual Check: Look for cracks, dents, or deformities along the entire element.
- Connector Inspection: Ensure the terminals are clean, straight, and free of corrosion.
- Matching Specifications: Verify the new element matches your oven’s model number and size.
Taking these precautions will help guarantee a smooth installation and proper function.
Test the Oven to Ensure Proper Heating
Once you’ve installed the new heating element, you’ll want to test the oven to confirm it heats correctly and reaches the desired temperature. Start by plugging the oven back in and turning it on to a moderate temperature, like 350°F (175°C). Allow it to preheat fully, usually about 10 to 15 minutes.
Keep an eye on the heating element to see if it glows red evenly, indicating it’s working properly. Use an oven thermometer inside to verify the actual temperature matches the setting. If the oven heats evenly and reaches the correct temperature, you’ve successfully replaced the element.
If not, double-check the installation or consider consulting a professional. Testing guarantees your oven is safe and functional before regular use.
Frequently Asked Questions
How Long Does a Typical Oven Heating Element Last?
A typical oven heating element lasts about 5 to 10 years, depending on usage and care.
If your oven heats unevenly or takes longer to cook, it might be time to replace the element.
Can a Faulty Heating Element Cause Uneven Cooking?
Yes, a faulty heating element can cause uneven cooking because it won’t heat consistently. You’ll notice hot spots or undercooked areas, so replacing the element usually fixes your oven’s temperature problems quickly and effectively.
Are There Different Types of Oven Heating Elements?
Yes, you’ll find different types of oven heating elements, like bake, broil, and convection elements. Each serves a specific function, so knowing which one’s faulty helps you fix uneven cooking or other heating issues effectively.
How Do I Know if the Heating Element Is the Real Problem?
You’ll know the heating element’s the problem when your oven won’t heat up or heats unevenly. If it’s visibly damaged or doesn’t glow red, test it with a multimeter to confirm it’s truly faulty.
Can I Upgrade to a More Efficient Heating Element?
Yes, you can upgrade to a more efficient heating element. Just make certain the new one matches your oven’s specifications and voltage.
Check compatibility carefully to avoid damage and guarantee ideal performance.
Conclusion
Now that you’ve danced through these steps, your oven’s heating element is ready for a fresh start. Like a phoenix rising from the ashes, your appliance will soon blaze with renewed warmth and efficiency.
Remember, with the right care and attention, even the most stubborn elements can be tamed. Removing the oven heating element properly ensures your appliance runs safely and effectively.
So, power up confidently and let your kitchen’s heart beat strong once more, turning every meal into a masterpiece. With these simple steps, maintaining and replacing your oven heating element becomes a breeze.