How Long to Cook Split Chicken Breast in Oven in 7 Simple Steps
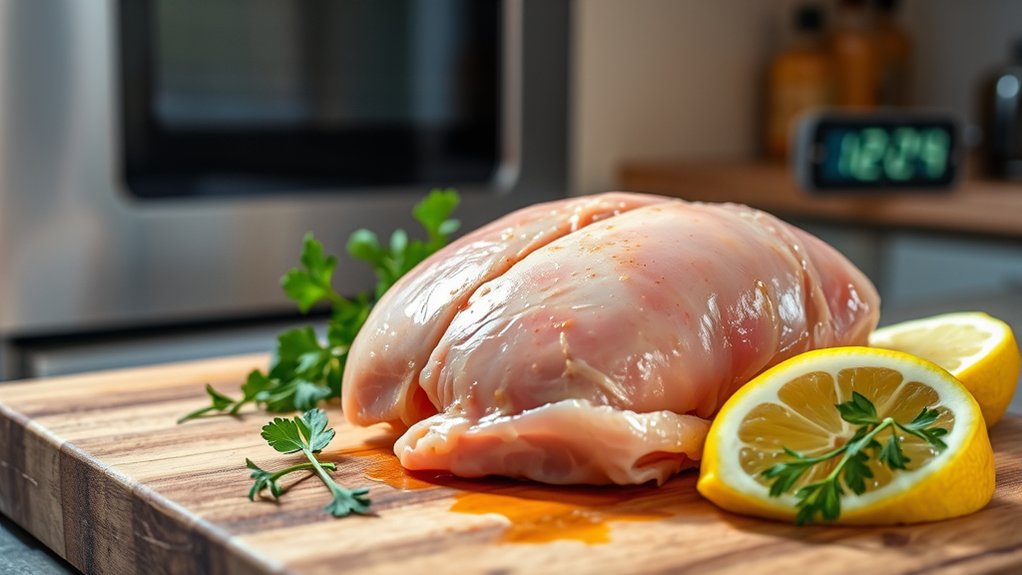
To cook split chicken breast in the oven perfectly, it’s important to follow a few key steps for juicy and tender results. Start by rinsing and patting the chicken dry to remove excess moisture, which helps the seasoning stick better. Season the chicken with your favorite herbs or spices to enhance the flavor.
Next, preheat your oven to 375–400°F and prepare a lined baking sheet for easy cleanup. Place the chicken breasts on the sheet, making sure they are spaced evenly for even cooking.
Bake the split chicken breast for 25–30 minutes, adjusting the time based on thickness. The chicken is done when the internal temperature reaches 165°F and the juices run clear.
Once cooked, let the chicken rest loosely covered for 5–10 minutes. This step helps retain juices before slicing against the grain.
Follow these simple steps and tips for seasoning and serving to enjoy perfectly cooked split chicken breast every time.
Key Takeaways
- Preheat oven to 375°F–400°F for consistent cooking temperature.
- Bake split chicken breast for 20–30 minutes, adjusting time by thickness.
- Cook until internal temperature reaches 165°F and juices run clear.
- Rest chicken for 5–10 minutes loosely covered with foil before slicing.
- Slice against the grain to ensure tenderness and better texture.
Preparing Split Chicken Breast for Baking
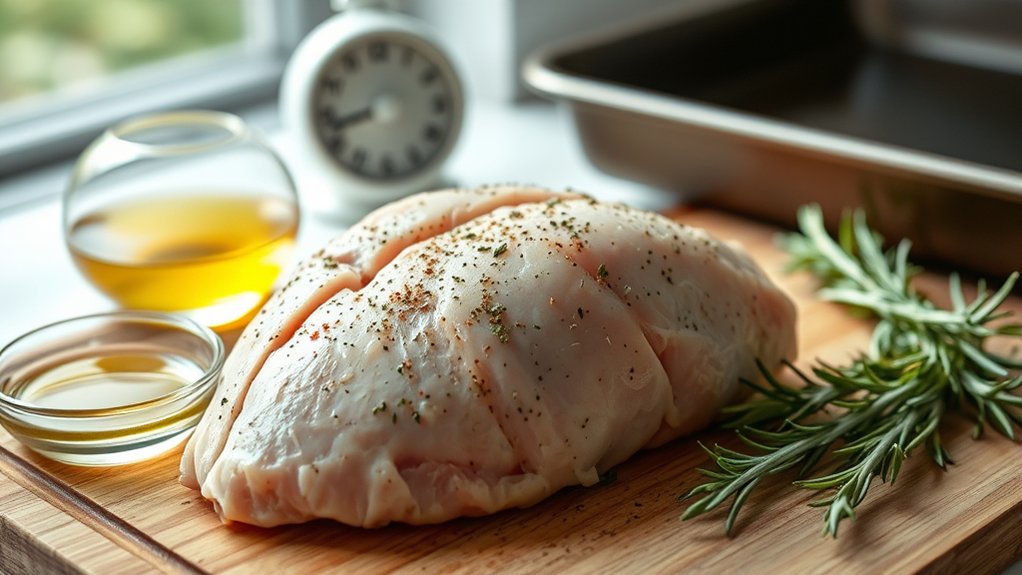
Before you start baking, make sure you properly prepare the split chicken breast. Begin by rinsing the chicken under cold water and patting it dry with paper towels to ensure a crispy finish. Next, check for any excess fat or cartilage and trim it away with a sharp knife.
If the breast halves are uneven in thickness, use a meat mallet or rolling pin to gently pound them to an even thickness. This helps them cook uniformly. Place the split chicken breasts on a baking sheet lined with parchment paper or foil for easy cleanup.
Finally, let the chicken rest at room temperature for 15–20 minutes before baking, which promotes even cooking and juicier results. Now, you’re ready to season and bake your chicken.
Simple Seasoning Ideas for Split Chicken Breast
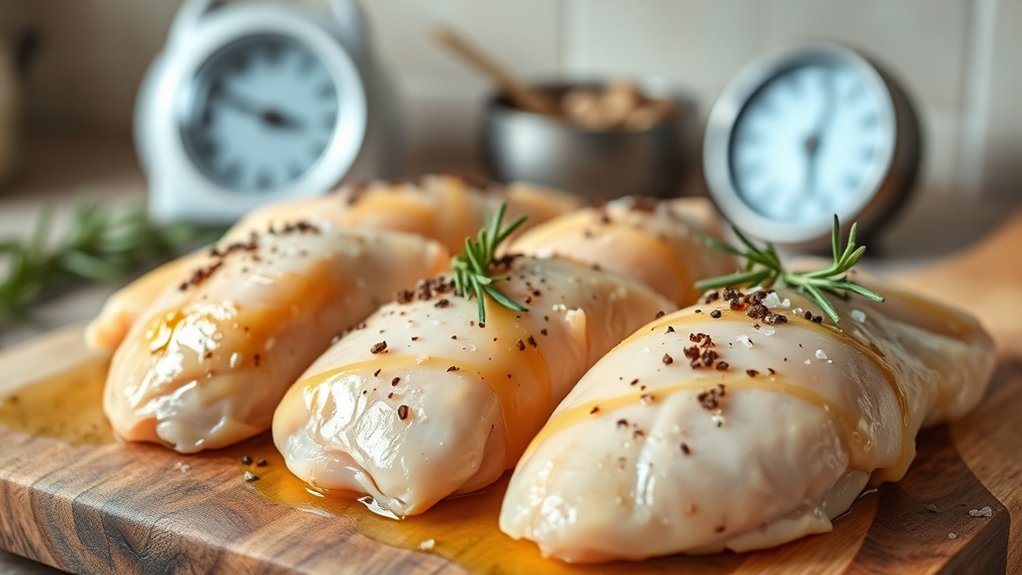
Once your split chicken breasts are prepped and resting, it’s time to add flavor with simple seasonings that complement their natural taste. You don’t need complicated blends; a few key ingredients can make a big difference.
Try mixing herbs and spices that enhance juiciness and aroma without overpowering the chicken.
| Seasoning Blend | Key Ingredients |
|---|---|
| Classic Herb Mix | Rosemary, thyme, garlic powder |
| Spicy Kick | Paprika, cayenne, black pepper |
| Citrus Zest | Lemon zest, oregano, salt |
Sprinkle your chosen blend evenly on both sides and gently pat it in. This simple step elevates your chicken’s flavor while keeping it juicy and tender during baking.
Best Oven Temperature for Split Chicken Breast
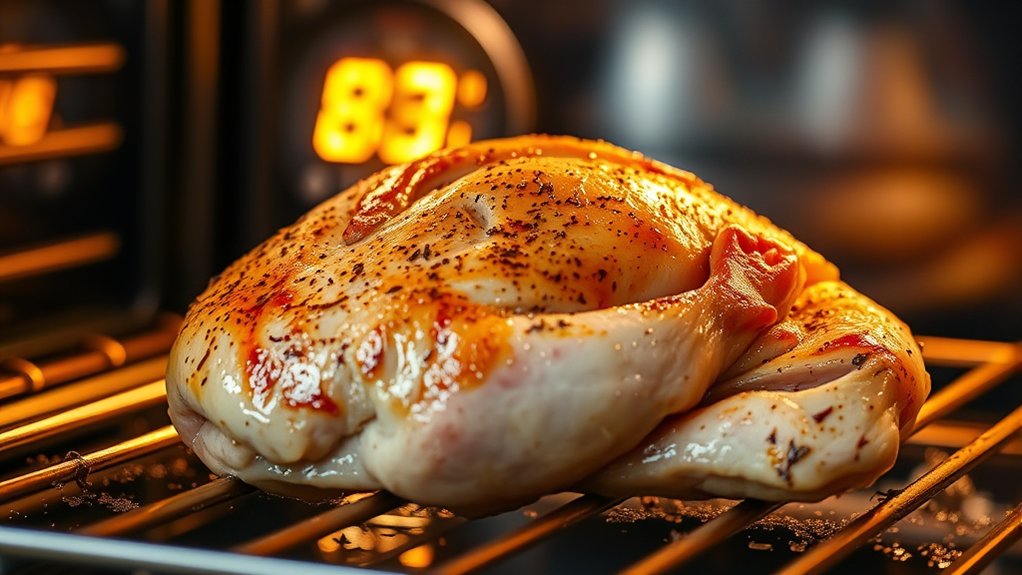
Choosing the right oven temperature is essential to cooking split chicken breasts evenly while keeping them juicy. You want to set your oven between 375°F and 400°F. This range allows the chicken to cook through without drying out or burning the exterior.
If you go lower, the chicken might take too long, risking dryness. Too high, and the outside may char before the inside is done. Preheating your oven guarantees consistent heat from the start, promoting even cooking.
Using a moderate temperature also helps the natural juices stay locked in, making your chicken tender and flavorful. Stick to this temperature range, and you’ll have perfectly cooked split chicken breasts ready to enjoy every time.
How Long to Bake Split Chicken Breast
Though cooking times can vary based on your oven and the size of the chicken breasts, you’ll generally bake split chicken breasts for about 25 to 30 minutes at 375°F to 400°F. Place the breasts skin-side up on a baking sheet or in a shallow pan. Make sure to arrange them evenly to guarantee consistent cooking.
If your chicken breasts are thicker, lean toward the higher end of the time range. Conversely, thinner pieces may cook faster, so start checking around 20 minutes. Avoid opening the oven door too often, as this lowers the temperature and extends cooking time.
Once you reach the estimated time, you can prepare to test for doneness. Remember, these times are guidelines—adjust based on your specific conditions for the best results.
How to Know When Your Split Chicken Breast Is Done
You’ll know your split chicken breast is done by checking a few key signs. Use a meat thermometer to confirm the internal temperature hits 165°F, look for clear juices, and notice if the texture feels firm.
These simple checks help guarantee your chicken is cooked safely and tastes great.
Checking Internal Temperature
How can you tell when your split chicken breast is perfectly cooked? The most reliable way is by checking its internal temperature. Use a meat thermometer and insert it into the thickest part of the breast without touching bone.
The safe internal temperature for chicken is 165°F (74°C). Once it hits this, you know it’s done and safe to eat.
Here’s a quick guide:
| Temperature (°F) | Temperature (°C) | Doneness |
|---|---|---|
| 140 | 60 | Undercooked |
| 165 | 74 | Safe to eat |
| 175 | 79 | Well done, drier |
Always let the chicken rest for a few minutes after cooking to allow juices to redistribute.
Visual Doneness Indicators
While a meat thermometer provides the most accurate measure, you can also rely on visual cues to know when your split chicken breast is done. Look for opaque, white meat throughout, with no pinkness remaining. The surface should have a light golden color, indicating it’s cooked through.
Additionally, the edges may start to brown slightly, signaling proper roasting. When you cut into the thickest part, the juices should run clear, not cloudy or pink. Avoid any translucent or shiny areas, as these suggest undercooking.
Keep in mind that overcooked chicken tends to look dry and pale, so aim for a balance. Using these visual signs alongside temperature checks helps guarantee your chicken is safe and perfectly cooked every time.
Texture and Juices
Visual cues and temperature checks give you a solid idea of doneness, but paying attention to texture and juices offers another way to confirm your split chicken breast is cooked just right. When you press the thickest part, it should feel firm but still springy, not mushy or overly hard. If the meat is too soft, it likely needs more time.
Also, check the juices: when you cut into the breast, the liquid should run clear, not pink or bloody. Clear juices and a firm texture mean your chicken is safe to eat and juicy inside. Combining these signs with a reliable thermometer guarantees your split chicken breast is perfectly cooked every time.
Tips to Keep Split Chicken Breast Juicy and Tender
To keep your split chicken breast juicy and tender, start with a proper marinade that locks in moisture and adds flavor. You’ll also want to cook it at the ideal temperature to prevent drying out.
Let’s explore how these steps make a big difference in your final dish.
Proper Marinade Techniques
Because split chicken breasts can dry out quickly, you’ll want to master proper marinade techniques that lock in moisture and enhance flavor. Start by choosing a marinade with an acid like lemon juice or vinegar, balanced with oil to prevent drying. Add herbs, garlic, or spices for depth.
Always marinate your chicken in the fridge to keep it safe and let flavors develop—aim for 30 minutes to 2 hours; longer can break down texture too much. Use a resealable plastic bag or a shallow dish to guarantee even coating. Turn the chicken occasionally while marinating to soak up all the goodness.
When ready, pat the chicken dry before cooking to help it brown nicely without steaming. This simple approach guarantees juicy, tender results every time.
Optimal Cooking Temperature
Although cooking split chicken breast at high temperatures might seem faster, it often leads to dry, tough meat. To keep your chicken juicy and tender, aim for a moderate oven temperature around 350°F (175°C). This allows the meat to cook evenly without drying out.
Using a meat thermometer helps you avoid overcooking—pull the chicken out once it hits 165°F (74°C) internally.
Here’s a quick guide to ideal oven temperatures and their effects:
| Oven Temperature | Result |
|---|---|
| 325°F (163°C) | Slow, juicy cooking |
| 350°F (175°C) | Balanced tenderness |
| 375°F (190°C) | Slightly crisp edges |
| 400°F (204°C) | Risk of dryness |
| 425°F (218°C) | Fast but tough |
Stick to 350°F for the best balance of speed and moisture retention.
How to Rest and Serve Split Chicken Breast
Once your split chicken breast comes out of the oven, you’ll want to let it rest for at least 5 to 10 minutes. This resting period allows the juices to redistribute throughout the meat, keeping it moist and flavorful when you cut into it. Avoid slicing immediately, as this can cause the juices to run out, leaving the chicken dry.
To rest, loosely cover the chicken with foil to retain warmth. When ready to serve, slice the breast against the grain for tender, easy-to-chew pieces. Pair it with your favorite sides or a fresh salad for a complete meal.
Resting and proper slicing make a big difference, turning your perfectly cooked chicken into a juicy, satisfying dish every time.
Frequently Asked Questions
Can I Freeze Split Chicken Breast Before Cooking?
Yes, you can freeze split chicken breast before cooking. Just make sure to wrap it tightly in plastic wrap or freezer bags to prevent freezer burn.
Thaw it safely in the fridge before cooking for best results.
What Side Dishes Pair Well With Baked Split Chicken Breast?
You’ll find roasted veggies, mashed potatoes, or a fresh salad complement baked split chicken breast perfectly. These sides balance flavors and textures, making your meal satisfying and vibrant without overpowering the tender, juicy chicken.
Is It Safe to Marinate Split Chicken Breast Overnight?
Yes, you can safely marinate split chicken breast overnight. Just make sure to keep it refrigerated in a sealed container to prevent bacteria growth. This helps the flavors soak in and tenderizes the meat nicely.
Can I Use Split Chicken Breast in a Slow Cooker?
Absolutely, you can let split chicken breast take a cozy, slow ride in your slow cooker. It’ll become tender and flavorful, soaking up all those delicious juices without any fuss or hurry on your part.
How Do I Reheat Leftover Split Chicken Breast Safely?
You should reheat leftover split chicken breast in the oven at 350°F for 20 minutes or until it reaches 165°F internally.
Cover it with foil to keep it moist and avoid drying out.
Conclusion
Now that you know the perfect oven time and secret tips to keep your split chicken breast juicy, you’re just moments away from a delicious meal. But here’s the twist—don’t rush the resting period; that’s where the magic happens. Waiting those extra minutes locks in flavor and tenderness you won’t believe.
So, get ready to impress yourself—and anyone at your table—with a perfectly cooked, mouthwatering chicken breast every time. Follow these simple steps to master how long to cook split chicken breast in the oven, ensuring a juicy and flavorful result. Your oven-baked chicken breast will be the star of any meal!