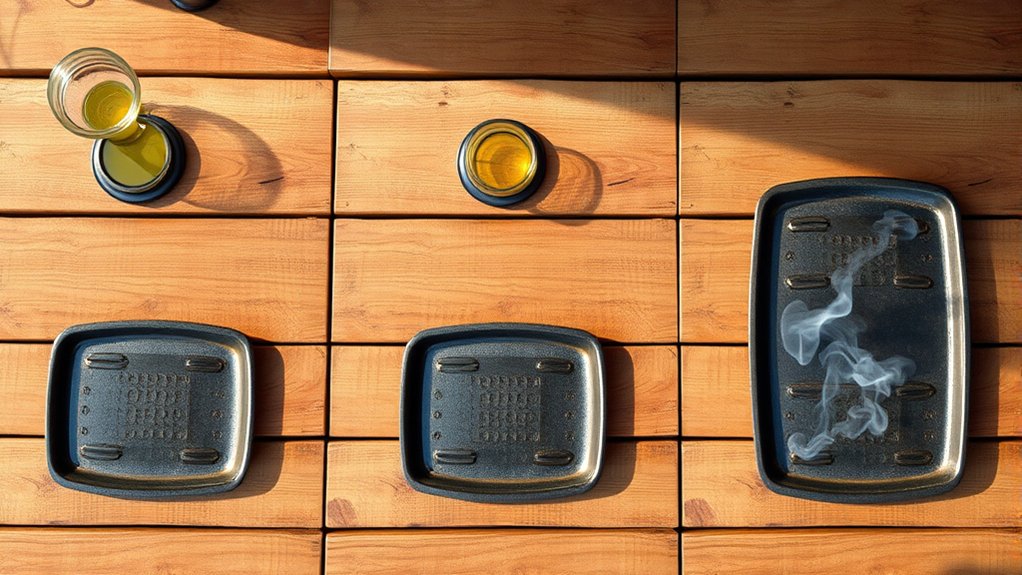
7 Easy Steps to Reseason Your Blackstone Grill
To reseason your Blackstone grill effectively, start by thoroughly cleaning the surface with mild soap and a scraper. This step is essential to remove old grease, food residue, and any buildup that can affect seasoning. Proper cleaning lays the foundation for a smooth reseasoning process.
Next, focus on removing any rust or old seasoning, especially in the grill’s corners where buildup tends to accumulate. Dry the grill completely by wiping it down and heating it briefly to evaporate any moisture. This ensures the surface is ready to absorb the new seasoning layer.
Now, apply a thin, even coat of high-smoke-point oil across the entire grill surface. Heat the grill to bond the oil, forming a durable seasoning layer. Repeat the oil application and heating cycle 3-5 times for best results.
Maintain your Blackstone grill regularly to extend its lifespan. Following these steps helps you optimize the reseasoning process and keep your grill performing at its best.
Key Takeaways
- Clean the grill by heating slightly, then scrubbing with mild soap and a sturdy scraper to remove grease and residue.
- Remove rust and old seasoning using steel wool or a grill scraper, focusing on rusty spots and corners.
- Thoroughly dry the grill by wiping and heating it on medium for 10-15 minutes to evaporate moisture.
- Apply a thin, even layer of high-smoke-point oil and heat the grill until the oil smokes, repeating 3-5 times.
- Maintain seasoning by regular cleaning, oiling after each use, and proper storage to prevent rust and sticky buildup.
Clean Your Blackstone Grill With Soap and Scraper
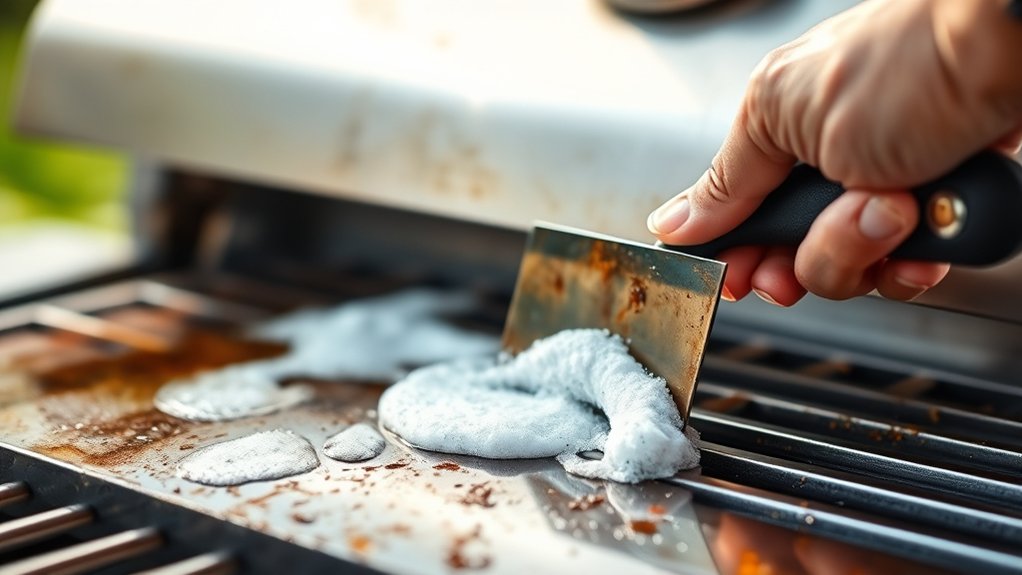
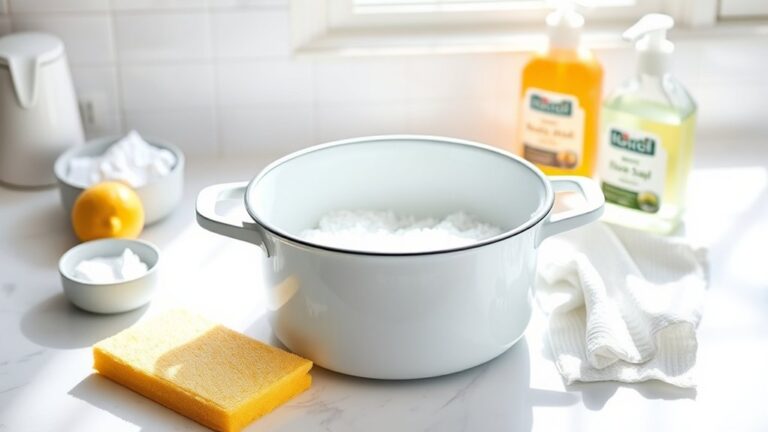
Before you start reseasoning, clean your Blackstone grill thoroughly using soap and a scraper. Begin by heating the grill slightly to loosen stuck-on food and grease. Once warm, turn it off and let it cool enough to handle safely.
Apply a mild dish soap with warm water and use a sturdy scraper to remove residue from the surface. Be sure to get into corners and edges where grease tends to build up. Rinse the grill with clean water and wipe it down with a cloth or paper towels.
This step guarantees you’re starting fresh, preventing old buildup from interfering with the new seasoning layer. Taking the time to clean carefully now will make your reseasoning process more effective and your grill ready for cooking.
Remove Rust and Old Seasoning From Your Grill
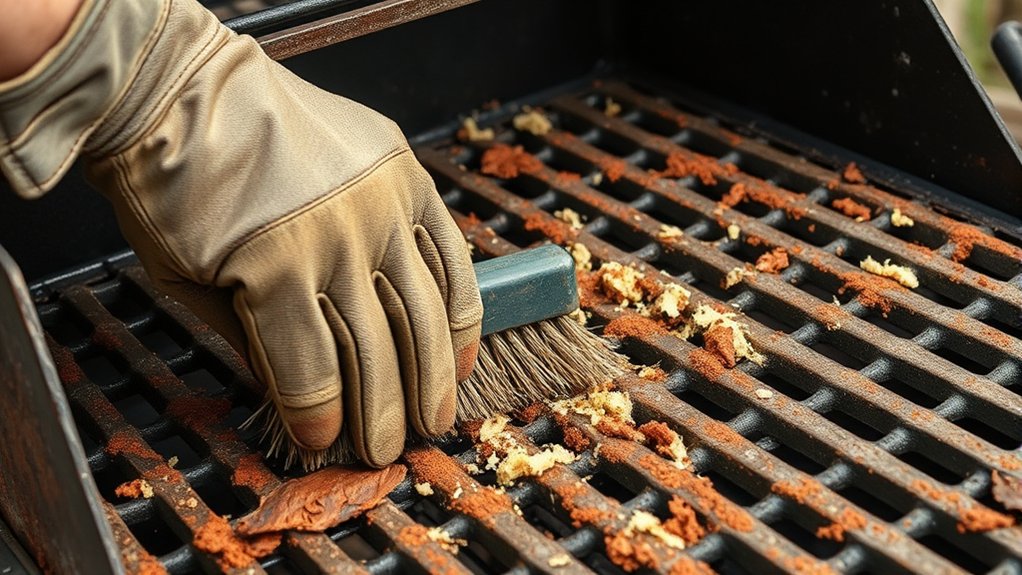
Now that your grill is clean, check for any rust spots or leftover seasoning that can affect cooking.
You’ll want to use a steel wool pad or a grill scraper to remove these areas thoroughly.
Tackling rust and old seasoning guarantees your Blackstone cooks evenly and stays in great shape.
Identifying Rust Spots
How can you tell if your Blackstone grill needs reseasoning due to rust? Look closely at the cooking surface for reddish-brown patches—that’s the telltale sign of rust forming. These spots often appear where old seasoning has worn away or moisture has settled.
You might also notice rough or flaky textures instead of the smooth, dark coating you expect. Rust can cause uneven heat distribution and affect food taste, so catching it early is key. Pay special attention to corners and edges, as rust tends to start there.
Identifying these rust spots before you start reseasoning helps you focus your efforts where the grill needs it most, ensuring a durable, non-stick surface once you’re done.
Effective Cleaning Methods
Once you’ve spotted rust or worn seasoning on your Blackstone grill, the next step is to thoroughly clean the surface to prepare it for reseasoning. Start by scraping off any loose rust and old seasoning with a metal spatula or grill scraper. For stubborn rust, use a fine steel wool pad or a grill cleaning brush to scrub the affected areas.
Afterward, wipe the surface down with a damp cloth to remove debris. Next, apply a non-toxic degreaser or a mixture of water and mild dish soap, scrubbing gently to clear away grease and residue. Rinse thoroughly with warm water and dry completely using paper towels or a clean cloth.
Proper cleaning guarantees the new seasoning bonds well and protects your grill from future rust.
Dry the Grill Completely
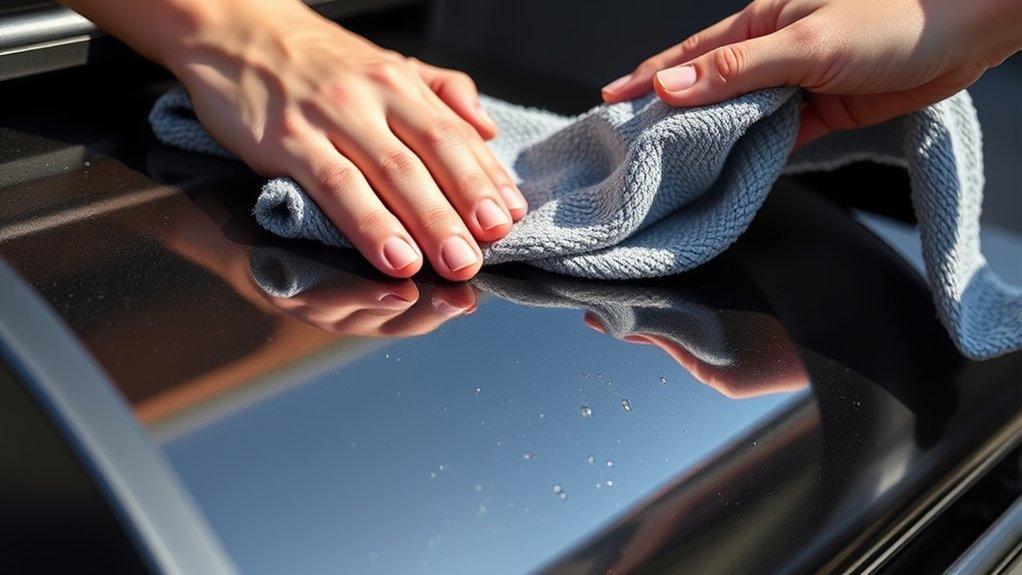
You need to dry your grill completely to prevent rust from forming again. Use a clean cloth to wipe away any moisture, then heat the surface briefly to evaporate any remaining water.
Ensuring your grill is fully dry sets the stage for a strong, lasting seasoning.
Importance of Thorough Drying
Although it might be tempting to move on quickly, drying your Blackstone grill completely is essential to prevent rust and guarantee a long-lasting seasoning. Moisture left on the surface can cause oxidation, which breaks down your seasoning layer and weakens the metal underneath.
Taking the time to dry thoroughly helps your grill maintain its non-stick properties and extends its lifespan.
When you assure thorough drying, you:
- Avoid rust spots that damage the cooking surface
- Protect the seasoning from peeling or flaking
- Keep the grill ready for your next cooking session
- Save time and effort on future maintenance
Skipping this step risks undoing all your reseasoning work, so don’t rush it.
Methods to Remove Moisture
Before seasoning your Blackstone grill, make certain you’ve removed every bit of moisture from the surface. Start by wiping the griddle with a clean, dry cloth or paper towel to soak up any water droplets.
Next, turn on the grill to medium heat and let it run for 10 to 15 minutes. This will evaporate any remaining moisture trapped in nooks or seams. If you want to be extra thorough, you can use a heat-resistant scraper to remove leftover residue while the grill warms.
Once the surface feels completely dry and slightly warm to the touch, turn off the heat and let it cool just enough before you apply oil. Drying the grill thoroughly prevents rust and ensures your seasoning layer bonds properly for long-lasting protection.
Apply a Thin Layer of High-Heat Oil to Your Blackstone Grill
Since proper seasoning relies on creating a strong, durable coating, applying a thin layer of high-heat oil to your Blackstone grill is essential. This step guarantees the oil bonds well to the metal, protecting it from rust and creating a non-stick surface. Use oils with high smoke points like flaxseed, grapeseed, or canola oil.
Here’s how to apply it effectively:
- Pour a small amount of oil onto the grill surface.
- Use a clean cloth or paper towel to spread the oil evenly.
- Avoid pooling or thick layers; thin coverage is key.
- Make sure every part of the cooking surface is coated, including edges.
This careful application sets the stage for a long-lasting, well-seasoned grill.
Heat Your Blackstone Grill to Bond Seasoning
Once you’ve applied a thin layer of oil, heat your Blackstone grill to bond the seasoning firmly to the surface. Turn the burners to medium-high and let the grill heat up for about 15 to 20 minutes. You’ll notice the oil start to smoke—that’s a good sign it’s polymerizing and creating a protective layer.
Keep the lid open to prevent overheating and watch closely to avoid burning. This process transforms the oil into a durable, non-stick coating that safeguards your grill from rust and improves cooking performance. When the smoke reduces and the surface looks matte rather than shiny, your seasoning has bonded well.
Let the grill cool slightly before touching or adding more oil in the next step. This heating step is key to a long-lasting, well-seasoned Blackstone.
Repeat Oiling and Heating to Build Strong Seasoning
Although the initial seasoning layer provides a good base, you’ll need to repeat the oiling and heating process several times to build a strong, durable coating. This repetition strengthens the non-stick surface and protects your Blackstone grill from rust.
Building multiple seasoning layers enhances durability, boosts non-stick performance, and shields your Blackstone grill from rust.
After each heating cycle, let the grill cool slightly before applying a thin coat of oil.
To get the best results, keep these tips in mind:
- Use a high-smoke-point oil for seasoning
- Apply oil sparingly to avoid sticky buildup
- Heat the grill evenly at medium-high temperature
- Repeat the process 3 to 5 times for a robust finish
How to Maintain Your Blackstone Grill’s Seasoning
Building a strong seasoning through multiple oiling and heating cycles sets the stage for easy maintenance. To keep your Blackstone grill in top shape, clean it after each use by scraping off food debris with a metal spatula while it’s still warm. Avoid harsh soaps; instead, wipe the surface with a damp cloth.
After cleaning, apply a thin layer of high-smoke point oil like flaxseed or grapeseed to protect the seasoning from rust and moisture. Heat the grill briefly to help the oil bond to the surface. Store your grill in a dry place or cover it to prevent exposure to rain and humidity.
Regular care like this preserves your seasoning, ensuring a smooth, non-stick cooking experience every time.
Frequently Asked Questions
Can I Use Other Oils Besides High-Heat Oils for Seasoning?
You can use other oils, but high-heat oils like flaxseed or grapeseed work best for seasoning. Lower smoke point oils might burn or create sticky residue, so stick to oils that handle heat well for smooth seasoning.
How Often Should I Reseason My Blackstone Grill?
Wondering how often you should reseason your Blackstone grill?
You’ll want to reseason it every few months or after heavy use to keep the surface nonstick and protected.
Regular maintenance keeps it cooking perfectly!
Is Reseasoning Necessary if I Only Use the Grill Occasionally?
You don’t have to reseason as often if you use your grill occasionally, but it’s still important to keep the surface coated and clean.
Reseasoning prevents rust and maintains nonstick performance for longer use.
Can I Season My Blackstone Grill Indoors?
You shouldn’t season your Blackstone grill indoors because it produces smoke and strong odors.
Instead, do it outside in a well-ventilated area to keep your home safe and avoid setting off smoke alarms.
What Are Signs That My Grill Needs Reseasoning?
You’ll know your grill needs reseasoning when food starts sticking, the surface looks dull or rusty, or uneven cooking happens.
If you see peeling or flaking seasoning, it’s definitely time to reseason your Blackstone grill.
Conclusion
By following these simple steps, you’ll bring your Blackstone grill back to life with a strong, durable seasoning. Some people think seasoning is just about looks, but it’s really about protecting your grill and enhancing flavor. When you properly season and maintain your grill, you’re creating a natural, non-stick surface that improves every time you cook.
So, take the time—it pays off in better meals and a longer-lasting grill. Proper reseasoning is key to maintaining your Blackstone grill’s performance and durability. With these 7 easy steps to reseason your Blackstone grill, you’ll ensure it stays in top condition for years to come.