Can I Make Ice Cream in a Blender in 7 Easy Steps?
Yes, you can make creamy ice cream in a blender in just seven easy steps. Using a blender to make ice cream is a quick and convenient method that allows for plenty of customization.
Start by chilling your heavy cream, milk, and sweeteners to ensure a smooth and creamy texture.
Next, blend the ingredients on medium speed, adding your favorite mix-ins near the end for extra flavor.
Pour the mixture into a flat container and freeze it, stirring every 30 minutes for a couple of hours to prevent ice crystals from forming.
After freezing for a few hours, let the ice cream soften before scooping.
Follow these simple tips, and you’ll be ready to enjoy delicious homemade ice cream made right in your blender.
Key Takeaways
- Chill all ingredients thoroughly before blending to ensure smooth, creamy ice cream texture.
- Blend on medium speed with short pulses to break down chunks without warming the mixture.
- Add mix-ins like chocolate chips or fruit during the last seconds of blending for even distribution.
- Transfer the blended mixture to a freezer-safe container, stirring every 30 minutes for 2 hours to prevent ice crystals.
- Freeze for at least 4 hours, then let sit at room temperature 5-10 minutes before scooping and serving.
Ingredients You Need for Blender Ice Cream
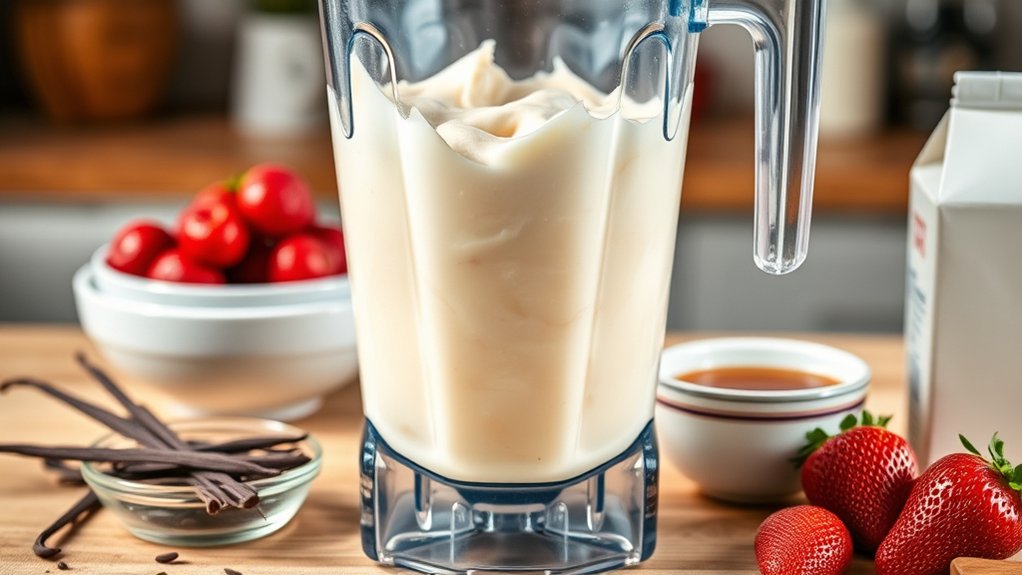
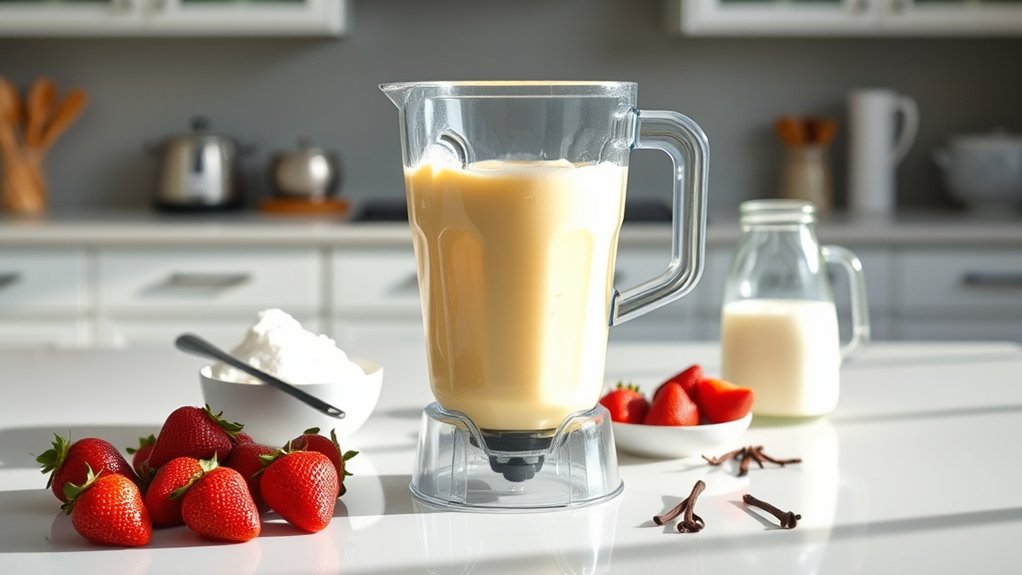
Before you start blending, you’ll need a few simple ingredients to make delicious ice cream at home. Grab heavy cream and whole milk; these create that creamy texture you’re after. Sweeten the mix with sugar or a sugar substitute, depending on your preference.
Vanilla extract is essential for classic flavor, but you can swap it for other extracts or cocoa powder if you want a twist. If you’re feeling fancy, add a pinch of salt to enhance the flavors. You can also toss in mix-ins like chocolate chips, fruit, or nuts after blending.
Keep everything cold before you start, especially the dairy, to get the best results. With these basics, you’re ready to make your blender ice cream a reality.
How to Prepare Ingredients for Blending
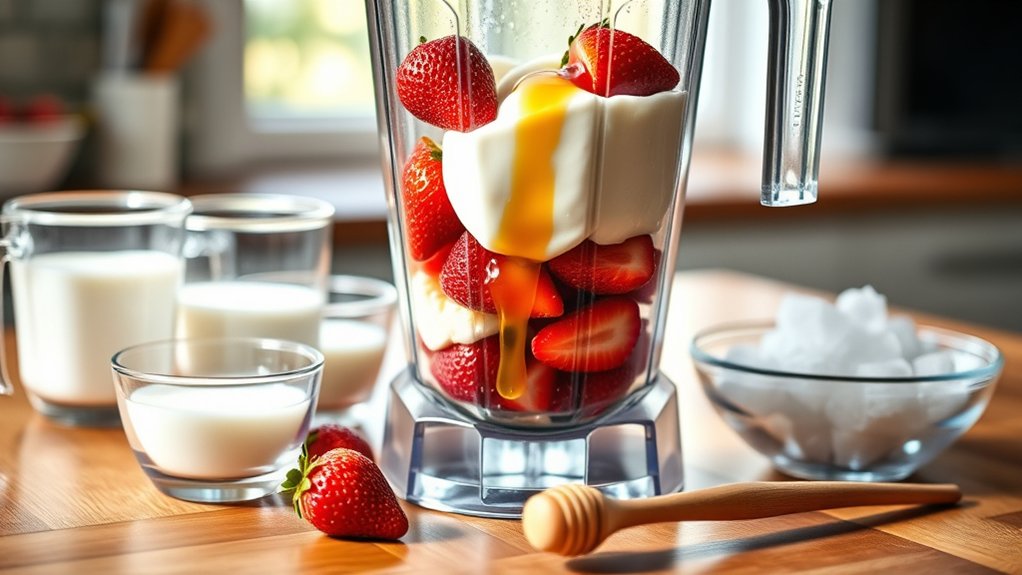
Once you have your ingredients ready, chill them thoroughly to guarantee your ice cream blends smoothly and freezes properly. Make certain the milk or cream is cold, and if you’re using fruits, freeze them beforehand. Cut any solid ingredients like chocolate or nuts into small pieces so your blender handles them easily.
Measure everything precisely to maintain the perfect balance of flavors and texture.
| Ingredient | Preparation Tip |
|---|---|
| Milk/Cream | Chill in fridge |
| Fruits | Freeze & chop if needed |
| Sugar | Use granulated or powdered |
| Add-ins (nuts) | Chop finely |
| Flavorings | Mix in liquid form |
Prepping ingredients carefully ensures your blender works efficiently, giving you creamy ice cream every time.
Best Blender Settings for Creamy Ice Cream
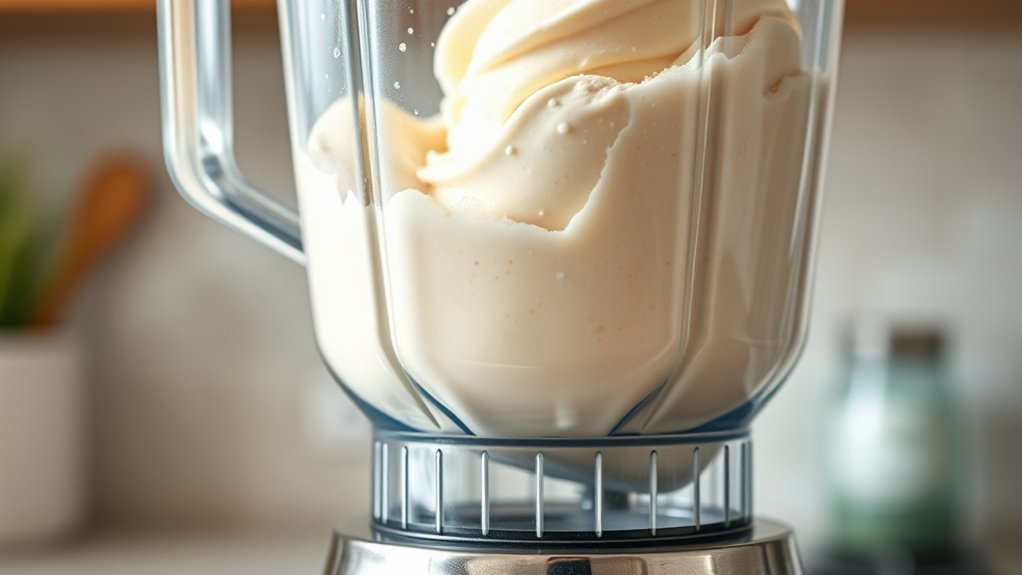
Although blending ice cream ingredients might seem straightforward, choosing the right blender settings is key to achieving a smooth and creamy texture. Start by using a medium speed to combine your ingredients evenly without overworking the mixture. High speeds can create too much friction, warming the base and preventing proper freezing later.
Pulse the blender a few times to break down any chunks, then switch to a steady medium or low speed to maintain a consistent blend. Avoid running the blender continuously at high speed, which can incorporate excess air and make the texture icy rather than creamy. If your blender has a “smoothie” or “ice crush” setting, use it sparingly and adjust as needed to keep the mixture cold and well blended.
How to Blend and Freeze Your Ice Cream
To get the perfect ice cream texture, you’ll need to blend your mixture just right and freeze it properly afterward. Start by pouring your chilled ice cream base into the blender. Blend on medium speed until smooth and creamy, usually about 30 to 60 seconds.
Blend your chilled ice cream base on medium until smooth and creamy, about 30 to 60 seconds.
Avoid over-blending, or it might become too liquidy.
Next, transfer the mixture to a freezer-safe container. Here’s what to do next:
- Cover the container tightly with a lid or plastic wrap.
- Place it flat in the coldest part of your freezer.
- Stir the mixture every 30 minutes during the first two hours to prevent ice crystals.
- Let it sit undisturbed afterward to firm up.
Following these steps ensures a creamy, scoopable ice cream.
How Long to Freeze for Perfect Texture
To get the perfect ice cream texture, you’ll need to freeze it for just the right amount of time. Freezing too long or too short can affect how smooth or icy your dessert turns out.
Let’s explore the ideal freezing time and how temperature plays a key role in achieving that creamy consistency.
Ideal Freezing Time
Freezing your ice cream mixture for at least 4 hours guarantees it reaches the perfect creamy texture. Timing is essential—you want it firm but not rock hard.
Here’s a quick guide to ideal freezing times:
- 4 hours: The minimum for smooth, scoopable ice cream.
- 6 hours: Texture firms up nicely without becoming icy.
- 8 hours: Great if you want a denser, richer consistency.
- Over 8 hours: May require a few minutes to soften before serving.
Texture Consistency Tips
Achieving the perfect ice cream texture hinges on more than just freezing time—it also depends on how you manage the freezing process itself. After blending, transfer your mixture to a shallow, airtight container to encourage even freezing. Stir the ice cream every 30 minutes during the first two hours to break up ice crystals, ensuring a smooth, creamy consistency.
Typically, freezing for 4 to 6 hours works well, but keep an eye on texture. If it feels too soft, give it more time; if it’s too hard, let it sit at room temperature for a few minutes before scooping. By actively managing freezing intervals and stirring, you’ll avoid icy chunks and achieve that rich, velvety texture you want every time.
Temperature Impact Effects
How long you freeze your ice cream directly affects its texture and scoopability. Freeze it too briefly, and your ice cream will be too soft, making it hard to scoop. Freeze it too long, and it may become rock hard, losing that creamy feel.
Here’s a simple guide to get it just right:
- Freeze for 1-2 hours for a soft-serve texture that’s easy to scoop.
- Freeze for 3-4 hours to achieve a firm yet creamy consistency.
- Freeze for 6-8 hours for a traditional ice cream firmness.
- Freeze overnight only if you prefer a very hard texture, but allow it to soften before serving.
Adjust your freezing time based on your freezer’s temperature and personal preference for the perfect scoop every time.
How to Soften and Serve Your Blender Ice Cream
Once your blender ice cream has frozen to the right consistency, you’ll want to soften it slightly before serving to make scooping easier. Take the container out of the freezer and let it sit at room temperature for about 5 to 10 minutes. This brief thaw will soften the ice cream enough for smooth scooping without melting it too much.
Use an ice cream scoop or a sturdy spoon dipped in warm water to help glide through the ice cream. Serve immediately to enjoy the creamy texture at its best. If you need to store leftovers, press a piece of parchment paper directly onto the ice cream’s surface and cover it tightly to prevent ice crystals from forming before returning it to the freezer.
Tips to Customize and Enhance Your Blender Ice Cream
What makes your blender ice cream truly stand out? It’s all about the personal touch. You can easily customize and enhance your creation by following these simple tips:
- Add Mix-ins: Toss in chocolate chips, nuts, or fresh fruit during the last blending seconds for texture and flavor.
- Experiment with Flavors: Swap vanilla extract for almond or peppermint to create unique taste profiles.
- Sweeten Naturally: Use honey, maple syrup, or agave instead of refined sugar for a richer, healthier sweetness.
- Use Full-Fat Ingredients: Choose full-fat milk or cream alternatives to achieve creamier, smoother ice cream.
Frequently Asked Questions
Can I Make Dairy-Free Ice Cream in a Blender?
Yes, you can make dairy-free ice cream in a blender! Just blend frozen fruit, coconut or almond milk, and sweeteners.
It’s quick, easy, and you’ll enjoy a creamy, delicious treat without any dairy involved.
What Types of Blenders Work Best for Making Ice Cream?
You’ll want a high-powered blender with a strong motor and sharp blades, like a Vitamix or Blendtec. These handle frozen ingredients smoothly, giving you creamy, smooth ice cream without overworking the machine or leaving chunks behind.
How Do I Clean My Blender After Making Ice Cream?
You rinse your blender quickly, scrub it gently, and dry it thoroughly.
You’ll want to remove sticky residue, wash blades carefully, and air dry to keep your blender fresh and ready for the next delicious batch of ice cream.
Can I Add Mix-Ins After Blending or Before Freezing?
You can add mix-ins either after blending or before freezing. Adding them after blending keeps chunks intact, while stirring them in before freezing lets flavors meld better.
Choose based on your preferred texture and taste!
Is Blender Ice Cream Healthier Than Store-Bought Ice Cream?
Yes, blender ice cream can be healthier since you control the ingredients and avoid additives or excess sugar. You can use natural sweeteners and fresh fruits, making it a better, customizable treat than store-bought options.
Conclusion
You can definitely make delicious ice cream in a blender with just a few simple steps. Did you know homemade ice cream often has 30% less sugar than store-bought varieties? By blending your ingredients and freezing properly, you control the sweetness and texture.
With your blender and these easy tips, you’ll enjoy creamy, customizable ice cream anytime. So, jump right in and treat yourself to a homemade scoop that’s both tasty and healthier!
Making ice cream in a blender is a quick, fun way to create a refreshing dessert. Follow the 7 easy steps to master this method and enjoy your favorite flavors with less sugar and more control.