7 Easy Steps to Roast Green Chiles on the Grill
Start by choosing firm, glossy green chiles free of blemishes for the best roasting results. Rinse and dry them well to prepare for grilling. Prepping your grill by cleaning and preheating it to medium-high heat ensures even cooking.
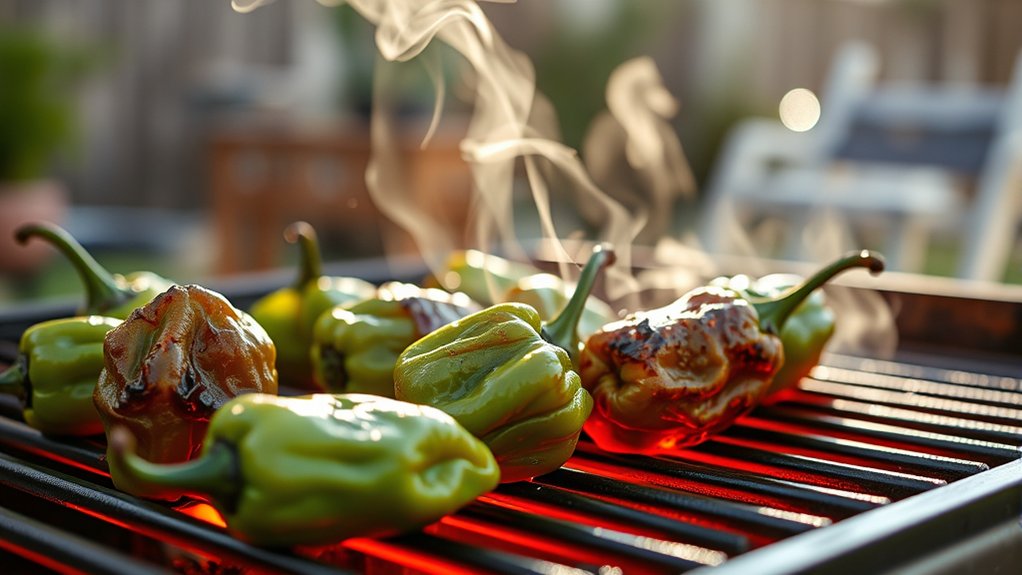
Place the chiles directly on the grates, turning often to char evenly without burning. Once roasted, steam them in a sealed container for easy peeling.
Remove seeds if you like, then store the chiles in airtight bags to preserve freshness.
This simple process locks in smoky flavor and enhances the chiles’ natural taste. Follow along to explore tips and uses that will elevate your dishes with perfectly roasted green chiles.
Key Takeaways
- Select firm, unblemished green chiles and rinse them thoroughly before drying completely.
- Preheat grill to medium-high (around 400°F) and clean, oil grates to prevent sticking.
- Place chiles directly on the grill grates, turning frequently until skin blisters and chars evenly.
- Steam roasted chiles in a sealed container for 10-15 minutes to loosen the skin for easy peeling.
- Peel off charred skin, remove seeds if desired, and store chiles in airtight containers or bags.
How to Choose Green Chiles for Roasting
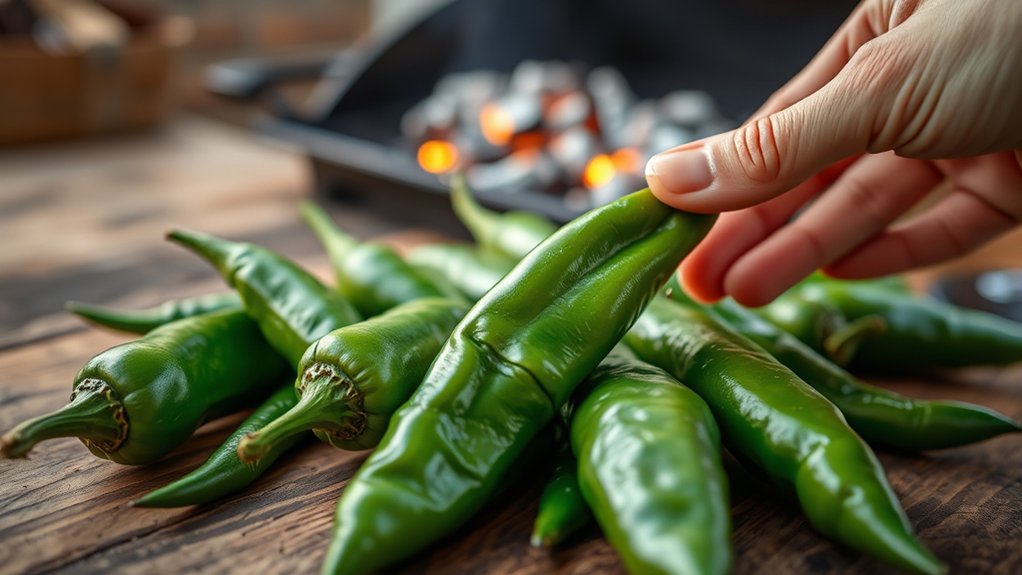
When choosing green chiles for roasting, look for firm, unblemished peppers with bright, glossy skin. Avoid any that have soft spots, wrinkles, or discoloration, as these indicate overripeness or damage. You’ll want chiles that feel heavy for their size, signaling freshness and juiciness.
If you prefer a milder heat, pick larger, thicker green chiles, like Anaheim or Hatch. For a spicier kick, go for smaller varieties such as jalapeños or serranos. Also, consider the chile’s shape—longer ones roast evenly, while shorter, rounder types may char faster.
Freshness impacts flavor and roasting success, so choose peppers harvested recently. Selecting the right chiles sets the foundation for perfectly roasted, flavorful results on your grill.
Clean and Prep Green Chiles for the Grill
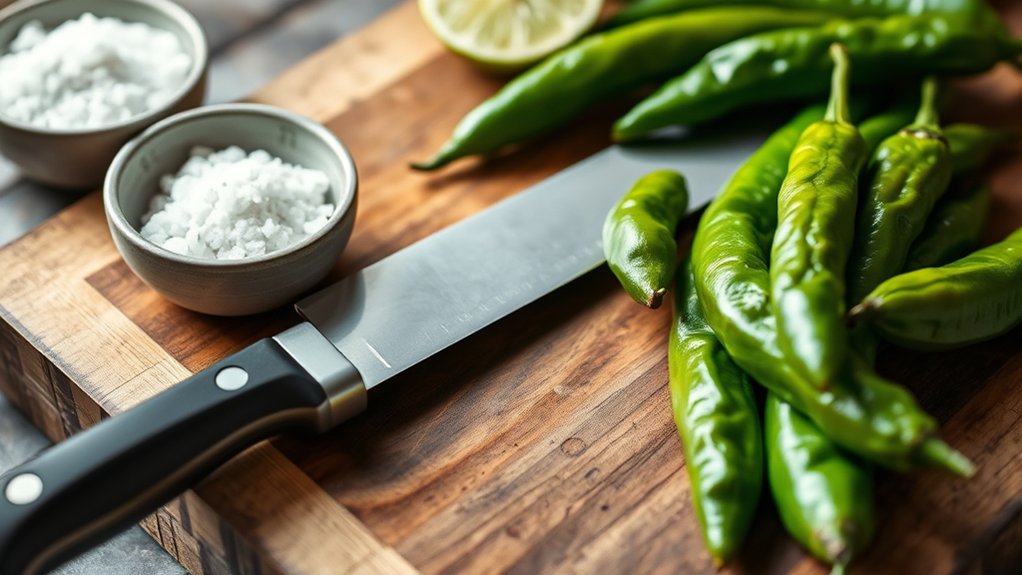
Before you place your green chiles on the grill, you’ll want to clean and prep them properly to guarantee even roasting and great flavor. Start by rinsing each chile under cool water to remove dirt and any residues. Then, dry them thoroughly with a clean towel to avoid steam during grilling.
Next, inspect for any blemishes or soft spots and trim those areas off. Finally, poke a few small holes in each chile with a fork or knife to help heat penetrate evenly and prevent bursting.
Here’s a quick checklist:
- Rinse green chiles under cool water
- Dry completely with a towel
- Trim blemishes or soft spots
- Poke small holes for even roasting
These steps set you up for perfectly roasted chiles every time.
Prepare Your Grill to Roast Green Chiles
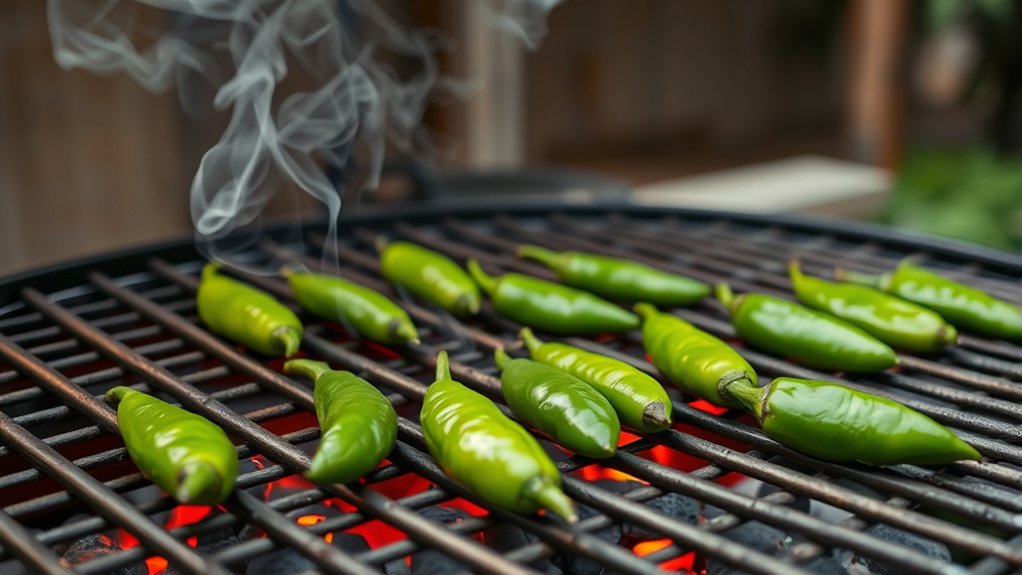
After cleaning and prepping your green chiles, it’s time to get your grill ready for roasting. Start by removing any leftover ash or debris from previous grilling sessions to guarantee even heat distribution. Next, preheat your grill to medium-high, aiming for a temperature around 400°F.
This heat level helps char the chile skins without burning them too quickly. If you’re using a gas grill, turn on all burners and close the lid to let it heat evenly. For charcoal grills, spread the coals evenly across the bottom.
Make sure your grill grates are clean by scrubbing them with a grill brush. Finally, lightly oil the grates to prevent the chiles from sticking during roasting. Now your grill is set and ready for the perfect chile roast.
Roast Green Chiles Over Direct Heat
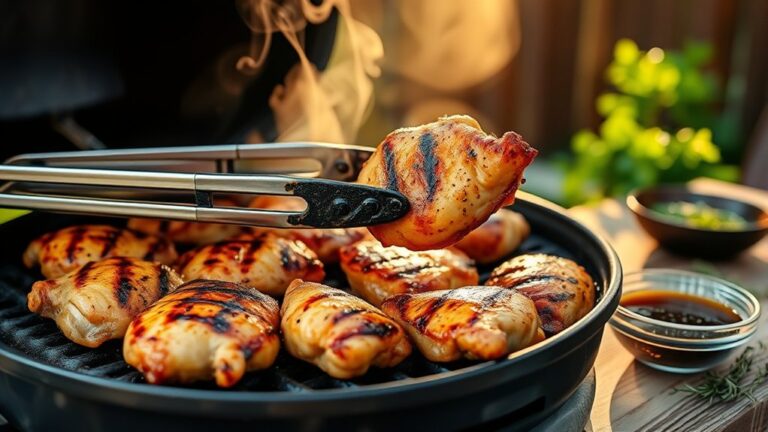
Now that your grill is ready, place the green chiles directly over the flames to get that perfect char. Make sure you position them evenly to roast all sides without burning.
Keep an eye on the heat so the flames don’t get too intense and ruin your chiles.
Preparing the Grill Setup
When you set up your grill for roasting green chiles, focus on creating a direct heat zone where the flames can char the skins evenly. Start by cleaning the grill grates thoroughly to prevent sticking.
Next, ignite your charcoal or gas burners and adjust them to medium-high heat, aiming for about 400-450°F. Arrange the coals or burners so the chiles will sit directly over the hottest part of the grill.
Finally, make sure you have a pair of tongs ready to turn the chiles safely.
Here’s a quick checklist to prepare your grill setup:
- Clean grill grates to avoid sticking
- Preheat to medium-high (400-450°F)
- Create a direct heat zone
- Have tongs ready for turning
This setup guarantees your chiles roast perfectly over direct flames.
Positioning Chiles Correctly
With your grill heated and ready, it’s time to place the green chiles directly over the hottest part of the flames. Lay the chiles flat on the grill grates, making sure they have enough space to roast evenly. Avoid crowding them; each chile should have contact with the heat but not overlap.
Position them so their skin touches the flames directly, which helps blister and char the skin quickly. Rotate the chiles as they roast to ensure all sides get that signature smoky char. Use tongs to move and turn them carefully—this prevents burning and keeps the flesh intact.
Managing Direct Heat Flames
Although direct flames can seem intimidating, managing them carefully is key to roasting green chiles perfectly. When you place chiles over direct heat, you get that signature char and smoky flavor, but you need to keep a close eye to avoid burning.
Here’s how to handle those flames:
- Use tongs to rotate chiles frequently for even roasting.
- Keep a spray bottle of water nearby to control flare-ups.
- Don’t leave chiles unattended; flames can quickly get out of control.
- Adjust the grill vents or move chiles slightly off direct flame if needed.
Peel and Remove Seeds From Roasted Chiles
Once your green chiles are roasted, you’ll want to peel off the blistered skin for the best flavor and texture. Using a damp towel makes this quick and easy without losing the chile’s natural oils.
Then, gently slice open each chile to remove the seeds, which helps control the heat and keeps your dish smooth.
Effective Peeling Techniques
After roasting your green chiles to perfection, you’ll want to peel off their charred skin while they’re still warm, as this makes the process much easier. The skin should come off with minimal effort, revealing the tender flesh beneath. To do this effectively, try these simple techniques:
- Place the hot chiles in a sealed plastic bag or covered bowl to let them steam for 10-15 minutes; this loosens the skin.
- Use your fingers or a damp paper towel to gently rub away the charred skin.
- Avoid rinsing chiles under water, as it can wash away flavor.
- Work over a bowl or paper towel to catch the peeling bits and avoid mess.
Following these steps will help you peel your chiles cleanly and quickly, setting you up for the next step.
Easy Seed Removal Methods
While peeling your roasted green chiles, you’ll want to remove the seeds quickly and easily to avoid bitterness and guarantee a smooth texture. First, hold the chile firmly and gently squeeze it to loosen the seeds inside. Use your fingers or a small spoon to scoop out the seeds, working from the stem end toward the tip.
Be sure to remove the ribs (the white membrane), as they add extra heat and can be bitter. Rinse the chile briefly under cold water if needed to wash away stubborn seeds, but dry it thoroughly afterward to avoid sogginess. Removing seeds this way keeps the chile’s flavor clean and bright, making your dishes tastier and more enjoyable.
Store Roasted Green Chiles for Freshness
To keep your roasted green chiles tasting fresh, you’ll want to store them properly right after roasting. Start by letting them cool completely to avoid moisture buildup, which can lead to spoilage.
Properly cooling roasted green chiles prevents moisture buildup and keeps them fresh longer.
Then, follow these tips to maintain their flavor and texture:
- Place the cooled chiles in an airtight container or resealable plastic bag.
- Refrigerate if you plan to use them within a week.
- For longer storage, freeze the chiles in single-use portions wrapped in foil or plastic wrap.
- Label containers with the date so you can track freshness easily.
Easy Ways to Use Roasted Green Chiles
Once you’ve roasted your green chiles, you’ll find they add a smoky, vibrant flavor that transforms everyday dishes into something special. Toss them into soups or stews for a subtle heat boost. Add chopped chiles to scrambled eggs or omelets for a zesty breakfast.
Blend them into sauces, salsas, or dressings to deepen flavor complexity. You can also stuff roasted chiles with cheese or meat for a delicious appetizer or main course. Don’t forget to mix them into rice, beans, or tacos to elevate your meal instantly.
Roasted green chiles are versatile, so experiment with incorporating them wherever you want a smoky kick. Once you try these easy uses, you’ll keep roasted chiles on hand for all your cooking adventures.
Frequently Asked Questions
What Health Benefits Do Green Chiles Offer?
You get a boost of vitamins A and C from green chiles, which support your immune system and skin health. They also contain capsaicin, helping reduce inflammation and boost metabolism, making them a healthy, flavorful choice.
Can I Roast Green Chiles Indoors Without a Grill?
Yes, you can roast green chiles indoors using your oven’s broiler or a stovetop grill pan. Just keep a close eye to avoid burning, and turn them frequently for even roasting and smoky flavor.
Are There Any Safety Tips for Handling Spicy Chiles?
Handling spicy chiles is like walking through a field of fire—wear gloves to protect your skin, avoid touching your face, and wash your hands thoroughly afterward.
Keep kids and pets away to prevent accidental burns.
How Do Roasted Green Chiles Compare to Fresh in Flavor?
You’ll find roasted green chiles have a smoky, deeper flavor compared to fresh ones. Roasting brings out their sweetness and softens heat, making them richer and more complex, perfect for enhancing your dishes with boldness.
Can Green Chiles Be Frozen Before Roasting?
Wondering if you can freeze green chiles before roasting? You can, but it’s better to roast first for deeper flavor.
Freezing raw chiles may dull their taste and texture, so roast them fresh if possible.
Conclusion
Roasting green chiles transforms their fiery crunch into smoky softness, turning simple peppers into bold flavor bombs. You’ll go from hesitant to confident in just seven easy steps, roasting like a pro without the mess or guesswork.
Whether you’re craving that fresh, zesty snap or the deep, roasted warmth, you’ve got the power to create both.
So fire up the grill and watch ordinary chiles become extraordinary—flavor awaits, just a roast away.
Master these 7 easy steps to roast green chiles on the grill and enjoy perfectly charred, smoky, and tender peppers every time.