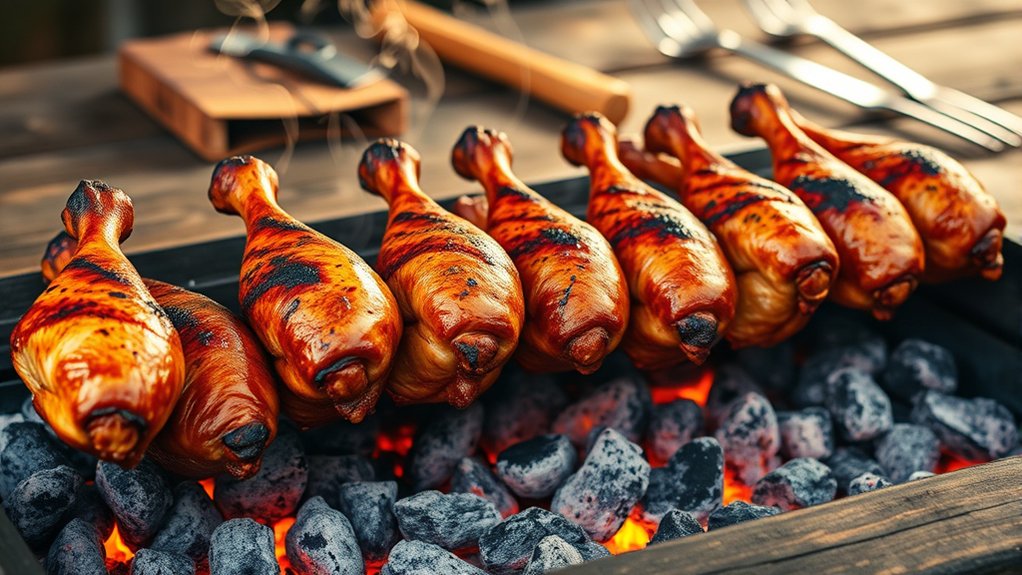
10 Steps to BBQ Chicken Legs on a Charcoal Grill
Choose firm, skin-on chicken legs for the best BBQ chicken legs on a charcoal grill. Marinate them overnight with spices and acid to infuse bold flavor that penetrates the meat deeply. This preparation ensures every bite is juicy and flavorful.
Prep your charcoal grill by lighting hardwood lump charcoal and setting up a two-zone fire for searing and slow cooking. Clean and oil the grates thoroughly to prevent sticking and promote even cooking.
Then, sear the legs directly on the hot side to create beautiful grill marks.
Move the chicken legs to indirect heat, controlling airflow to maintain steady temperatures throughout the cooking process. Cook until the internal temperature reaches 165°F for safe and tender results.
Apply BBQ sauce late in the cooking to avoid burning.
Allow the chicken legs to rest before serving to lock in juices. Keep practicing each step to master the art of BBQ chicken legs on a charcoal grill perfectly every time.
Key Takeaways
- Select skin-on, bone-in chicken legs and marinate with a balanced spice mix and acid for at least 2 hours in the fridge.
- Prepare a two-zone charcoal grill by arranging ashed-over lump charcoal on one side for searing and leaving the other side cooler.
- Sear chicken legs over direct heat for grill marks, then move to indirect heat, placing thicker ends closer to coals for even cooking.
- Monitor grill temperature with vents and a thermometer, maintaining steady heat around 225-250°F, and avoid pressing or excessive flipping.
- Check doneness with a meat thermometer (165°F), apply BBQ sauce after resting, glaze under lid, then let rest before serving.
Choose the Best Chicken Legs for Juicy BBQ
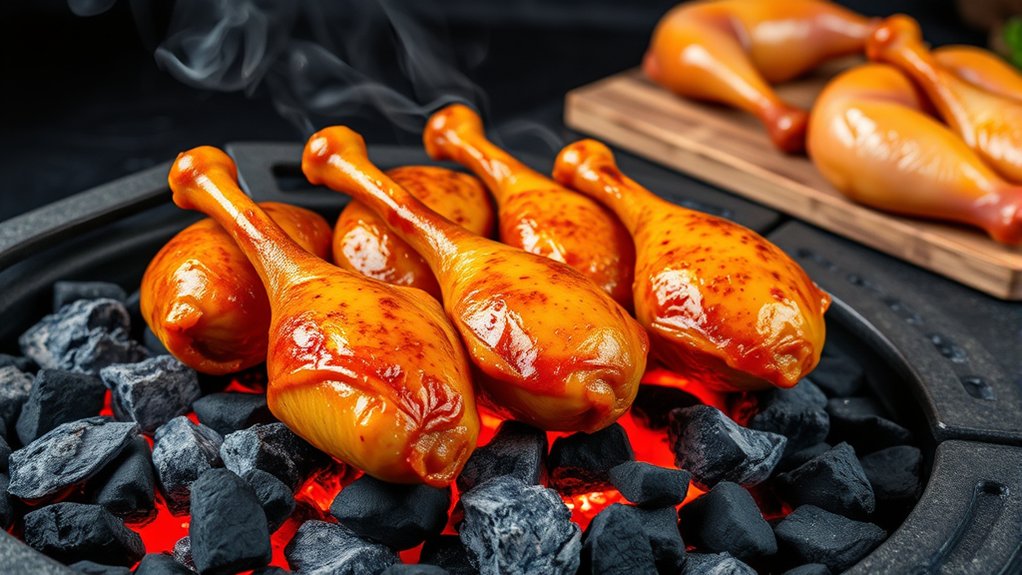
How do you pick chicken legs that stay juicy on the grill? Start by choosing legs with firm, plump flesh and smooth, unblemished skin. Avoid any that look dry or have discoloration.
Freshness matters, so check the sell-by date and buy from a trusted source. Opt for legs with some fat, as this helps keep the meat moist during grilling. If you can, pick legs that are similar in size; they’ll cook evenly, preventing dry spots.
Skin-on, bone-in legs are ideal since the bone retains moisture and the skin crisps nicely, locking in juices. When you get home, keep the chicken refrigerated and use it within two days for the best texture and flavor. Proper selection sets you up for juicy, tender BBQ chicken legs every time.
How to Season Chicken Legs for Bold Flavor
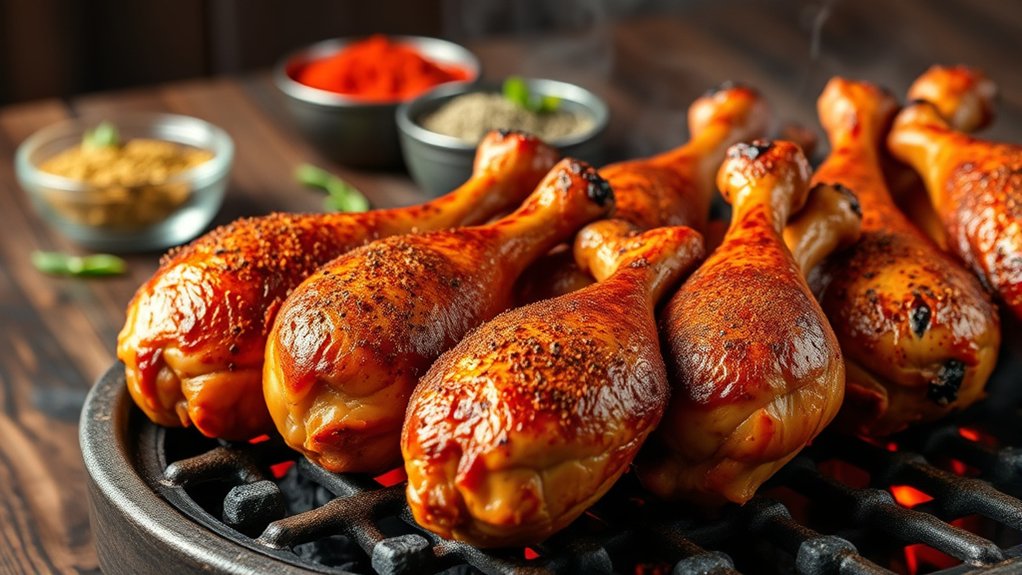
You’ll want to start by picking the right spices to bring out bold flavors in your chicken legs. Marinating them helps those spices soak in and intensify the taste.
Don’t forget to balance sweetness and heat for a perfectly seasoned bite every time.
Choosing the Right Spices
Although the chicken legs themselves bring great flavor, choosing the right spices elevates your BBQ to a whole new level. You want a blend that complements the smokiness of the charcoal while enhancing the natural taste of the meat. Start with basics like salt and pepper, then add garlic powder or smoked paprika for depth.
Don’t shy away from heat—cayenne or chili powder brings a bold kick. Here’s a quick guide to help you mix your spices perfectly:
| Spice | Flavor Profile | Use For |
|---|---|---|
| Smoked Paprika | Smoky, mild heat | Adds depth, subtle heat |
| Garlic Powder | Savory, aromatic | Enhances overall flavor |
| Cayenne | Spicy, intense heat | For bold, spicy BBQ |
| Black Pepper | Sharp, pungent | Balances sweetness |
Choose your favorites and get ready to impress!
Marinating for Maximum Flavor
Selecting the right spices sets the foundation, but marinating your chicken legs takes the flavor to another level by allowing those seasonings to deeply penetrate the meat. Start by mixing your chosen spices with an acidic component like lemon juice or vinegar and a bit of oil. This combination helps tenderize the chicken while locking in flavor.
Place the legs in a resealable bag or shallow dish, ensuring each piece is coated evenly. Let them marinate in the fridge for at least 2 hours, but overnight works best for maximum taste. Avoid marinating too long, as the acid can break down the meat’s texture.
When ready, remove the chicken, pat dry, and grill. This method guarantees juicy, flavorful legs every time.
Balancing Sweet and Heat
When you balance sweet and heat in your seasoning, you create a bold flavor that makes chicken legs irresistible. This combination enhances the natural taste while adding complexity. Start by choosing the right ingredients to complement each other without overpowering the meat.
Sweetness can come from brown sugar, honey, or maple syrup, while heat might be introduced through chili powder, cayenne, or smoked paprika. Here’s how to master this balance:
- Use brown sugar for a deep, molasses-like sweetness.
- Add cayenne pepper sparingly to control the spice level.
- Incorporate smoked paprika for smoky warmth.
- Mix honey with chili flakes for a sticky glaze.
- Finish with a pinch of salt to enhance all flavors.
Get Your Charcoal Grill Ready: Lighting and Cleaning
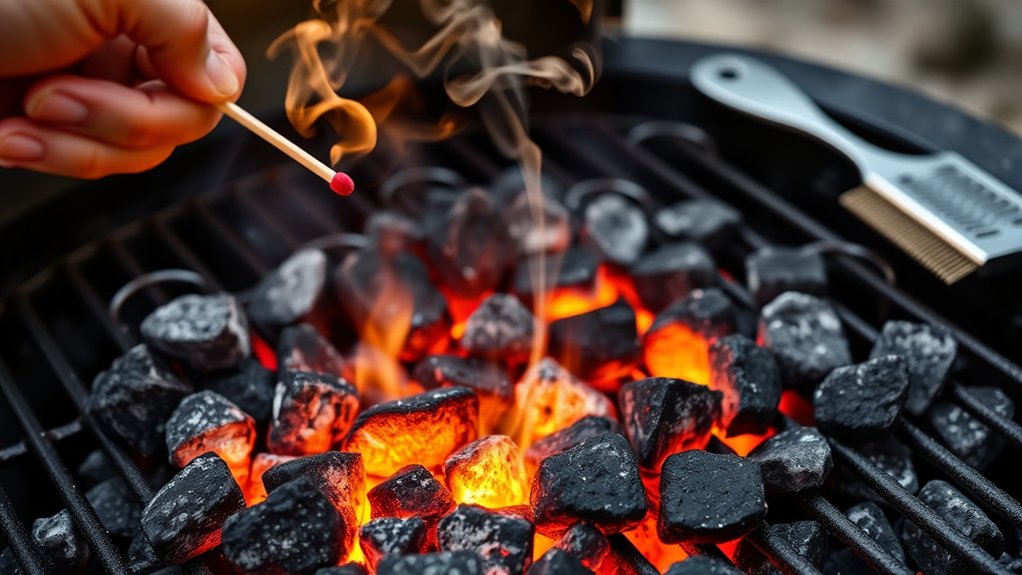
Before you start cooking, make sure you choose quality charcoal that burns evenly and hot. Learn the best way to light your grill for a steady, long-lasting fire.
Don’t forget to clean your grill thoroughly to prevent flare-ups and keep flavors pure.
Choosing Quality Charcoal
How do you guarantee your chicken legs get that perfect smoky flavor? It all starts with choosing quality charcoal. Opt for charcoal that burns evenly and produces minimal ash, so your grill stays clean and heats consistently.
Look for hardwood lump charcoal, known for its natural aroma and longer burn time, which enhances flavor without chemicals. Avoid briquettes with fillers or additives, as they can impart unwanted tastes. Here’s what to contemplate:
- Select hardwood lump charcoal for a natural smoky flavor
- Ensure the charcoal burns evenly with minimal ash
- Avoid charcoal with fillers, binders, or chemicals
- Pick charcoal pieces roughly uniform in size for consistent heat
- Opt for well-seasoned charcoal stored in a dry place to prevent moisture
This will set your grill up perfectly for the next step.
Effective Lighting Techniques
Although lighting charcoal can seem straightforward, using the right technique guarantees your grill heats quickly and evenly. Start by arranging your charcoal in a pyramid for better airflow. Use natural fire starters or lighter cubes instead of lighter fluid to avoid chemical tastes.
Once lit, let the coals ash over before spreading them out for consistent heat.
Here’s a quick comparison of lighting methods:
| Method | Pros | Cons |
|---|---|---|
| Chimney Starter | Quick, even lighting | Requires extra tool |
| Lighter Cubes | Easy, chemical-free | Slower ignition |
| Lighter Fluid | Fast ignition | Can affect flavor |
Choose the method that fits your style and grill confidently!
Pre-Grill Cleaning Tips
Once your charcoal is properly lit and glowing, it’s time to focus on preparing your grill for cooking. Cleaning your grill assures better flavor and prevents flare-ups. Start by scraping off any leftover residue from previous BBQs.
Then, check the grates for rust or damage. Here’s what you should do before placing your chicken legs on the grill:
- Use a stiff wire brush to scrub the grates thoroughly.
- Wipe down the exterior and interior surfaces with a damp cloth.
- Remove and clean the ash catcher to improve airflow.
- Oil the grates lightly to prevent sticking.
- Inspect vents and adjust them for ideal temperature control.
Taking these steps will guarantee a cleaner, safer, and more efficient grilling experience.
Set Up Two-Zone Cooking on Your Charcoal Grill
Because controlling heat is key to perfectly cooked chicken legs, setting up two-zone cooking on your charcoal grill gives you the flexibility to sear over direct heat and finish cooking slowly over indirect heat. Start by lighting a full chimney of charcoal. Once the coals are hot and covered with gray ash, dump them on one side of the grill grate to create a hot zone.
Leave the other side free of coals for the cooler indirect zone. Place a drip pan under the grate on the indirect side to catch drippings and prevent flare-ups. This setup lets you sear your chicken legs directly over the coals, then move them to the cooler side to cook through gently without burning.
Control and Maintain Grill Temperature Like a Pro
You’ll want to master adjusting your grill’s airflow to control the heat precisely. Keep a grill thermometer handy to monitor the temperature without guessing.
These simple tools will help you maintain the perfect cooking environment for juicy chicken legs.
Adjusting Airflow for Heat
Although controlling the heat on a charcoal grill can seem tricky, adjusting the airflow is the key to keeping your chicken legs perfectly cooked. By regulating the intake and exhaust vents, you control the oxygen feeding the coals, directly influencing the temperature. Open vents increase airflow, raising the heat, while closing them lowers it.
Here’s how to master airflow:
- Open the bottom vents fully to ignite coals quickly.
- Partially close vents once coals are hot to maintain steady heat.
- Adjust top vents to control smoke and temperature.
- Monitor changes gradually; small adjustments impact heat notably.
- Close vents almost completely for low-and-slow cooking, preventing flare-ups and burning.
With practice, you’ll fine-tune airflow to consistently achieve juicy, tender chicken legs every time.
Using a Grill Thermometer
A reliable grill thermometer gives you real-time insight into your charcoal grill’s temperature, helping you maintain the perfect cooking environment for your chicken legs. By monitoring the heat closely, you avoid undercooking or burning, ensuring juicy, flavorful results every time.
You’ll feel confident adjusting vents or adding coals as needed.
Here’s how temperature impacts your grilling experience:
| Temperature Range | Result | Feeling |
|---|---|---|
| 225-250°F | Slow cook | Relaxed |
| 275-300°F | Perfect char | Excited |
| 350-400°F | Quick sear | Energetic |
| Above 400°F | Risk burning | Anxious |
Using a thermometer turns grilling into control, not guesswork. You’re in charge of every delicious bite.
Place Chicken Legs for Even Cooking and Smoke
When placing chicken legs on the grill, position them away from direct flames to guarantee even cooking and prevent flare-ups. Use indirect heat by setting the legs on the cooler side of the grill. This lets smoke circulate gently, infusing flavor without burning the skin.
Arrange the legs with some space between each piece to allow air and smoke to flow freely. Keeping the grill lid closed as much as possible helps maintain consistent temperature and smoke concentration.
Consider these tips for placement:
- Place thicker ends toward the heat source for gradual cooking
- Avoid overcrowding to ensure even smoke distribution
- Use a drip pan underneath to catch fat and reduce flare-ups
- Rotate the pan or legs occasionally to balance heat exposure
- Position legs away from vents for steady smoke flow
Turn Chicken Legs for Perfect Grill Marks
Since even cooking depends on proper turning, you’ll want to flip the chicken legs carefully to create those classic grill marks without tearing the skin. Use tongs to gently lift each leg and turn it 90 degrees halfway through cooking on one side. This technique forms crosshatch grill marks that look professional and help caramelize the skin evenly.
After you’ve achieved the marks on one side, flip the legs over to repeat the process on the other side. Avoid pressing down or moving the legs too frequently, as this can cause uneven cooking and stickiness. Remember, patience is key—let the heat do its work before rotating.
This careful turning will give your chicken legs that perfect, mouthwatering grilled appearance every time.
Check When Chicken Legs Are Done and Safe to Eat
After turning the chicken legs to achieve those perfect grill marks, the next step is to guarantee they’re cooked through and safe to eat. You want to avoid undercooked chicken, which can cause foodborne illness, so it’s essential to check doneness accurately. Use these tips to know when your chicken legs are ready:
- Insert a meat thermometer into the thickest part without touching bone.
- Ensure the internal temperature reads at least 165°F (74°C).
- Check that the juices run clear, not pink or red.
- Observe that the meat near the bone is opaque and firm.
- Wiggle the leg; it should feel loose and tender, not stiff.
Following these checks ensures your chicken legs are delicious and safe every time.
Add BBQ Sauce at the Right Time for Perfect Glaze
How do you achieve that perfect, sticky glaze on your BBQ chicken legs? Timing is everything when it comes to adding BBQ sauce. Wait until your chicken legs are almost fully cooked—around 5 to 10 minutes before you take them off the grill.
If you add the sauce too early, the sugars can burn, creating a bitter taste and ruining the glaze. Brush a generous layer of BBQ sauce on each leg, then close the grill lid to let the sauce caramelize slightly. Repeat this process once or twice more, allowing each layer to set for a few minutes.
This builds up that irresistible, shiny coating without burning. Keep a close eye to avoid flare-ups and enjoy that perfect, flavorful finish every time.
Rest and Serve Your Juicy BBQ Chicken Legs
Once you’ve built up that perfect BBQ glaze, resist the urge to dig in immediately. Let your chicken legs rest for about 5 to 10 minutes. This pause allows the juices to redistribute, keeping the meat tender and flavorful.
Allow your BBQ chicken legs to rest 5–10 minutes for juicy, tender, and flavorful results.
While waiting, prepare your serving area to enhance the experience.
When serving your juicy BBQ chicken legs, consider these tips:
- Use a sharp knife to slice if serving pieces.
- Garnish with fresh herbs like parsley or cilantro.
- Offer complementary sides such as coleslaw or grilled veggies.
- Provide extra BBQ sauce on the side for dipping.
- Serve on a warm platter to maintain temperature.
Following these steps guarantees your BBQ chicken legs will impress every guest with their perfect taste and texture.
Frequently Asked Questions
Can I Use a Gas Grill Instead of Charcoal for Chicken Legs?
Yes, you can use a gas grill for chicken legs. Just preheat it well, control the heat zones, and cook with the lid closed to lock in flavor and moisture, giving you juicy, delicious results every time.
How Long Should I Marinate Chicken Legs Before Grilling?
You should marinate chicken legs for at least 1 to 4 hours to let flavors soak in, but overnight works best for maximum taste.
Don’t marinate longer than 24 hours, or the texture might get mushy.
What Wood Chips Are Best for Adding Smoky Flavor?
You’ll want to use hickory, apple, or cherry wood chips for a great smoky flavor. Hickory adds boldness, while apple and cherry give a milder, sweeter smoke.
Soak them before adding to your charcoal.
Can I Freeze Leftover Grilled Chicken Legs Safely?
Yes, you can safely freeze leftover grilled chicken legs. Just let them cool, wrap them tightly in foil or airtight containers, and label with the date.
They’ll stay good for up to four months in the freezer.
How Do I Reheat BBQ Chicken Legs Without Drying Them Out?
You’ll want to gently revive your BBQ chicken legs by wrapping them in foil with a splash of broth, then warming them low and slow in the oven. This tender embrace keeps the juiciness alive, not dried out.
Conclusion
Now that you’ve mastered these steps, your BBQ chicken legs will be tender and smoky, with flavors that stick like a warm hug. Remember, patience and attention to detail are key—just like a painter perfects every stroke, you’re crafting a delicious masterpiece.
So fire up that charcoal grill, follow these tips, and get ready to impress your friends and family. With these BBQ chicken legs on a charcoal grill, you’ll enjoy juicy, mouthwatering results every time. Happy grilling!