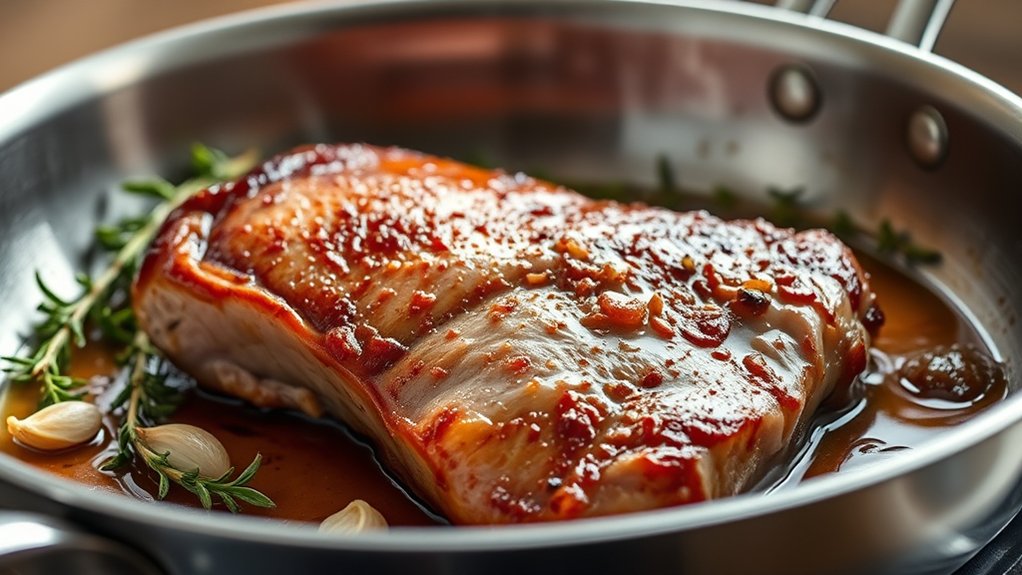
How to Pan Fry Duck Breast in 10 Easy Steps
Choose skin-on duck breasts of even size, perfect for pan frying duck breast to achieve a crispy and flavorful result. Clean and score the skin gently to help render the fat during cooking. Season generously with salt and your favorite spices to enhance the natural taste.
Heat a pan on medium without oil, then place the breast skin-side down to render fat slowly until crisp and golden. Flip carefully and cook to your preferred doneness (135°F for medium-rare).
Rest the duck breasts for 5–10 minutes to lock in the juices.
Slice against the grain and serve warm. Stick around to master every step for perfect results and enjoy a delicious pan-fried duck breast every time.
Key Takeaways
- Score the duck breast skin in a crosshatch pattern without cutting the meat, then pat dry to ensure crispy skin.
- Preheat a heavy skillet on medium heat and cook the duck skin-side down without oil to render fat and crisp the skin.
- Cook skin-side down until golden brown and crispy, then flip and cook the meat side to desired doneness (135°F for medium-rare).
- Rest the cooked duck breast for 5-10 minutes loosely covered with foil to redistribute juices and maintain tenderness.
- Slice the duck breast against the grain into ¼ inch thick pieces and serve on a warm plate for best presentation.
Choose the Best Duck Breast for Crispy Pan Frying
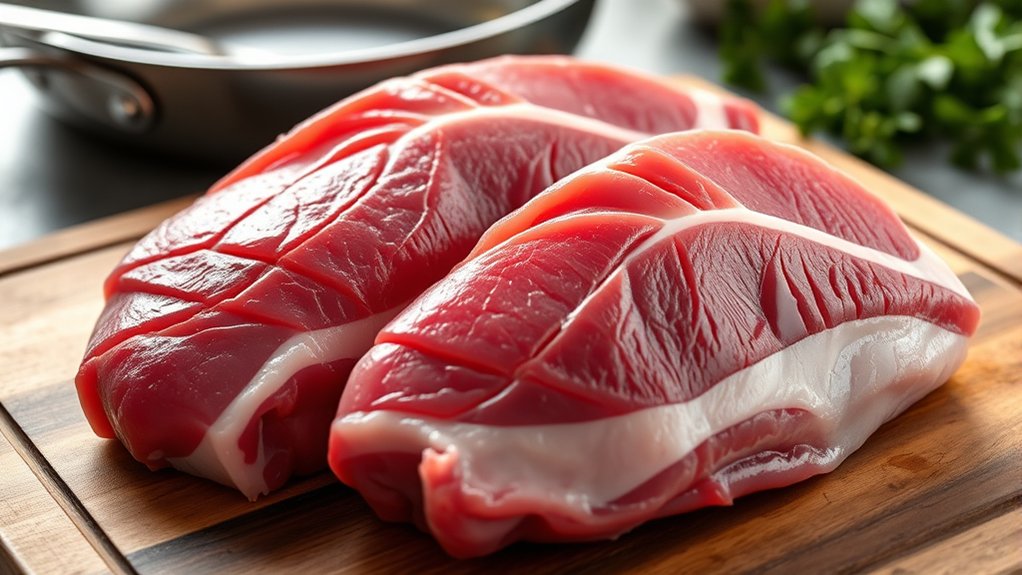
To get the crispiest pan-fried duck breast, start by choosing a piece with a thick, even layer of fat. This fat is key because it renders down during cooking, creating that golden, crispy skin you’re aiming for. Look for breasts that feel firm and fresh, avoiding any with discoloration or an off smell.
Opt for skin-on breasts since the skin is what crisps up beautifully. If possible, pick duck breasts that are roughly the same size and thickness to ensure even cooking. Freshness matters, so buy from a trusted butcher or high-quality grocery store.
Clean and Score the Duck Breast Skin
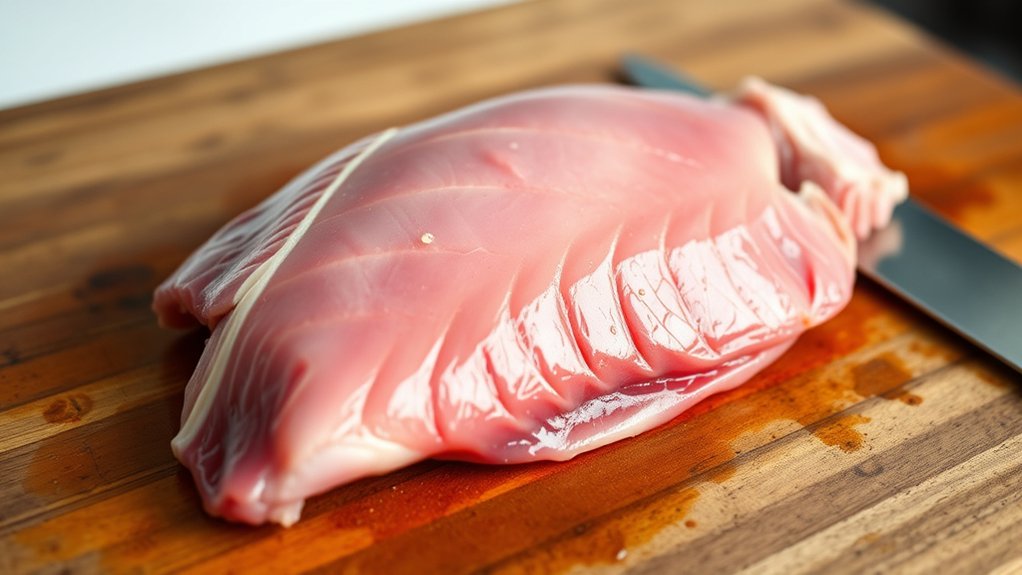
Before you start cooking, make sure to clean the duck breast skin by removing any excess fat or feathers. Then, score the skin carefully with a sharp knife in a crosshatch pattern to help the fat render evenly.
This step is key to achieving that perfect crispy skin you’re aiming for.
Preparing the Skin
How exactly do you get that crispy, golden skin on your duck breast? It all starts with proper preparation. First, pat the skin dry with paper towels to remove any excess moisture—wet skin won’t crisp up well.
Next, trim any excess fat or ragged edges to ensure even cooking. You don’t want thick fat blobs that won’t render properly or cause uneven cooking. Once clean, lightly score the skin with a sharp knife, but don’t cut into the meat.
This step helps fat render out and promotes crispiness. Finally, season the skin generously with salt; it draws out moisture and enhances flavor. By prepping the skin this way, you set the stage for that perfect, crunchy finish every time.
Scoring Techniques
Getting the skin ready sets you up for scoring the duck breast properly. Start by patting the skin dry to guarantee a clean surface. Use a sharp knife to gently score the skin in a crisscross pattern, cutting just through the skin without reaching the meat.
This helps the fat render evenly and crisps the skin beautifully.
Here’s a quick guide to scoring:
| Step | Tip |
|---|---|
| 1. Dry the skin | Use paper towels to pat dry |
| 2. Use a sharp knife | A small paring knife works best |
| 3. Light pressure | Avoid cutting into the meat |
| 4. Crisscross pattern | About 1/2 inch between cuts |
Scoring properly improves texture and flavor with minimal effort.
Season the Duck Breast for Maximum Flavor
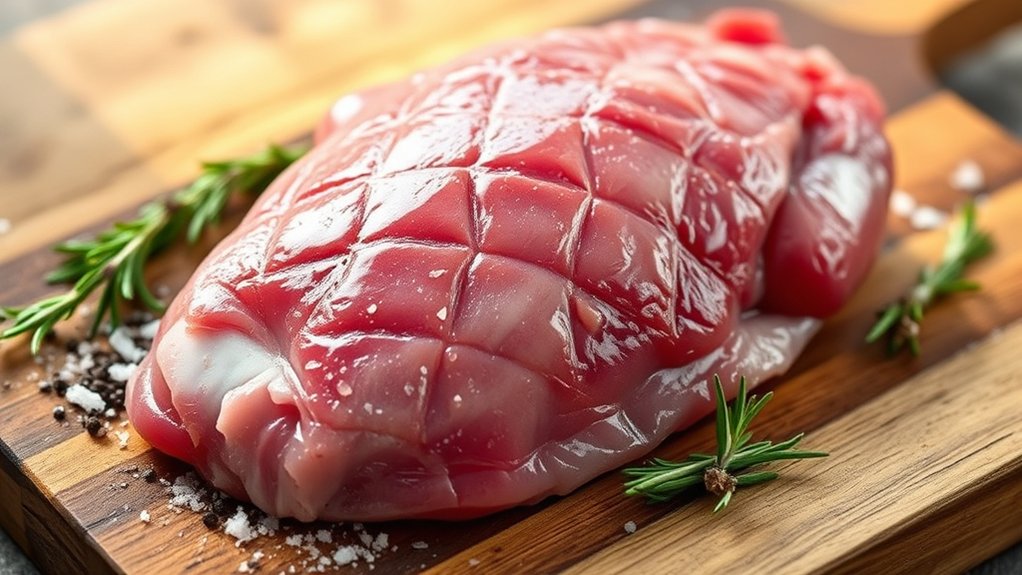
You want to pick seasonings that complement the rich flavor of duck without overpowering it. Salt and pepper are must-haves, but herbs like thyme or spices like five-spice can add a nice touch.
Apply your seasonings just before cooking to keep the skin crisp and the flavors vibrant.
Choosing the Right Seasonings
Although duck breast has a rich, natural flavor, seasoning it thoughtfully can elevate your dish to a whole new level. You want to balance its bold taste without overpowering it. Start with simple, classic spices that complement the meat’s richness.
Here are some excellent choices to contemplate:
- Salt and freshly cracked black pepper: Essential for enhancing natural flavors.
- Garlic powder or minced garlic: Adds a savory depth.
- Fresh or dried thyme: Brings a subtle earthiness.
- Five-spice powder: Introduces an aromatic, slightly sweet complexity.
Feel free to experiment, but keep it balanced. Avoid heavy sauces or overpowering herbs at this stage to let the duck’s flavor shine. Seasoning smartly ensures every bite is delicious and memorable.
Timing Your Seasoning Application
When seasoning duck breast, timing plays a vital role in revealing its full flavor potential. You want to season just before cooking to keep the skin dry and crisp, but allowing the seasoning to rest briefly lets flavors penetrate the meat deeply. Avoid salting too early, or moisture will draw out, preventing that perfect sear.
Here’s a quick guide to help you nail the timing:
| When to Season | Result |
|---|---|
| Right before cooking | Crispy skin, fresh flavor |
| 15 minutes before | Deeper seasoning absorption |
| Over 1 hour before | Moisture loss, less crisp |
| After cooking | Adds brightness, less depth |
Follow this timing, and you’ll maximize flavor while enjoying that irresistible duck skin crunch.
Heat Your Pan for Crispy Duck Breast Skin
Since rendering the fat properly is key to crispy duck skin, you’ll want to heat your pan thoroughly before adding the breast. A hot pan helps the fat melt evenly and creates that perfect crunch without sticking.
Properly heating your pan ensures the duck fat renders evenly for irresistibly crispy skin.
Here’s how to get your pan ready:
- Use a heavy-bottomed skillet for even heat distribution.
- Preheat on medium heat for about 3-5 minutes until it’s hot but not smoking.
- Avoid adding oil; the duck fat will render out and provide enough grease.
- Test the temperature by flicking a few drops of water; they should sizzle and evaporate quickly.
Cook Duck Breast Skin-Side Down for Crispy Skin
To achieve that coveted crispy skin, place the duck breast in the pan skin-side down right away. This allows the fat to render slowly, creating a golden, crunchy exterior while keeping the meat juicy. Don’t press down too hard; let the fat melt naturally.
Keep the heat medium to avoid burning the skin. You’ll notice the fat bubbling and the skin transforming—this means you’re on the right track.
| Step | Tip |
|---|---|
| Start skin-side down | Avoid crowding the pan |
| Render fat slowly | Use medium heat |
| Don’t press the breast | Let it cook undisturbed |
| Watch for browning | Adjust heat if needed |
When and How to Flip Duck Breast
Once the skin has turned a deep golden brown and feels crisp to the touch, it’s time to flip the duck breast. You want to be gentle so you don’t tear the skin or lose any of that rendered fat. Use tongs or a spatula to carefully lift the breast and turn it over onto the meat side.
Here’s how to flip it perfectly:
- Hold the breast firmly but gently with tongs.
- Lift it slightly to check the skin’s color and crispness.
- Turn it slowly to avoid splattering hot fat.
- Lay it down flat on the meat side to cook evenly.
This careful flipping locks in flavor and texture, setting you up for a delicious finish.
Check When Duck Breast Is Perfectly Cooked
Although the duck breast may look tempting, you’ll want to check its doneness carefully to guarantee it’s cooked perfectly. Use a meat thermometer to measure the internal temperature. For medium-rare, aim for 135°F (57°C); for medium, 140°F (60°C).
Insert the thermometer into the thickest part without touching bone. If you don’t have a thermometer, press the breast gently—medium-rare feels soft and springs back slightly, while well-done is firmer. Also, the skin should be crisp and golden brown.
Avoid cutting into the meat prematurely, as this releases juices. Once you confirm the temperature or firmness, you know your duck breast is ready. This *assures* a juicy, tender result every time.
Rest the Duck Breast to Lock in Juices
Even after cooking your duck breast perfectly, you shouldn’t rush to cut into it just yet. Resting the meat allows the juices to redistribute evenly, making each bite juicy and tender instead of dry.
Here’s how to rest your duck breast like a pro:
- Remove the duck breast from the pan and place it on a warm plate.
- Tent it loosely with aluminum foil to keep it warm without trapping steam.
- Let it sit undisturbed for about 5 to 10 minutes.
- Use this time to prepare your sides or finish any sauce.
Slice and Serve Duck Breast Like a Pro
After letting the duck breast rest, you’re ready to slice it to highlight its tender texture and rich flavor. Always cut against the grain in thin, even slices to keep each piece juicy and easy to eat. Use a sharp knife for clean cuts and avoid tearing the meat.
Present the slices fanned out on a warm plate for an impressive look.
Here’s a quick guide to slicing and serving like a pro:
| Step | Tip |
|---|---|
| Slice direction | Against the grain |
| Slice thickness | About ¼ inch (6 mm) |
| Presentation | Fan slices on a warm plate |
This method ensures your duck breast looks as good as it tastes.
Avoid Common Duck Breast Pan Frying Mistakes
When you pan fry duck breast, taking care to avoid common mistakes can make all the difference in achieving crispy skin and juicy meat. Avoid these pitfalls to get the best results:
- Don’t skip scoring the skin; it helps render the fat evenly.
- Avoid cooking on too high heat, which can burn the skin before the meat cooks through.
- Don’t overcrowd the pan; it lowers the temperature and prevents crispiness.
- Avoid flipping the breast too often; let one side cook thoroughly before turning.
Frequently Asked Questions
Can I Use Duck Breast From Frozen for Pan Frying?
You shouldn’t pan fry duck breast straight from frozen. You’ll want to fully thaw it first in the fridge to guarantee even cooking and a crispy skin.
Cooking frozen duck breast risks uneven doneness and soggy texture.
What Side Dishes Pair Well With Pan-Fried Duck Breast?
Savory sides such as sweet spinach salad, spiced sweet potatoes, or sautéed spring vegetables perfectly pair with pan-fried duck breast. You’ll love crisp carrots or creamy cauliflower mash complementing your delicious dinner delight.
How Long Can Cooked Duck Breast Be Stored in the Fridge?
You can store cooked duck breast in the fridge for 3 to 4 days.
Make sure to keep it in an airtight container to maintain freshness and prevent it from absorbing other odors in your fridge.
Is It Necessary to Use a Non-Stick Pan for Frying Duck Breast?
You don’t have to use a non-stick pan, but it helps prevent sticking and makes cleanup easier.
A heavy-bottomed skillet like cast iron also works well, giving you great heat retention and even cooking for your duck breast.
Can I Pan Fry Duck Breast Without Scoring the Skin?
You can pan fry duck breast without scoring the skin, but it’s like skating on thin ice—fat won’t render as well, and the skin may not crisp evenly.
Scoring helps achieve that perfect, crunchy texture.
Conclusion
Now that you’ve chosen the best duck breast, scored the skin, and seasoned it just right, you’re ready to heat your pan and cook with confidence.
You’ll sear the skin to crispy perfection, check for doneness, and let it rest to lock in those juicy flavors.
Slice it with care, serve it like a pro, and avoid common pitfalls.
Follow these steps, and you’ll master pan-fried duck breast every time.
By mastering these pan-frying techniques, you’ll achieve a perfectly cooked duck breast with crispy skin and tender meat.
Enjoy the rich flavors and impress your guests with your pan-fried duck breast skills!