How to Use a Grill Brick in 7 Easy Steps
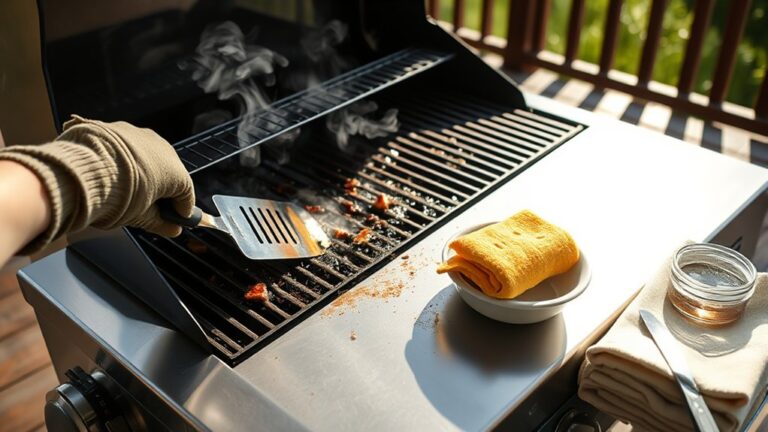
To use a grill brick in 7 easy steps, start by gathering your grill brick, gloves, water spray, and cloth. A grill brick is an essential tool for effective grill cleaning, helping remove tough residue with ease.
Preheating your grill to medium-high for 10-15 minutes ensures it’s ready for cleaning.
Next, turn the heat down so the grates are warm but safe to touch.
Scrub stubborn residue firmly using back-and-forth strokes to avoid damaging the surface.
After scrubbing, rinse and wipe the grates clean with a damp cloth.
Finally, clean your grill brick and store it properly to extend its lifespan.
Incorporate quick daily care to prevent buildup and maintain grill performance.
Keep going to discover tips that make your grill maintenance even easier.
Key Takeaways
- Preheat grill to medium-high for 10-15 minutes to loosen grime, then reduce heat to warm before cleaning.
- Wear heat-resistant gloves and gather grill brick, wire brush, spray bottle, and damp cloth.
- Scrub grill grates firmly with back-and-forth strokes, focusing on charred and greasy areas while grates are warm.
- Rinse grates thoroughly with water to remove brick residue and wipe with a damp cloth to clear debris.
- Clean the grill brick by scraping off residue, dry it, and store in a cool, dry place for reuse.
What Is a Grill Brick and Why Use One?
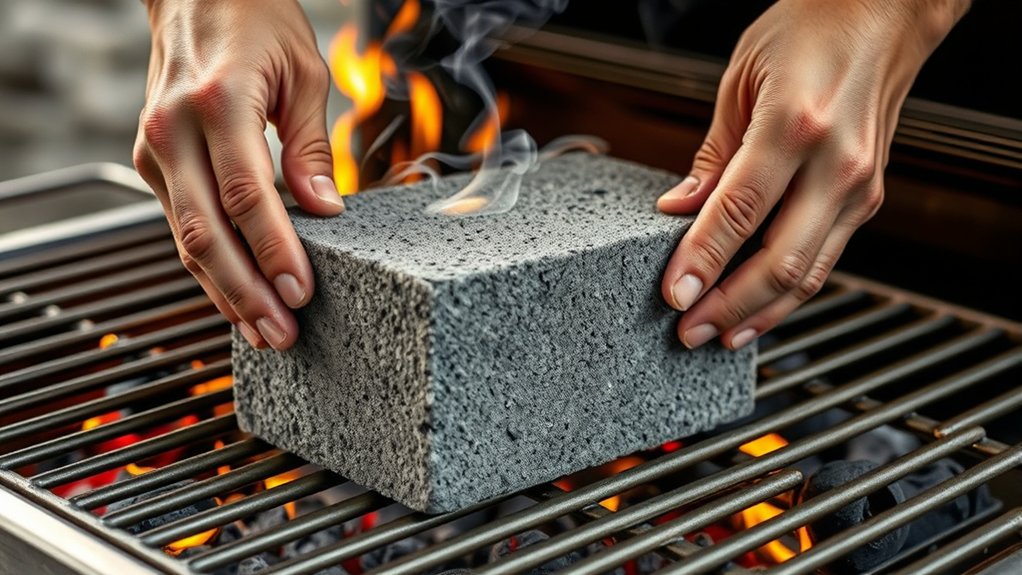
Although you might not have heard of a grill brick before, it’s a simple tool that can greatly improve your grilling experience. A grill brick is a porous, heat-resistant block designed to clean your grill grates effectively. You use it by scraping the hot grates, which removes stubborn residue, grease, and burnt food without damaging the metal.
Unlike wire brushes, grill bricks don’t shed bristles that can stick to your food, making them a safer choice. Plus, they’re reusable and easy to handle. Using a grill brick not only keeps your grill cleaner but also helps maintain better flavor in your meals since leftover debris won’t burn and affect your food.
It’s a smart addition to your grilling routine.
Grab Your Grill Brick and Cleaning Supplies
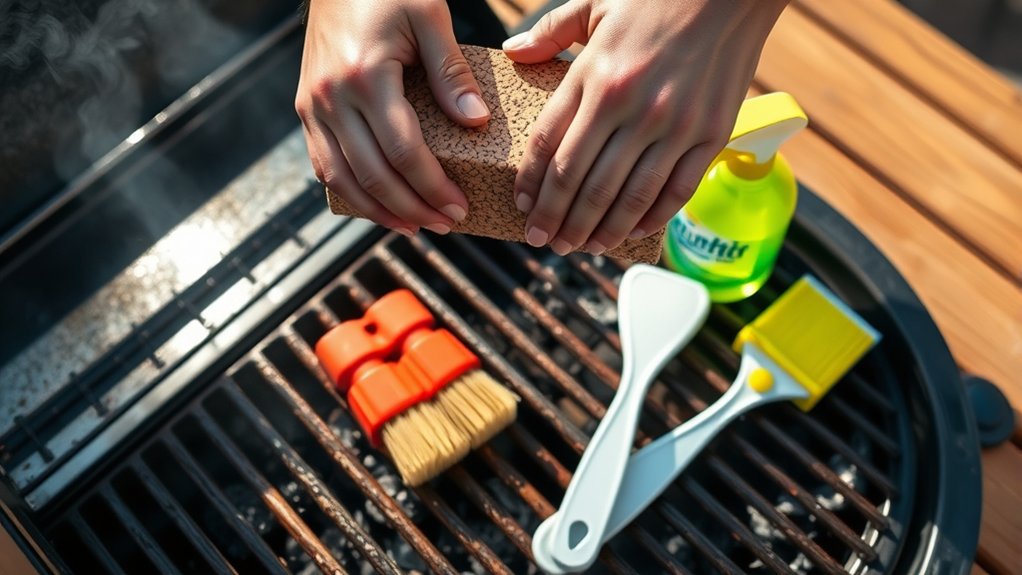
Before you start cleaning, gather your grill brick along with a few essential supplies to make the process smooth and effective. You’ll need a sturdy grill brick designed specifically for this purpose, as it won’t damage your grates. Grab a pair of heat-resistant gloves to protect your hands, and a wire brush or scraper for tougher residue spots.
Have a spray bottle filled with water handy to cool down the grill brick if needed, and keep a damp cloth nearby to wipe away loosened debris. Don’t forget a bucket or trash bag for disposing of the grime. Gathering everything in advance saves time and helps you clean efficiently without interruptions.
With your tools ready, you’re set to tackle the next steps confidently.
Preheat Your Grill to the Right Temperature for Cleaning
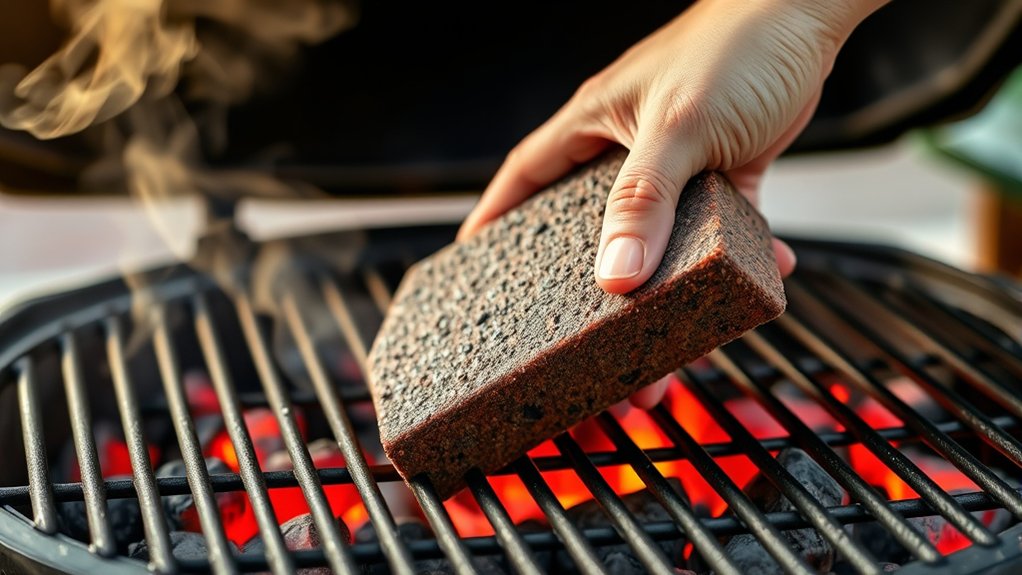
Once your grill is ready, turn it on and set it to a medium-high temperature to heat the grates thoroughly. Heating the grill this way loosens stuck-on food and grease, making it easier to clean. Let it preheat for about 10 to 15 minutes, but keep an eye on it to prevent overheating.
Avoid setting the temperature too high, as extreme heat can damage your grill brick or the grates. You want the surface hot enough to soften debris but not so hot that it becomes unsafe to handle. Once the grates reach the right temperature, turn off the grill or reduce the heat before you start cleaning.
This step guarantees your grill brick works efficiently and safely on the warm surface.
Scrub Tough, Greasy, and Burnt Grill Grate Areas
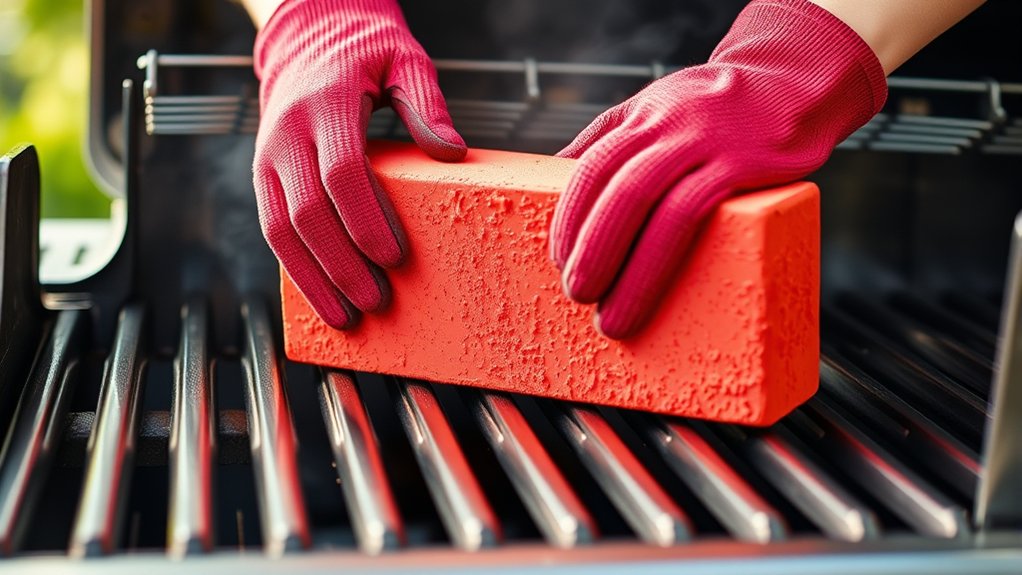
When your grill grates are warm but not too hot, grab your grill brick and start scrubbing the toughest, greasiest spots with firm pressure. Focus on burnt-on food and grease buildup by applying steady force, moving in back-and-forth strokes. Don’t rush—this part requires patience to fully break down stubborn residues.
Use firm, steady pressure with your grill brick on warm grates to break down tough grease and burnt food.
Here’s what you should do:
- Target the most stubborn, charred areas first to loosen grime effectively.
- Use consistent pressure to avoid scratching the grates while lifting grease.
- Work systematically, covering each section to prevent missing hidden buildup.
Check and Rinse Off Grill Brick Residue and Wipe Down Grates
After scrubbing, check your grill grates for any leftover grill brick residue. Rinse them thoroughly with water to remove all particles.
Finally, wipe the grates clean to guarantee they’re ready for your next cookout.
Inspect Brick Residue
You’ll want to carefully inspect your grill grates for any leftover residue from the grill brick before you finish cleaning. Missing spots can affect your next cookout, leaving flavors off or causing flare-ups. Take a close look and gently run your fingers or a soft cloth over the grates to spot any stubborn debris.
If you find residue, don’t worry—just wipe it away to keep your grill in top shape. Here’s what you should do:
- Check every nook and cranny on the grates for particles or dust.
- Use a damp cloth to wipe off any remaining residue.
- Make sure the grates feel smooth and clean to the touch.
This quick inspection ensures your grill is ready for flawless grilling next time.
Rinse Thoroughly With Water
Although you’ve already wiped away most debris, rinsing your grill grates thoroughly with water guarantees any lingering grill brick residue gets completely removed. Start by attaching a hose or using a bucket of water to gently flush the grates. Make sure to cover every corner and crevice where residue might hide.
Avoid using harsh sprays that could damage the metal. As you rinse, watch for any remaining particles or residue. If you spot stubborn spots, focus the water stream there to loosen and wash them away.
This step prevents any abrasive brick bits from affecting your next cookout. Once you finish rinsing, let the grates drip dry for a few minutes before moving on. This *assures* your grill is free of unwanted residue and ready for the next cleaning phase.
Wipe Grates Clean
Once you’ve thoroughly rinsed the grates, it’s important to wipe them down to remove any remaining grill brick residue. This step guarantees your grill stays in top shape and your food tastes just right. Use a clean cloth or paper towel, dampened with water, to gently wipe each grate.
Be thorough but gentle to avoid scratching. Here’s how to do it effectively:
- Inspect the grates for any leftover residue or debris.
- Wipe each grate carefully, focusing on areas where the brick worked hardest.
- Finish with a dry cloth to prevent rust and keep everything looking fresh.
Taking these steps will leave your grill grates spotless and ready for your next cookout.
Clean and Store Your Grill Brick for Longevity
To keep your grill brick in great shape, you’ll want to clean it properly after each use. Make sure it’s completely dry before storing to prevent any damage or mold.
Also, store it in a cool, dry place to maintain its effectiveness over time.
Proper Cleaning Techniques
Keeping your grill brick clean after each use guarantees it lasts longer and performs better. To properly clean your grill brick, follow these simple steps:
- Scrape Off Residue: While the brick is still warm, gently scrape off any stuck-on food with a grill brush or scraper. This prevents buildup and keeps the surface effective.
- Wipe with a Damp Cloth: Use a damp cloth or sponge to wipe away grease and ash. Avoid soaking the brick, as excess moisture can damage it.
- Avoid Harsh Chemicals: Stick to mild soap if needed, but never use strong detergents or abrasive cleaners that can erode the brick’s surface.
Drying and Maintenance Tips
After cleaning your grill brick, make sure it’s completely dry before storing it. Moisture trapped inside can cause mold or weaken the brick over time. Leave it in a well-ventilated area at room temperature until it feels dry to the touch.
Avoid using heat sources like ovens or hairdryers, as rapid drying might cause cracks. Regularly inspect your grill brick for any damage or residue buildup. If you notice stubborn stains, gently scrub with a brush and rinse again.
To prolong its life, avoid dropping the brick or exposing it to extreme temperature changes. Following these simple drying and maintenance steps will help your grill brick stay effective and durable for many grilling seasons to come.
Ideal Storage Conditions
Although your grill brick is designed to withstand high heat, storing it properly is key to preserving its effectiveness and preventing damage. After cleaning and drying your brick, choose a storage spot that protects it from moisture and extreme temperatures.
To keep your grill brick in top shape, follow these steps:
- Store it in a dry, well-ventilated area to avoid mold and mildew buildup.
- Keep it away from direct sunlight or damp basements, which can degrade the brick’s integrity.
- Place it on a shelf or in a container that prevents accidental drops or cracks.
Easy Daily Habits to Prevent Grill Grate Buildup
If you want to enjoy a clean grill without the hassle of heavy scrubbing, adopting simple daily habits can make all the difference. Start by preheating your grill for 10-15 minutes before cooking; this burns off residue and makes cleaning easier.
Right after grilling, while the grates are still warm, use a grill brush or your grill brick to quickly scrub off leftover food particles. Wipe down the grates with a damp cloth to remove ash and grease buildup. Avoid letting food residue sit for too long, as it hardens and becomes tougher to clean.
Regularly oil your grill grates before cooking to prevent sticking and buildup. These easy habits save you time and keep your grill in top shape.
Frequently Asked Questions
Can a Grill Brick Be Used on Electric Grills?
Yes, you can use a grill brick on electric grills. Just make sure the brick fits properly and avoid direct contact with heating elements.
It’ll help distribute heat evenly and enhance your cooking experience safely.
Is a Grill Brick Safe for Non-Stick Grill Grates?
You shouldn’t use a grill brick on non-stick grates since 70% of damage to non-stick surfaces comes from abrasive tools.
Instead, stick to soft brushes to keep your grill safe and extend its lifespan.
How Often Should I Replace My Grill Brick?
You should replace your grill brick every 6 to 12 months or when it starts crumbling or losing effectiveness. Regularly check for wear, and if it’s not cleaning well, it’s time to get a new one.
Can I Use a Grill Brick on a Cold Grill?
You shouldn’t use a grill brick on a cold grill because it needs heat to effectively clean and burn off residue.
Always preheat your grill first, then scrub with the brick for the best results.
Are Grill Bricks Environmentally Friendly?
Yes, grill bricks are environmentally friendly since they’re reusable and reduce chemical cleaners. You won’t need harsh sprays, cutting down on pollution.
Just rinse and reuse, making your grilling routine greener and safer for the planet.
Conclusion
Now that you’ve tamed your grill with a trusty grill brick, your cooking surface will shine like a polished gem. Regular scrubbing keeps the fiery beast at bay, turning grime into nothing but a distant memory.
With these simple steps, your grill won’t just cook—it’ll sparkle, ready to release smoky, savory magic every time. Keep up the habit, and your grill will thank you with every perfect sizzle and sear.
Using a grill brick regularly is the key to maintaining a clean grill surface. This ensures better tasting food and extends the life of your grill. Follow these grill brick cleaning steps for a flawless grilling experience every time.