How to Fry Paneer in 10 Easy Steps
Choose fresh, firm paneer and cut it into uniform pieces to ensure even cooking. Pat them dry to remove any moisture before seasoning with spices and a binding agent like yogurt or lemon juice. This step helps the flavors adhere better and the paneer to fry crispier.
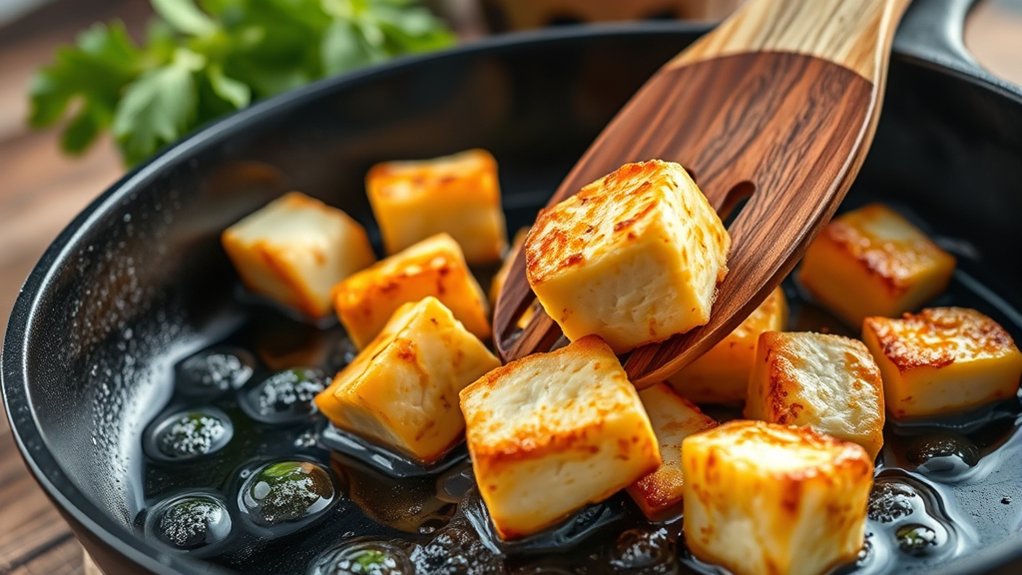
Heat oil over medium heat until shimmering, then fry the paneer in small batches. Flip carefully once the pieces turn golden brown to avoid breaking them. Drain the fried paneer on paper towels to keep it crisp and prevent sogginess.
Serve the paneer immediately with dips or curries for the best taste and texture. Store any leftovers properly to reheat without losing their firmness.
Keep going to uncover tips that perfect your frying technique and make your paneer irresistible.
Key Takeaways
- Choose fresh, firm paneer and cut into uniform pieces, patting dry to remove excess moisture before frying.
- Marinate paneer with spices and a binding agent like yogurt or oil for even flavor absorption.
- Heat oil over medium until shimmering, then fry paneer in small batches for even, golden crispness.
- Flip paneer carefully once golden on one side, ensuring all edges brown without overcrowding the pan.
- Drain fried paneer on paper towels and serve immediately with dips or curries for best texture and flavor.
Choose the Right Paneer for Frying
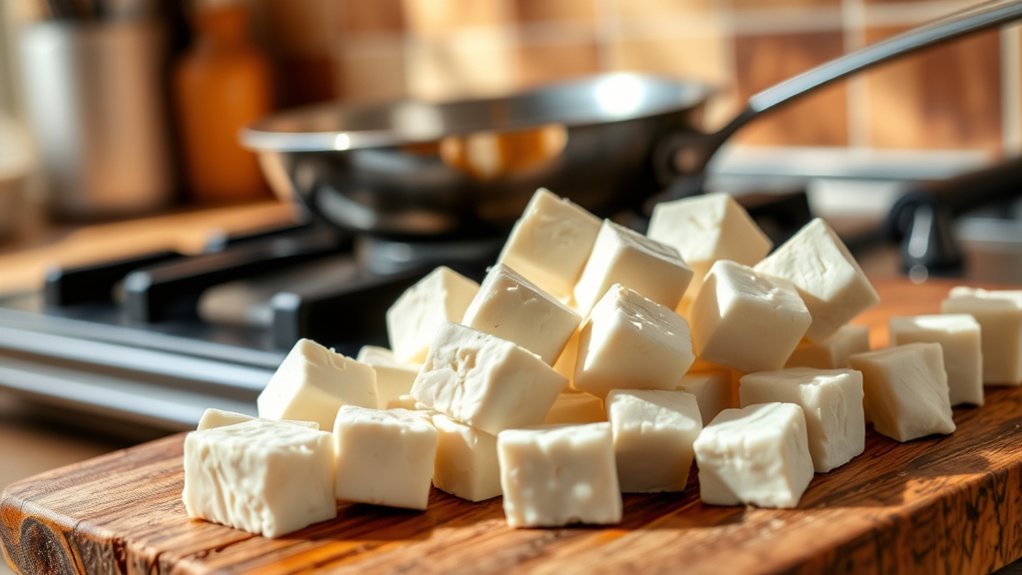
How do you pick the best paneer for frying? Start by choosing fresh, firm paneer that holds its shape well when cooked. Avoid crumbly or overly soft varieties, as they tend to break apart during frying.
Look for paneer with a smooth, even texture and a mild, milky aroma. If possible, opt for homemade or high-quality store-bought paneer, since it usually contains fewer preservatives and has a better texture. Also, consider the fat content—paneer with moderate fat tends to fry up golden and crisp without drying out.
Stay clear of pre-marinated or flavored paneer, as it may burn quickly or alter your dish’s taste. Picking the right paneer sets the foundation for perfectly fried, delicious pieces every time.
Prepare and Cut Paneer for Frying
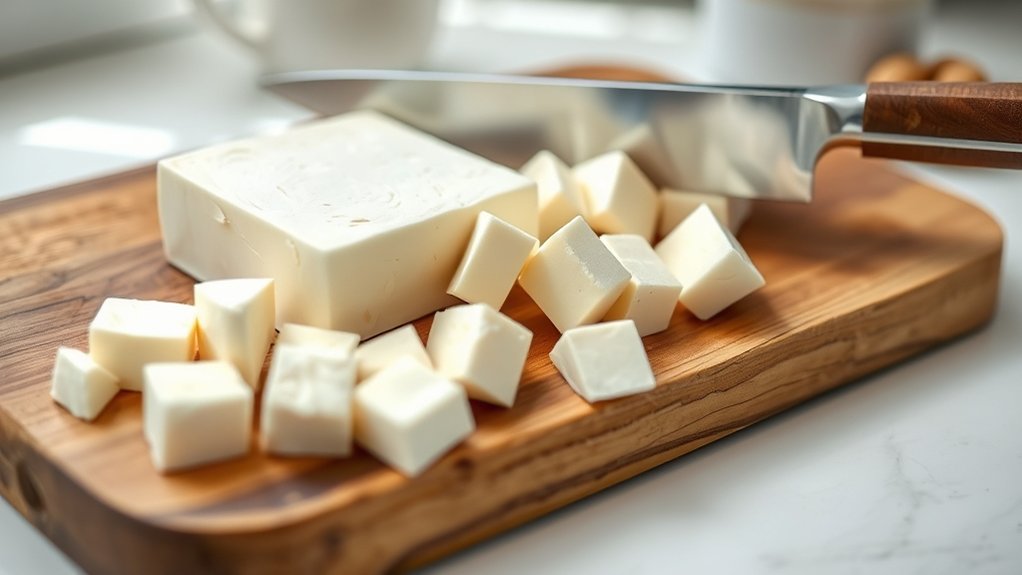
Once you’ve selected the perfect paneer, the next step is to prepare and cut it properly for frying. Start by unwrapping the paneer and placing it on a clean cutting board. Use a sharp knife to slice the paneer into even pieces, so they cook uniformly.
You can cut them into cubes, rectangles, or triangles, depending on your recipe or preference.
Here’s a quick guide to cutting paneer:
| Shape | Ideal For |
|---|---|
| Cubes | Stir-fries, curries |
| Rectangles | Sandwiches, wraps |
| Triangles | Appetizers, snacks |
| Thin slices | Grilling, salads |
Cut carefully to avoid crumbling, and keep the pieces consistent in size for the best frying results.
Pat Dry the Paneer to Remove Excess Moisture
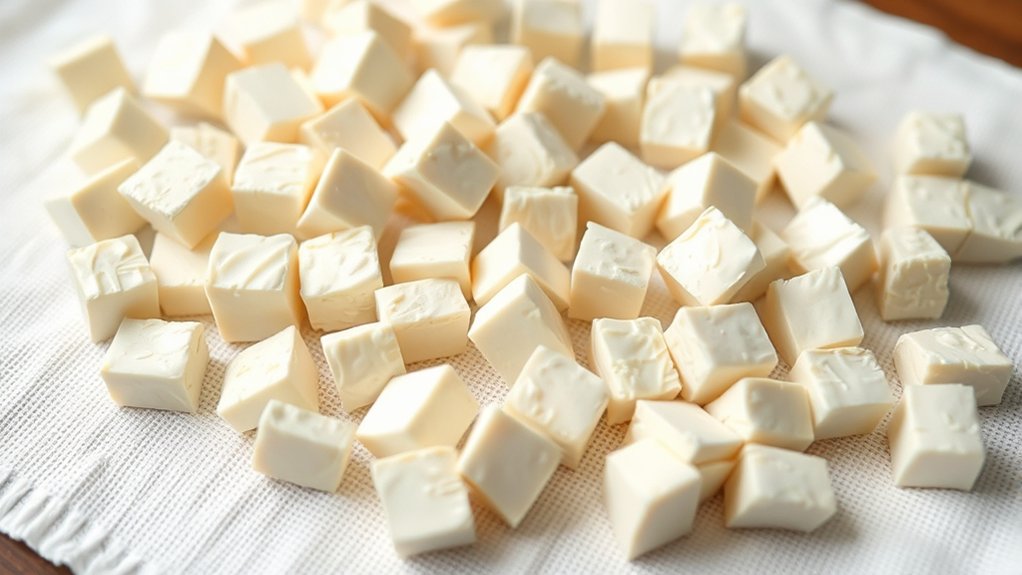
Although cutting the paneer perfectly is important, you’ll want to pat it dry thoroughly before frying to guarantee it crisps up nicely. Excess moisture on the paneer’s surface causes it to steam rather than fry, resulting in a soggy texture.
To remove this moisture, place the paneer pieces on a clean kitchen towel or paper towels. Gently press another towel on top to soak up the water. Avoid rubbing, as this can break the delicate paneer.
Let the pieces rest for a few minutes, then check if they feel dry to the touch. If needed, repeat the process until the paneer feels firm and dry. This simple step assures your paneer fries evenly and develops that perfect golden crust you’re aiming for.
How to Season Paneer for Fried Paneer
You’ll want to pick the right spices to bring out the best flavor in your paneer. Marinating the cubes helps the spices stick and soak in evenly.
Let’s look at how to balance those flavors perfectly before frying.
Choosing the Right Spices
When seasoning paneer for frying, selecting the right spices can transform a simple dish into a flavorful delight. You want to balance boldness without overpowering paneer’s mild taste. Start with basic spices like turmeric, cumin, and red chili powder for warmth and a subtle kick.
Add garam masala or chaat masala to introduce complexity and a hint of tanginess. Freshly ground black pepper enhances aroma and heat. Don’t forget a pinch of salt to bring out all flavors.
If you prefer a smoky touch, smoked paprika works wonders. Remember, the key is to complement paneer, not mask it. Measure your spices carefully to maintain harmony in taste.
With these choices, your fried paneer will be irresistibly savory and aromatic.
Marinating Techniques Overview
Since paneer absorbs flavors well, marinating it before frying is essential to achieve a delicious, well-seasoned result. Start by cutting paneer into even cubes or slices to guarantee uniform seasoning. Mix your chosen spices, herbs, and a binding agent like yogurt, lemon juice, or oil to help the marinade stick.
Coat the paneer thoroughly, making sure every piece is covered. Let it rest for at least 15 to 30 minutes; this allows the flavors to penetrate the paneer. You can marinate it longer, even overnight, for a deeper taste.
Avoid using too much liquid, as excess moisture can cause splattering when frying. Proper marinating sets the foundation for perfectly flavored fried paneer, so take this step seriously before moving on.
Balancing Flavors Perfectly
Although paneer has a mild flavor on its own, seasoning it thoughtfully can transform your fried paneer into a vibrant dish. You want to balance spices, salt, and acidity to enhance its texture and taste without overpowering it.
Start with basic salt and pepper, then add spices like cumin or garam masala for warmth. A squeeze of lemon juice or a pinch of chaat masala can brighten the flavors right before serving.
| Seasoning | Effect |
|---|---|
| Salt | Enhances basic flavor |
| Black Pepper | Adds mild heat |
| Cumin Powder | Introduces earthy warmth |
| Garam Masala | Provides complex aroma |
| Lemon Juice | Brightens and balances taste |
Use these in balance to make your fried paneer truly delicious.
Heat the Oil to the Perfect Temperature
To achieve perfectly fried paneer, you need to heat the oil just right—too hot, and the cubes will burn outside while remaining uncooked inside; too cool, and they’ll absorb excess oil and become soggy. Heat your oil over medium heat until it shimmers but doesn’t smoke. You can test the temperature by dropping a small cube of paneer into the oil.
If it sizzles immediately and rises to the surface, the oil is ready. If it browns too quickly or smokes, lower the heat. If it sinks without sizzling, the oil is not hot enough.
Guarantee this perfect temperature ensures a crispy exterior and tender interior. Keep an eye on the heat throughout frying, adjusting as necessary to keep the oil steady.
Fry Paneer in Batches for Even Cooking
When frying paneer, work in small batches to guarantee each cube cooks evenly and crisps up perfectly. Overcrowding the pan lowers the oil temperature, causing the paneer to steam rather than fry. This results in soggy, unevenly cooked pieces.
Add just enough cubes to cover the bottom of your pan without touching each other. This allows hot oil to circulate around each piece, promoting a golden crust. Once the first batch is done, use a slotted spoon to remove the paneer and place it on paper towels to drain excess oil.
Then, repeat the process with the remaining paneer. Frying in batches might take a bit longer, but it ensures every cube has a deliciously crispy exterior and a soft, tender inside.
Flip Paneer for Crispy Edges
Once the paneer cubes begin to turn golden on one side, you’ll want to flip them carefully to make certain all edges get that same crispy texture. Use tongs or a spatula to gently turn each cube, avoiding any breaks or crumbling. Flip them evenly so every side can brown nicely, which brings out the best flavor and crunch.
Don’t rush this step—let the paneer cook undisturbed long enough before flipping to develop a firm crust. If you flip too soon, the cubes might stick or fall apart. Keep the heat moderate to prevent burning while still achieving that perfect golden-brown finish.
Flipping paneer properly guarantees every bite has a satisfying crispness that complements its soft interior.
Drain Paneer to Keep It Crispy
Although the paneer looks perfectly golden and crispy, you’ll want to drain it immediately after frying to keep that texture intact. Use a slotted spoon to lift the pieces from the hot oil and transfer them to a plate lined with paper towels. The towels will soak up excess oil, preventing sogginess.
Don’t let the paneer sit in oil or drain too long, or it might lose its crunch. If you’re frying multiple batches, replace the paper towels between batches to maintain effectiveness. Draining properly guarantees every bite stays delightfully crisp without being greasy.
This simple step preserves the paneer’s texture, giving you that satisfying crunch every time you enjoy it.
Serve Fried Paneer Hot With Dips or Curries
To enjoy the full flavor of your fried paneer, serve it hot alongside your favorite dips or curries. This keeps the paneer crispy and enhances every bite with contrasting tastes and textures. Whether you want a spicy kick or a creamy touch, pairing it well makes all the difference.
Try these ideas:
- Tangy mint chutney adds a invigorating zing
- Creamy tomato-based butter masala provides rich warmth
- Sweet tamarind sauce balances the spice perfectly
- Cool cucumber raita offers a soothing contrast
- Spicy green chili dip intensifies the flavors
Serving immediately after frying ensures the paneer stays crisp on the outside and soft inside, making every bite delightful and satisfying.
Store and Reheat Fried Paneer Properly
Enjoying your fried paneer right after cooking keeps it at its best, but sometimes you’ll want to save leftovers for later. To store it properly, let the paneer cool completely, then place it in an airtight container. Keep it refrigerated and consume within 2-3 days for perfect freshness.
When you’re ready to reheat, avoid the microwave if possible—it can make the paneer rubbery. Instead, reheat it gently in a non-stick pan over low heat, adding a splash of oil to help retain crispiness. Stir occasionally to warm it evenly.
If you prefer, you can also reheat paneer in a preheated oven at 350°F (175°C) for about 5-7 minutes. Proper storage and reheating ensure your fried paneer remains tasty and satisfying.
Frequently Asked Questions
Can I Freeze Fried Paneer for Later Use?
Yes, you can freeze fried paneer for later use. Just let it cool completely, place it in an airtight container or freezer bag, and freeze.
When ready, thaw it in the fridge and reheat gently for best texture.
What Oil Is Healthiest for Frying Paneer?
You might think olive oil’s best, but it has a low smoke point, so use avocado or coconut oil instead—they handle heat well and provide healthy fats, keeping your paneer crispy without harmful compounds forming during frying.
How Do I Make Paneer at Home for Frying?
You boil milk, then add lemon juice or vinegar to curdle it.
Strain the curds through a muslin cloth, press out excess water, and chill the paneer before cutting it for frying.
Can Fried Paneer Be Used in Salads?
Yes, you can definitely use fried paneer in salads. It adds a delicious, crispy texture and rich flavor that complements fresh veggies.
Just toss it in with your greens, dressing, and enjoy a tasty, protein-packed salad.
What Are Common Mistakes When Frying Paneer?
You often make mistakes like using too high heat, not drying paneer properly, overcrowding the pan, or flipping too soon. These cause uneven cooking or sogginess.
Pat it dry, use medium heat, and fry patiently for crispiness.
Conclusion
Now that you’ve mastered frying paneer, you’re ready to take the bull by the horns and impress everyone with your crispy, golden bites.
Remember, the key is drying and seasoning it well, then frying at just the right temperature. Whether you serve it with dips or in curries, your paneer will always be the star of the show.
Keep practicing, and soon frying paneer will feel like second nature to you! With these simple steps to fry paneer perfectly, you can enjoy delicious, crispy paneer anytime.
Mastering how to fry paneer not only enhances your cooking skills but also adds a tasty twist to your meals.