How Do You Make Ice Cream in a Ninja Blender in 7 Easy Steps
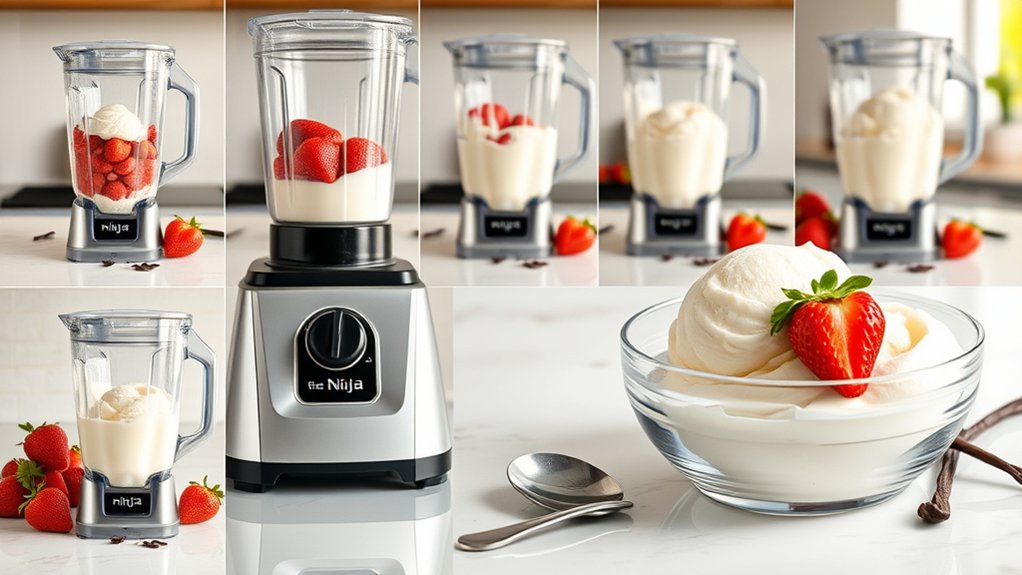
To make ice cream in your Ninja blender, start by gathering frozen fruits, cream, and sweeteners. Using a Ninja blender to make ice cream is a quick and easy way to enjoy a creamy, homemade treat without an ice cream maker.
Measure and prep your ingredients, ensuring they’re cold for creaminess.
Blend on low, then high, using pulses to achieve a smooth texture. Freeze the mixture, then reblend to break ice crystals, and freeze again until firm but scoopable.
Serve immediately or chill for a firmer texture.
Experiment with flavors and toppings to make it your own. Keep going to master every step and tip. Enjoy delicious homemade ice cream anytime with your Ninja blender!
Key Takeaways
- Use frozen fruits and measured ingredients like cream, condensed milk, and vanilla for a creamy ice cream base.
- Securely assemble the blender and add ingredients in order, starting with pulse to break down large pieces.
- Blend on low speed initially, then increase to high for 2-3 minutes, stopping to scrape sides for even mixing.
- Freeze the blended mixture in an airtight container, then reblend after 1 hour to improve texture and creaminess.
- Serve immediately for soft-serve or chill longer for firmness, and clean the blender promptly after use.
Gather Ingredients for Your Ninja Blender Ice Cream
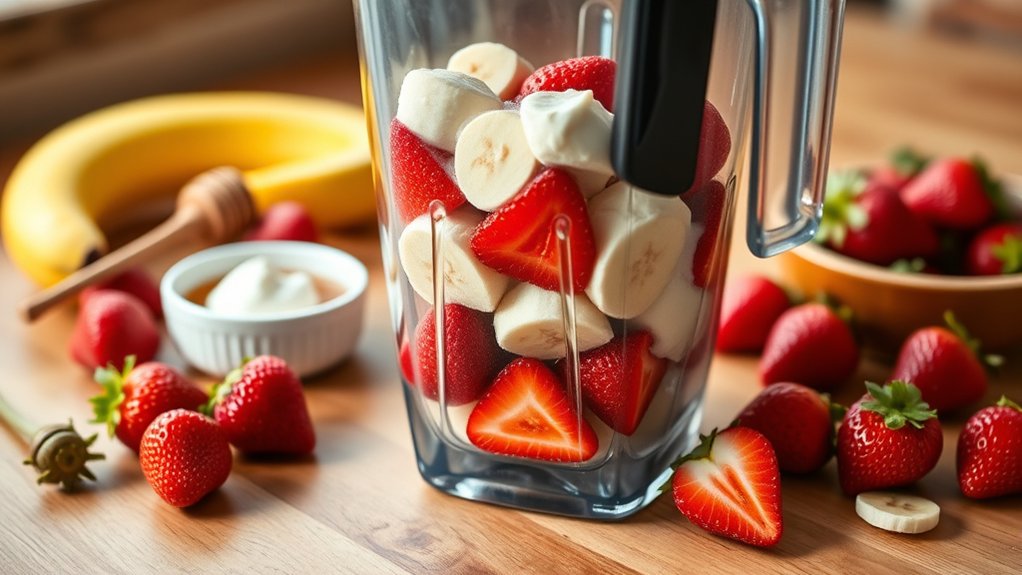
Before you start blending, gather all the ingredients you’ll need for your Ninja Blender ice cream. You’ll want to have your base ready, usually heavy cream or full-fat coconut milk for a dairy-free option. Grab some sweeteners like sugar, honey, or maple syrup to balance the flavors.
Don’t forget vanilla extract or other flavorings to add depth. If you’re planning on mixing in fruits, nuts, or chocolate chips, have those prepped and nearby. Make sure everything is fresh and ready to go—frozen fruits work great for a creamy texture.
Having your ingredients within reach speeds up the process and keeps your workspace organized. Once everything is assembled, you’ll be set to move smoothly into the blending stage without interruptions.
Prepare and Measure Ingredients for Blending
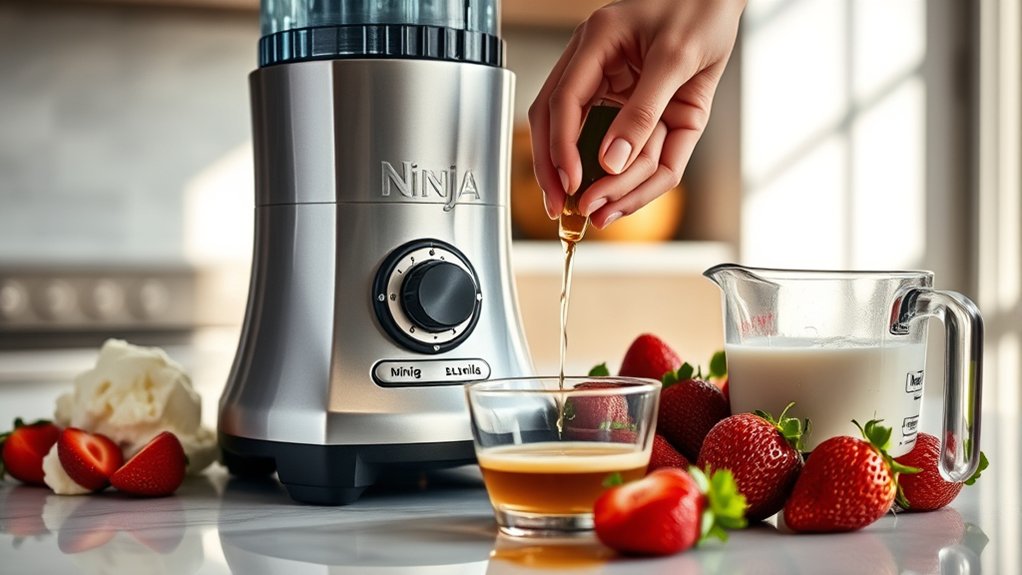
Now that you’ve gathered all your ingredients, it’s time to prepare and measure them accurately for blending. Use a kitchen scale or measuring cups to guarantee each component is precise. Chop any larger items like fruit or chocolate into small pieces so your Ninja blender handles them easily.
Keep your ingredients cold, especially the cream and milk, to help achieve a creamy texture.
Here’s a quick guide to what you’ll need:
| Ingredient | Amount |
|---|---|
| Heavy cream | 1 cup (240 ml) |
| Sweetened condensed milk | 1/2 cup (120 ml) |
| Vanilla extract | 1 teaspoon |
Accurate preparation sets the stage for smooth blending and perfect ice cream.
Blend Ingredients Smoothly in Your Ninja Blender
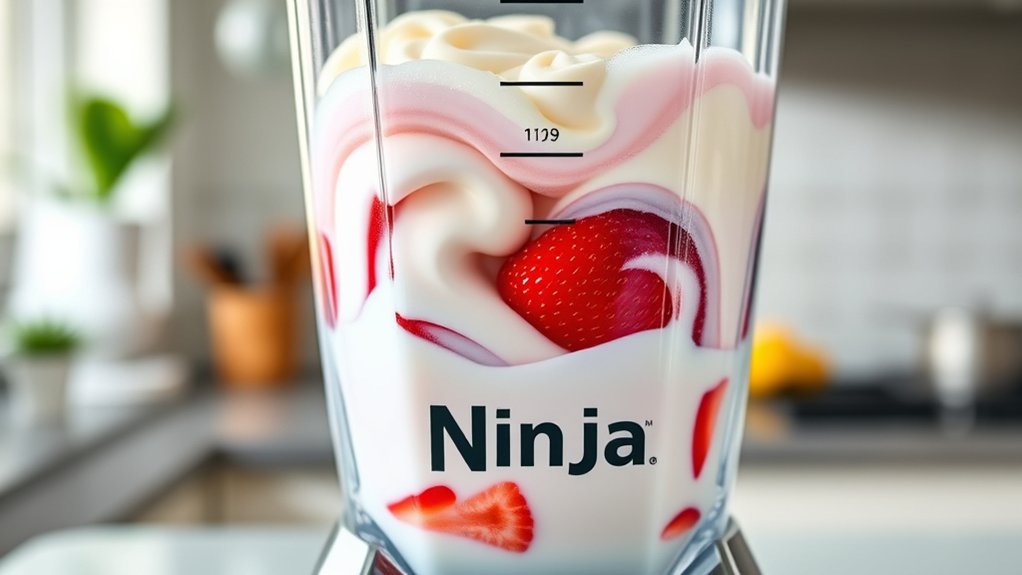
Once you’ve measured and prepped your ingredients, pour them into your Ninja blender and secure the lid tightly. Start blending on a low speed to combine everything gently, then gradually increase to a higher speed for a smooth, creamy texture. Use the pulse function if needed to break down any stubborn chunks.
Avoid over-blending, as it can warm the mixture and affect the ice cream’s final consistency. If the mixture sticks to the sides, stop blending and use a spatula to scrape it down before blending again. Keep blending until you see a uniform, silky mixture without lumps.
This step guarantees your ice cream base is perfectly smooth and ready for freezing.
Freeze Your Ninja Blender Ice Cream Mixture Properly
To get the best texture, freeze your ice cream mixture for at least 4 hours. Choose a shallow, airtight container to help it freeze evenly and prevent ice crystals.
Make sure to cover it well to keep your ice cream fresh and creamy.
Ideal Freezing Time
How long should you freeze your ice cream mixture to achieve the perfect texture? Timing is key when using your Ninja Blender. Freeze it too briefly, and your ice cream will be too soft; too long, and it’ll turn icy and hard.
Here’s a simple guide to get it just right:
- Freeze the mixture in the blender container for 1 hour initially.
- Check the texture; if still liquidy, freeze for an additional 30 minutes.
- Once semi-solid, blend for 30 seconds to incorporate air.
- Freeze for a final 1-2 hours until firm but scoopable.
Following these steps ensures creamy, smooth ice cream every time without the icy crunch. Adjust slightly based on your freezer’s temperature.
Container Selection Tips
Freezing your ice cream mixture properly doesn’t stop at timing—it also depends on the container you choose. Pick a container that’s airtight to prevent ice crystals from forming, which can ruin the texture. A shallow, wide container works best because it allows the mixture to freeze evenly and speeds up the process.
Avoid using metal containers, as they can freeze too quickly and cause uneven texture. Instead, opt for BPA-free plastic or glass containers. Make sure the container fits easily in your freezer without crowding, so air can circulate freely around it.
Finally, cover the container tightly with a lid or plastic wrap to keep out freezer odors and maintain freshness. Choosing the right container ensures your Ninja blender ice cream turns out smooth and creamy every time.
Reblend After Freezing for a Creamier Texture
Once your ice cream has frozen, give it a quick reblend to break up any ice crystals and boost creaminess. Timing is key—reblend just before serving to get the best texture.
Using short, controlled pulses will help keep your ice cream smooth without melting it.
Benefits Of Reblending
Although blending your ice cream mixture well initially is important, reblending after it’s partially frozen makes a huge difference in texture. When you reblend, you break up ice crystals that start forming, which keeps your ice cream smooth and creamy. This simple step transforms a grainy dessert into a velvety treat.
Here are four key benefits of reblending:
- Reduces ice crystal size for a smoother mouthfeel.
- Enhances creaminess without adding extra ingredients.
- Incorporates air, making the texture lighter and fluffier.
- Guarantees even distribution of flavors throughout the ice cream.
Timing For Best Texture
To achieve the creamiest texture, you’ll want to reblend your ice cream mixture at just the right moment—when it’s partially frozen but still soft enough to stir. Check after about 1 to 2 hours of freezing, depending on your freezer’s temperature and the ice cream base. At this point, the mixture should have thickened but not hardened into a solid block.
Remove it, then quickly pulse it in your Ninja blender for 30 to 60 seconds to break up any ice crystals and incorporate air, enhancing smoothness. After reblending, return it to the freezer to finish setting. This timing helps maintain a creamy consistency without over-freezing or melting, giving you a perfectly textured homemade ice cream every time.
Techniques To Avoid Ice Crystals
Getting the timing right for reblending sets the stage for smoother ice cream by breaking up forming ice crystals. After your ice cream has frozen for about 1 to 2 hours, take it out and give it a quick blend in your Ninja blender. This simple step improves texture considerably.
Here’s how to do it effectively:
- Freeze the mixture until it’s firm but not rock solid.
- Scoop it into the blender and pulse briefly to break up ice crystals.
- Return it to the freezer for another 1-2 hours.
- Repeat if needed until you reach the desired creaminess.
Serve and Enjoy Your Homemade Ninja Blender Ice Cream
Once your homemade ice cream is ready, you’ll want to serve it immediately for the best creamy texture. Scoop it directly from the blender container or transfer it to bowls or cones for easy serving. If the ice cream feels a bit soft, pop it in the freezer for 10-15 minutes to firm up without losing its smoothness.
Use a warm spoon or ice cream scooper to make serving easier and cleaner. Enjoy your treat right away, savoring the fresh, rich flavors you created. Clean up your Ninja blender promptly to keep it in great condition for your next batch.
With every spoonful, you’ll appreciate the convenience and delight of homemade ice cream made right in your blender.
Customize Your Ninja Blender Ice Cream With Flavor Ideas
Although the basic recipe is delicious on its own, you can easily customize your Ninja blender ice cream with a variety of flavors to suit your taste. Adding different ingredients lets you create unique treats every time.
Here are four simple ways to personalize your ice cream:
- Fruits: Blend in fresh or frozen berries, mango, or banana for natural sweetness and color.
- Extracts and Spices: Vanilla, almond extract, cinnamon, or nutmeg add depth and warmth.
- Mix-ins: Stir in chocolate chips, crushed cookies, or nuts after blending for texture.
- Sweeteners: Use honey, maple syrup, or agave to adjust sweetness without overpowering flavors.
Experiment with combinations to find your perfect homemade ice cream!
Frequently Asked Questions
Can I Use Frozen Fruit Instead of Ice Cubes?
Yes, you can use frozen fruit instead of ice cubes. It adds natural sweetness and creaminess to your ice cream, making it tastier.
Just make sure your blender is powerful enough to handle frozen fruit chunks smoothly.
How Do I Clean My Ninja Blender After Making Ice Cream?
Don’t wait until it dries—clean your Ninja blender right after use. Rinse, add warm water with soap, blend for 30 seconds, then rinse again.
This quick action keeps stubborn ice cream residue from sticking and saves you effort later.
Is It Possible to Make Dairy-Free Ice Cream in a Ninja Blender?
Yes, you can make dairy-free ice cream in your Ninja blender! Just use frozen fruits, coconut milk, or almond milk as a base. Blend until creamy, and you’ll have a smooth, delicious dairy-free treat in no time.
Can I Double the Recipe Without Affecting Texture?
You can double the recipe, but remember, too many cooks spoil the broth. Blending larger batches might affect texture, so blend in intervals and check consistency often to keep your ice cream smooth and creamy.
How Long Does Homemade Ninja Blender Ice Cream Last in the Freezer?
You can keep homemade ice cream in your freezer for about 1 to 2 weeks. After that, the texture and flavor might start to degrade, so enjoy it fresh for the best taste and creaminess.
Conclusion
Now that you’ve mastered making ice cream in your Ninja blender, you’re ready to impress like a true kitchen wizard from the Renaissance! With just a few simple steps, you can whip up creamy, delicious ice cream anytime without fancy equipment.
Don’t forget to experiment with flavors to keep things exciting. So grab your blender, freeze that mixture, and enjoy a homemade treat that’s quicker than you can say “by Jove!”
Making ice cream in a Ninja blender is easy, fun, and perfect for any occasion. Follow these simple steps to create your own frozen dessert masterpiece. Your Ninja blender will become your new favorite kitchen tool!