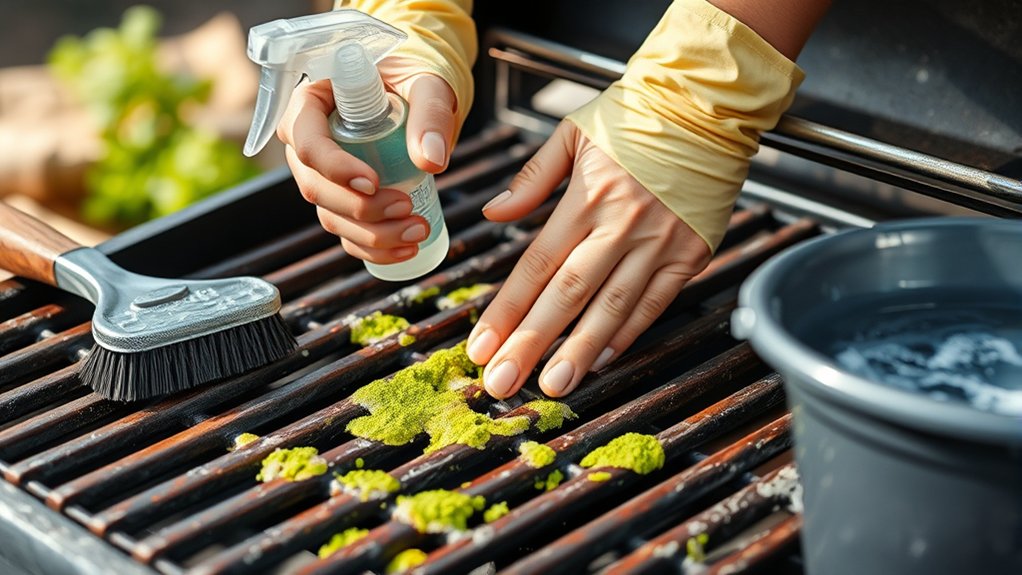
How to Clean a Moldy Grill in 10 Easy Steps
To clean a moldy grill effectively, follow these 10 easy steps to restore your grill to a safe, usable condition. Mold on grills can pose health risks and affect the taste of your food, so proper cleaning is essential. With the right tools and natural cleaning solutions, you can remove mold safely and prevent it from coming back.
First, inspect the grill carefully while wearing gloves and a mask to protect yourself. Gather your cleaning tools, including a stiff brush for scrubbing. Remove any loose mold by brushing thoroughly.
Next, make a natural cleaning solution using vinegar, baking soda, and soap. Soak the grill parts in this solution and scrub them to remove mold buildup. Rinse all parts well with clean water.
Finally, dry everything completely to prevent mold from returning. Regular maintenance is key to keeping your grill safe and mold-free.
Keep going to discover helpful tips on repairs and when it might be time to replace parts.
Key Takeaways
- Wear gloves and a mask, and clean the grill outdoors to prevent spreading mold spores indoors.
- Scrub loose mold and debris from grates, burners, lid, and vents using a stiff brush and smaller brushes for crevices.
- Apply a natural cleaning solution of vinegar, baking soda, and castile soap, letting it soak before scrubbing stubborn mold spots.
- Rinse thoroughly with hot water and dry all grill parts completely to prevent moisture buildup.
- Inspect regularly for mold or rust, clean promptly, and replace damaged parts to maintain grill safety and longevity.
Checking Your Moldy Grill Safely Before You Clean
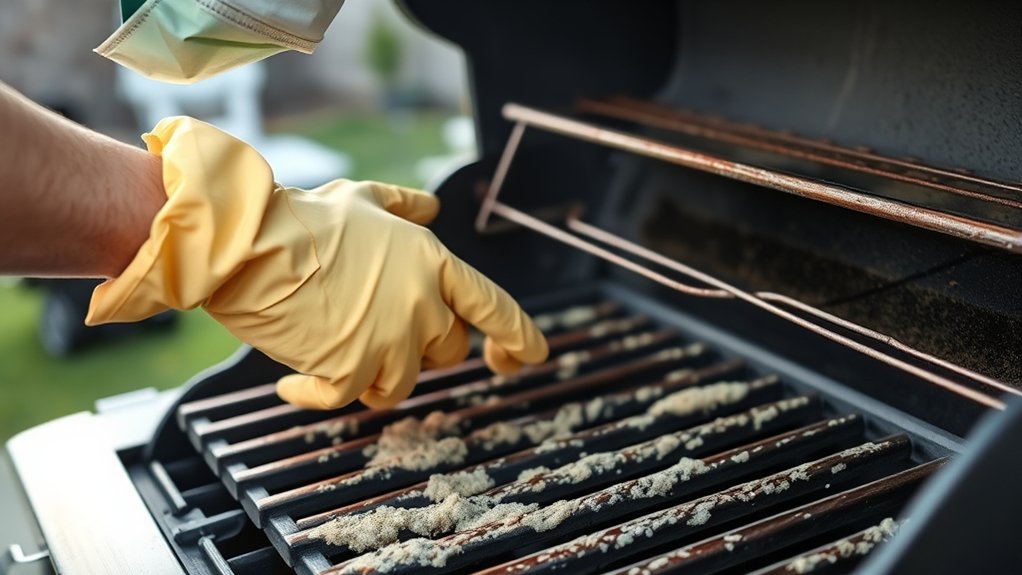
Before you start cleaning, make sure you inspect your moldy grill carefully to avoid any health risks. Put on gloves and a mask to protect yourself from mold spores. Check the entire grill, including grates, burners, and the interior, for visible mold patches.
Note any areas with heavy buildup or rust, as these might need extra attention or replacement. Also, examine the grill’s condition to verify it’s safe to clean—extensive damage could mean it’s better to replace it. Avoid touching mold directly and keep the grill in a well-ventilated outdoor space to prevent spores from spreading indoors.
Taking these precautions helps you clean effectively while keeping your health and safety a priority.
Tools and Supplies Needed to Clean a Moldy Grill
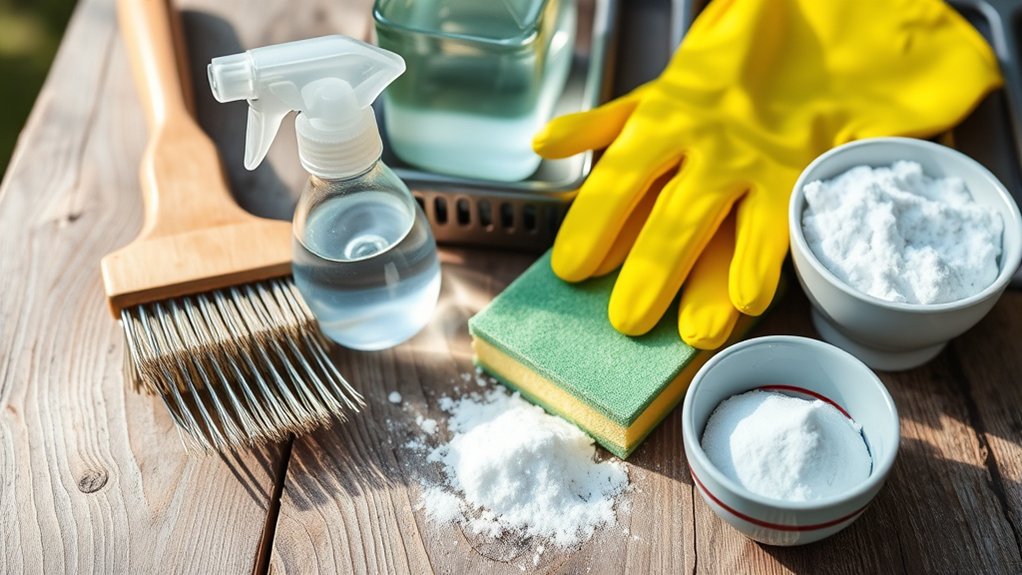
Although cleaning a moldy grill might seem intimidating, having the right tools and supplies makes the process much easier and more effective. Before you start scrubbing, gather everything you’ll need to tackle the job safely and thoroughly.
Cleaning a moldy grill is easier and safer with the right tools and preparation.
Here’s a quick list of essentials:
- Protective gloves and a mask – to keep mold spores away from your skin and lungs.
- A stiff wire brush or grill brush – perfect for scrubbing stubborn mold off grates.
- Mild detergent or grill cleaner – to break down grime without harming the grill’s surface.
- Bucket of warm water and clean cloths or sponges – for rinsing and wiping down after scrubbing.
With these tools ready, you’ll be set to clean your grill efficiently and safely.
Removing Loose Mold and Debris From Your Grill
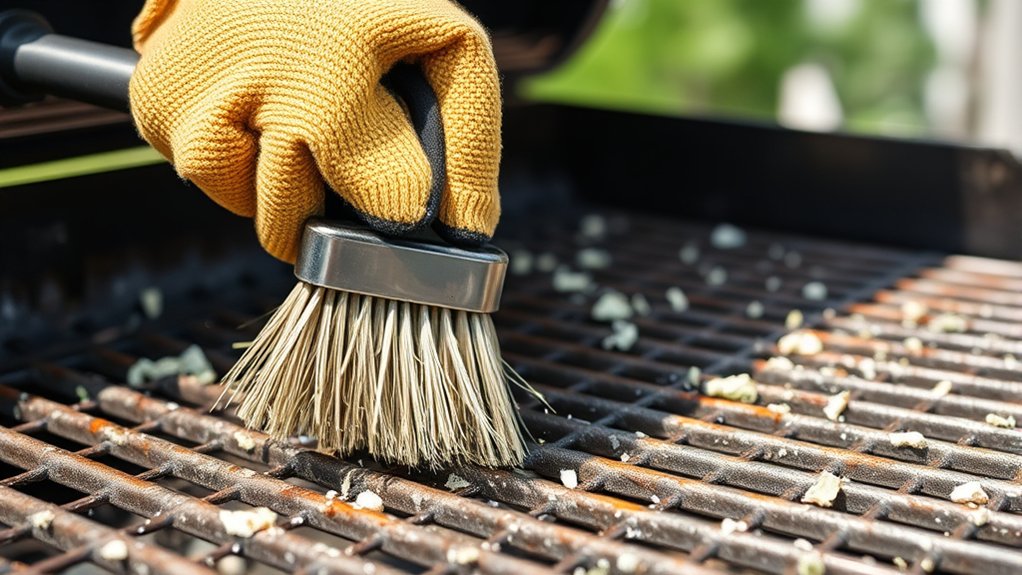
Once you have your gloves, brush, and cleaning supplies ready, start by removing any loose mold and debris from your grill. Use a stiff wire brush to scrub the grill grates thoroughly, focusing on areas with visible mold or buildup. Tap the grill gently to dislodge any flakes or particles.
Don’t forget to clean other parts like the lid, vents, and exterior surfaces where mold can hide. For crevices and hard-to-reach spots, a smaller brush or an old toothbrush works great. After brushing, wipe down all surfaces with a damp cloth to collect loosened debris.
This step helps prevent mold spores from spreading when you proceed to deeper cleaning. Taking your time here sets a solid foundation for a mold-free grill.
Preparing a Natural Mold-Cleaning Solution
You’ll want to pick ingredients that effectively kill mold but are safe for your grill and health. Common natural options include vinegar, baking soda, and lemon juice.
Once you’ve chosen your ingredients, mix them carefully to create a powerful yet gentle cleaning solution.
Choosing Effective Ingredients
Before tackling the mold on your grill, you need to gather the right natural ingredients that effectively break down mold without harming your cookware or the environment. Choosing the right components guarantees your cleaning solution is both safe and powerful.
Here are four effective natural ingredients to contemplate:
- White Vinegar – Its acidity kills mold and loosens grime.
- Baking Soda – Acts as a gentle abrasive and deodorizer.
- Lemon Juice – Contains natural acids that break down mold and leave a fresh scent.
- Castile Soap – A mild, biodegradable soap that helps lift dirt and mold.
These ingredients are easy to find and won’t damage your grill or the planet. Next, you’ll learn how to combine them safely for maximum effect.
Mixing Safe Cleaning Solutions
Although each natural ingredient works well on its own, combining them into a safe cleaning solution boosts their mold-fighting power without harmful chemicals. Start by mixing one cup of white vinegar with one cup of water in a spray bottle. Add two tablespoons of baking soda for extra scrubbing strength and a teaspoon of liquid castile soap to help break down grime.
Shake the bottle gently to blend the ingredients. This mixture is powerful yet gentle, perfect for tackling mold on your grill. Always test a small area first to ensure it doesn’t damage surfaces.
When you spray the solution on your grill, let it sit for 10-15 minutes before scrubbing. This gives the natural ingredients time to kill mold effectively.
Deep Cleaning the Grill Grates and Cooking Surfaces
Start by removing the grill grates and any other cooking surfaces so you can clean them thoroughly. Mold loves hiding in crevices, so it’s essential to get every inch spotless. Follow these steps for a deep clean:
- Scrub the grates with a stiff brush to remove loose debris.
- Soak them in a mixture of warm water and vinegar for 30 minutes to kill mold spores.
- Use a paste of baking soda and water to scrub stubborn spots.
- Rinse thoroughly with hot water and dry completely to prevent mold from returning.
Cleaning the Interior and Exterior of Your Moldy Grill
Once you’ve tackled the grates, turn your attention to the interior and exterior of your grill, where mold can also take hold. Start by removing any loose debris inside the grill using a brush or vacuum. Then, prepare a cleaning solution with warm water and mild dish soap.
Use a sponge or cloth dipped in the solution to scrub the interior surfaces, focusing on corners and crevices where mold thrives. For the exterior, wipe down all surfaces carefully, including handles and knobs. Avoid harsh chemicals that may damage the finish.
If you spot stubborn mold, apply a paste made from baking soda and water, let it sit for 10 minutes, then scrub gently. This thorough cleaning will help restore your grill’s condition and keep mold at bay.
Rinsing and Drying Your Grill to Prevent Mold Return
After scrubbing away mold and grime, you’ll want to thoroughly rinse your grill to remove any cleaning residue that could attract moisture or leftover mold spores.
Here’s how to rinse and dry your grill properly:
- Use a garden hose or a bucket of clean water to rinse all surfaces, including grates, interior walls, and the exterior.
- Avoid high-pressure water jets on delicate parts to prevent damage.
- Wipe down the grill with a clean cloth or sponge to remove excess water.
- Let your grill air dry completely in a sunny, well-ventilated area, keeping the lid open to speed up drying.
Proper rinsing and drying reduce moisture buildup, helping prevent mold from returning.
Sanitizing Your Moldy Grill for Safe Cooking
Although rinsing and drying remove most mold and debris, you’ll need to sanitize your grill thoroughly to eliminate any lingering bacteria or spores that could compromise food safety. Start by mixing a solution of one part white vinegar to one part water in a spray bottle. Spray the entire grill surface, including grates and inside panels, then let it sit for 10 minutes.
Vinegar’s natural acidity kills mold and bacteria without harmful chemicals. Afterward, scrub the grill with a stiff brush to remove any stubborn residue. Rinse everything with hot water to wash away loosened particles and vinegar.
Finally, dry your grill completely with a clean cloth or let it air dry fully before cooking. This guarantees your grill is safe and ready for your next meal.
Maintaining Your Grill to Keep Mold Away for Good
Properly sanitizing your grill sets the stage for long-term care that prevents mold from returning. To maintain a mold-free grill, you need consistent attention and simple habits. Follow these steps:
Proper grill care prevents mold and ensures lasting cleanliness with simple, consistent habits.
- Clean After Each Use: Remove food residue and grease while the grill is still warm.
- Cover Your Grill: Use a waterproof cover to protect it from moisture and dirt.
- Store in a Dry Area: Keep your grill in a garage or under a sheltered patio to avoid humidity buildup.
- Inspect Regularly: Check for mold, rust, or damage monthly and clean immediately if you spot any.
When to Replace Grill Parts or Hire a Professional Cleaner
If you notice rust eating through metal or persistent mold despite cleaning, it’s time to replace parts or call a pro. You’ll want to weigh the cost of repairs against buying new components or a full service.
Knowing when to get expert help can save you time and keep your grill safe to use.
Signs of Irreparable Damage
When mold has deeply penetrated your grill’s components or caused extensive rust, you’ll need to replace parts or call in a professional cleaner. Ignoring these signs can lead to health risks and poor grill performance. Watch out for these clear signs of irreparable damage:
- Cracked or warped grill grates that can’t be cleaned thoroughly
- Rust that has eaten through metal surfaces, causing holes or flaking
- Persistent mold growth that returns immediately after cleaning
- Damaged seals or insulation that compromise heat retention and safety
If you notice any of these issues, it’s time to swap out parts or seek professional assistance. This ensures your grill stays safe to use and prevents mold from returning.
When To Call Experts
Although many grill cleaning tasks you can handle yourself, certain situations call for expert help or part replacement to keep your grill safe and functional. If you notice extensive rust, warped grates, or damaged burners, it’s best to replace those parts rather than risk unsafe cooking conditions. Mold deeply embedded in hard-to-reach areas also signals a need for professional cleaning to assure thorough removal.
Additionally, if your grill’s ignition system or gas connections show signs of wear or leaks, don’t hesitate to call an expert. Attempting repairs without proper knowledge can be dangerous. Trusting professionals not only guarantees safety but also extends your grill’s lifespan, letting you enjoy hassle-free barbecues for years to come.
When in doubt, err on the side of caution and get expert assistance.
Cost vs. Repair Benefits
Deciding whether to replace grill parts or hire a professional cleaner depends largely on balancing cost against the benefits of repair. You want to avoid overspending while ensuring your grill stays safe and functional. Consider these points before making a decision:
- Severity of Mold: Extensive mold might mean replacing parts is cheaper than deep cleaning.
- Cost of Replacement Parts: Sometimes new grates or burners cost less than professional cleaning fees.
- DIY Ability: If you’re handy, replacing parts can save money compared to hiring help.
- Long-Term Use: Investing in new parts or professional cleaning extends grill life, offering better value.
Weigh these factors carefully to decide what’s more cost-effective for your specific grill situation.
Frequently Asked Questions
Can Moldy Grills Cause Health Problems if Not Cleaned Properly?
Yes, moldy grills can cause health problems if you don’t clean them properly. Mold spores can trigger allergies, respiratory issues, and even food poisoning, so you should always remove mold before cooking to stay safe and healthy.
How Long Does It Take for Mold to Grow on a Grill?
Mold can start growing on your grill within 24 to 48 hours if it’s damp and not cleaned properly. Moisture and warmth create the perfect environment for mold, so don’t leave it dirty or covered when wet.
Is It Safe to Use Bleach on a Moldy Grill?
You shouldn’t use bleach on a moldy grill because it can damage the metal and leave harmful residues.
Instead, opt for a mixture of vinegar and water or a specialized grill cleaner to safely remove mold and grime.
Can Mold Spores Spread to Other Outdoor Furniture?
Yes, mold spores can spread to other outdoor furniture if you don’t clean the affected area properly.
You’ll want to act quickly and use appropriate cleaners to prevent mold from spreading and causing more damage.
What Are the Best Storage Tips to Prevent Grill Mold in Humid Climates?
Think of your grill as a treasure chest—keep it dry with a breathable cover, store it in a shaded spot, and oil the grates regularly.
These steps lock out moisture, stopping mold from crashing your cookout.
Conclusion
Now that you’ve tackled your moldy grill, remember, “an ounce of prevention is worth a pound of cure.” Keep your grill clean and dry after each use to stop mold before it starts. Regular maintenance not only extends your grill’s life but also guarantees every meal is safe and delicious.
If mold persists, don’t hesitate to replace parts or call a pro. With these steps, you’re all set for countless enjoyable cookouts ahead! Proper grill cleaning and mold removal are key to maintaining a safe cooking environment. By following these tips, you ensure a mold-free grill ready for every barbecue season.